When I saw
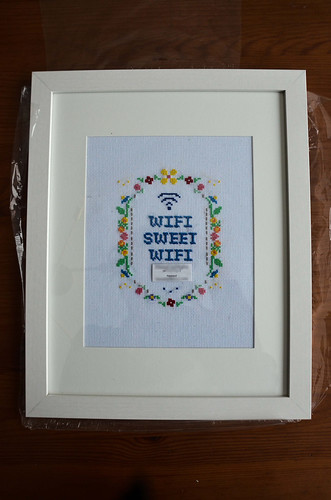
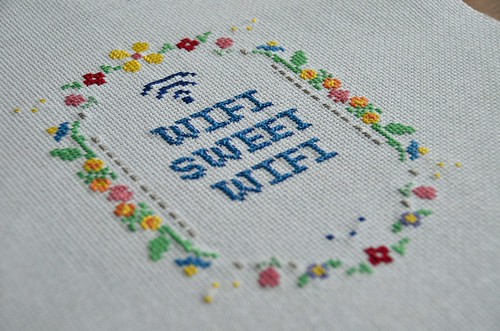
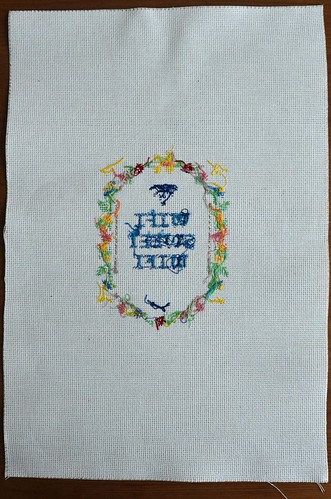
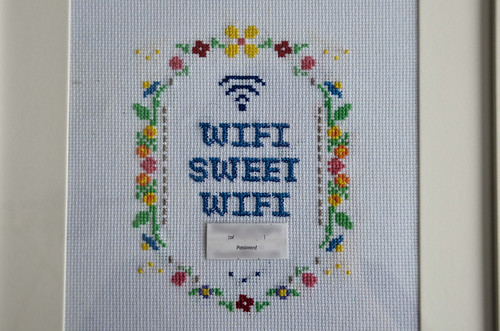
NarwhalInkDesign's Wifi Password Sign I knew it had to be turned into a real cross-stitch, with a replaceable space for the password and network name. Converting the print to a counted cross-stitch pattern wasn't too tricky, then I just had to do the cross-stitching work on 14-count aida cloth!
Once that was done, I printed off the wifi network name(s) and the password onto cardstock, and enclosed it in
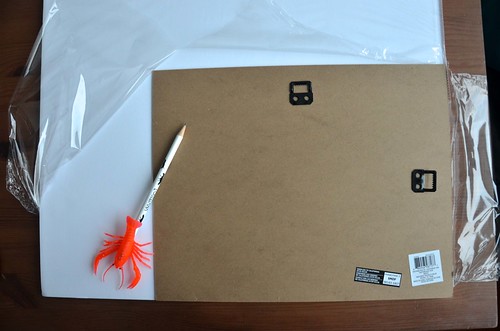
acid free tape. It's important that everything that touches artworks be acid free. Acid free mat board. Acid free backer board (or foam core). Acid free tape. Even for non-cross-stitches, as tape with acid in it will eventually eat away at whatever object it's attached to.
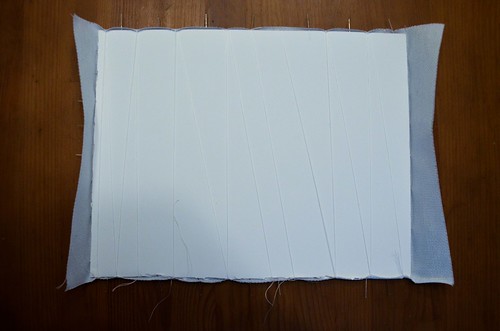
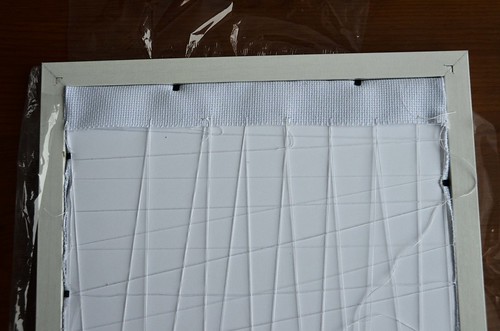
I followed
FeltMagnet and
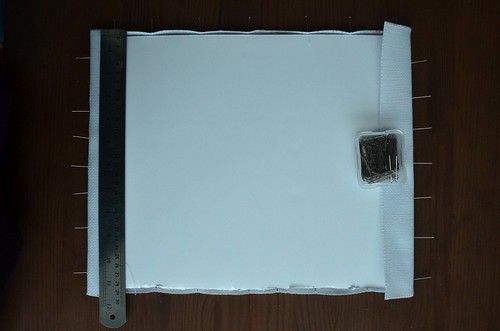
Lord Libidan's tutorial for framing a cross-stitch. It seems to have worked out alright, I just need to buy some new hanging hardware to attach to my frame, since it was originally included as part of the backer board...but the backer board gets replaced with acid free foam core board. It's also important to use a mat with stitched work, so as not to flatten the stitches against the glass.


I suspect this will make a fairly lovely addition to the guest bedroom.


0 comments:
Post a Comment