

Wednesday, April 1, 2015
When you have the quilt back and the quilt top done, there's an obvious next step: QUILT SANDWICH.
I've written considerably more detail here, when I made the hexagon quilt and the process is fairly similar this time around. Although, I will note that thread-basting may not be the method of choice when machine quilting, as the sewing feet have a tendency to get caught up in the basted stitches. If you're mindful of that, it should be okay.
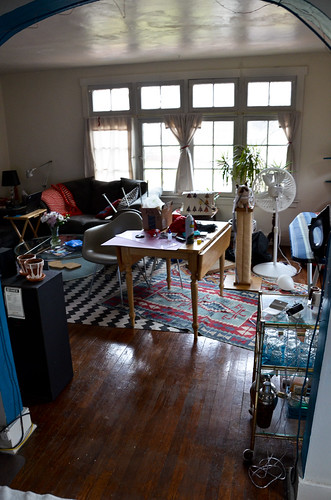
- You'll need: quilt top, quilt back, batting, safety pins, needle, thread, scissors, masking/packing tape, and most importantly: a large enough space to work. Be sure you don't mind if a sewing needle hits your work surface hundreds of times!
- Iron & starch the quilt back.
- Mark the middle of all four sides with safety pins.
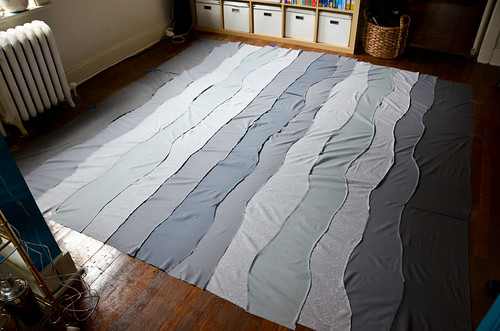
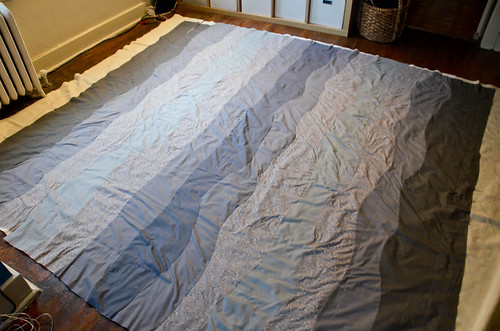
- Lay backing right side down in the middle of a large enough surface (very important).
- Tape in place with masking or packing tape, making sure to gently pull the fabric so it is completely flat. Do not stretch too much!
- Iron quilt batting if necessary.
- Mark the middle of all four sides with safety pins.
- Center batting on top of back fabric, using safety pins as a guide.
- Ensure the batting is completely flat. I do this by picking up an edge and lifting up and down in quick, "parachuting" movements.

- Iron & starch quilt top.
- Mark the middle of all four sides with safety pins.
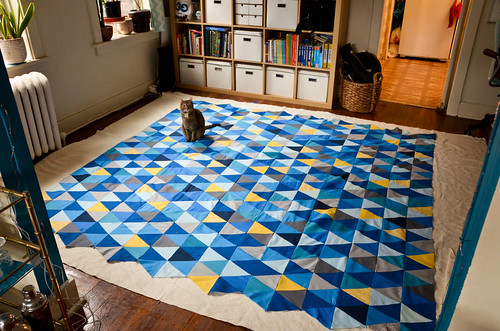
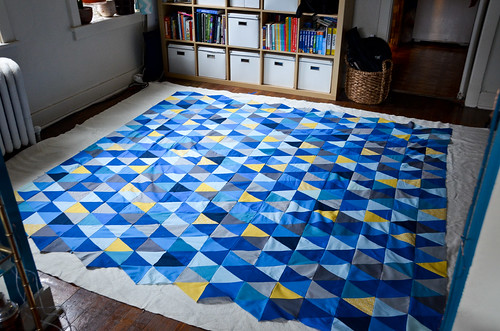
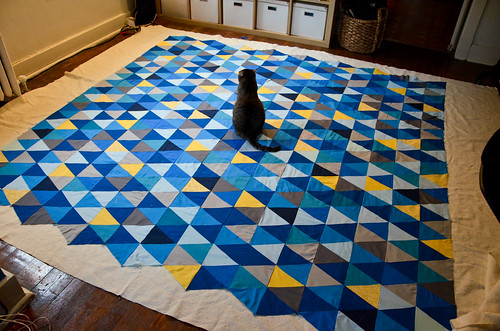
- Center quilt top on batting right side up, using safety pins as a guide.
- Ensure the quilt top is completely flat, as before.
- Baste three layers of quilt sandwich.
- Start in the center, and do one quadrant at a time.
- Each line of basting should be about 12" apart.
- Stitches should be about 1.5" long.
- Always secure the end of the thread off the quilt top on the batting. This'll make the stitches easier to remove.
- Baste both horizontally and vertically.
- Baste near the edges of the quilt, too. You'll be thankful when you attach the binding.
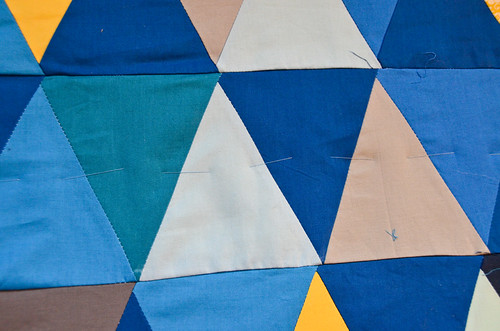
Please ignore how imperfect my triangles are.
- When done, flip quilt over and fix any large wrinkles you may have basted in.
It turns out that you can also baste with safety pins or using a spray adhesive. I just keep thread basting for some unknown reason. Maybe I like the blisters. Maybe I feel it's a little more secure when stitched together? Who knows.
How To: Cut Isosceles Triangles Without Templates10/13/2013How To: Assemble an Isosceles Triangle Quilt Top10/16/2013Step 1: Isosceles Triangle Quilt Top Completed10/18/13TARDIS Applique10/27/13Coordinating Pillowcases for the Isosceles Triangle Quilt11/6/13Step 2: Isosceles Triangle Quilt Backing Assembly3/18/15- Step 3: Isosceles Triangle Quilt Sandwich-ing 4/1/15
- Attaching the TARDIS Applique 4/8/15
- Step 4: Machine Quilting the Isosceles Triangle Quilt 4/15/15
- How To: Continuous Double Bias Binding Strips 4/22/15
- Step 5: Binding the Isosceles Triangle Quilt 4/29/15
- A Review of the Isosceles Triangle Quilt 5/6/15


0 comments:
Post a Comment