

Friday, June 9, 2017
Follow along as I make Free Spirit Fabric's Double Wedding Ring Quilt.
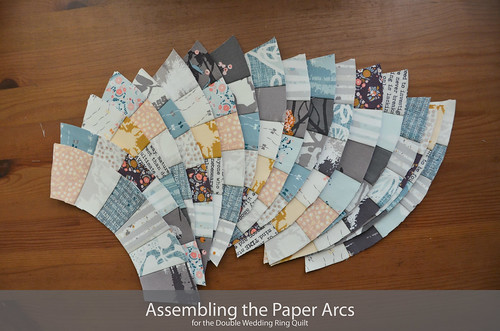
The pattern will have you print off 80 of the paper arcs (there's two on one sheet of paper, so 40 pages). At first I thought maybe I'd be able to reuse the paper templates, but...nope. Definitely need to print off all 80 arcs.
- Cut out paper arc templates.
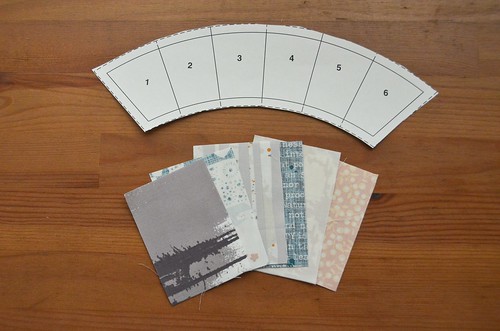
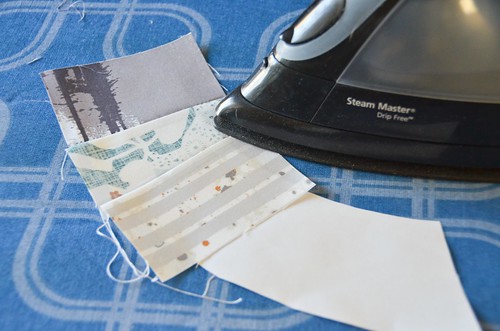
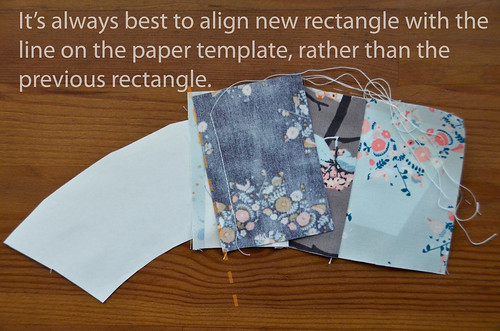
- Place first two rectangles, right sides together and align edge with line between 1 & 2 rectangles. If you're keeping some sort of order, your first fabric should be placed against the paper template, the second fabric underneath that.
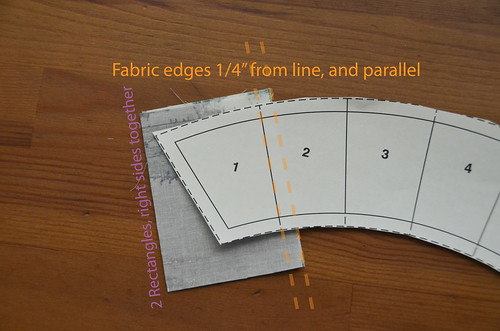
- Sew along line between #1 & #2 rectangles.
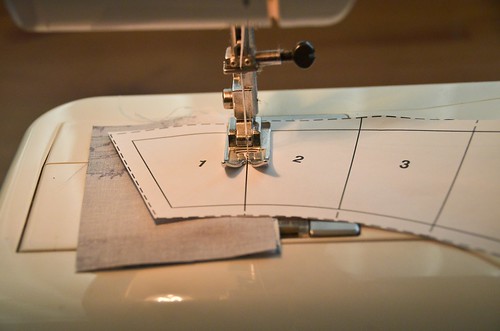
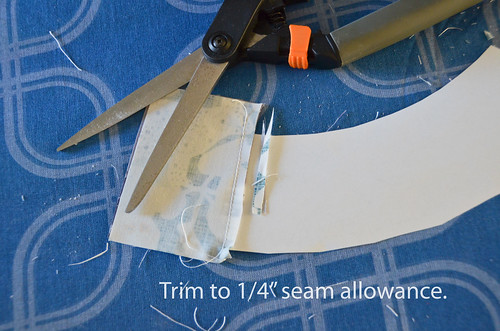
- Trim seam allowance to 1/4"
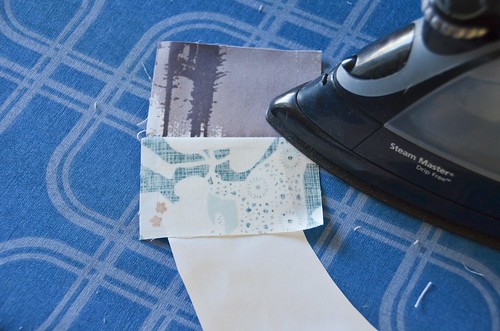
- Iron open.
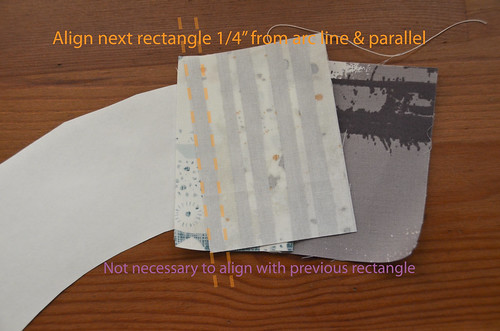
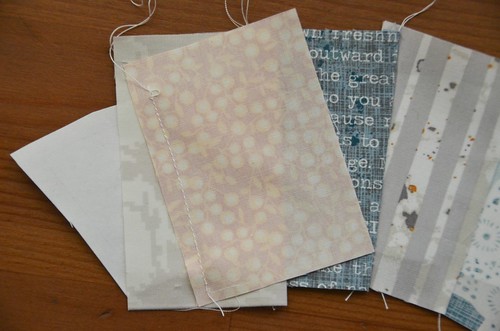
- Place next fabric rectangle right sides together with previous, aligning it with line on paper template, not previous fabrics!
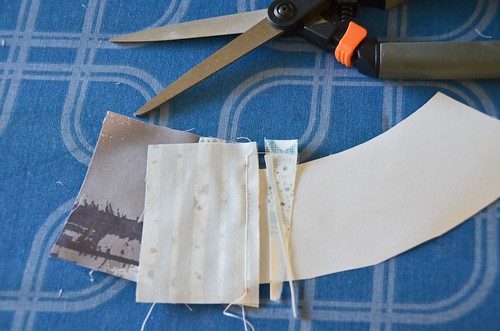
- Trim 1/4" seam allowance
- Iron open
- Repeat steps 6-8 for each of 5 fabric rectangles
- Trim excess fabric from around paper template
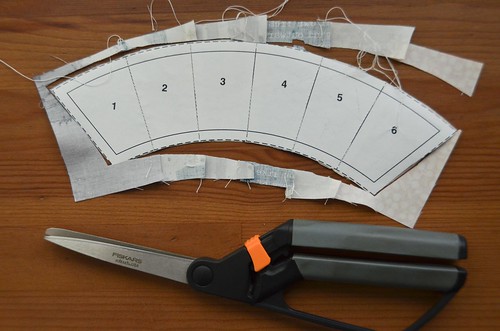
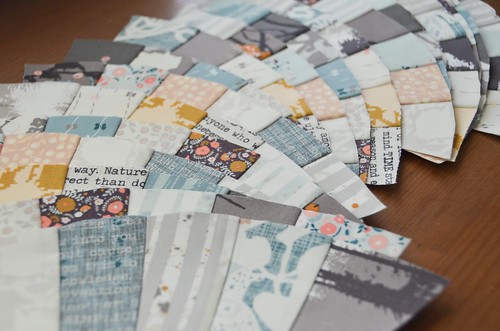
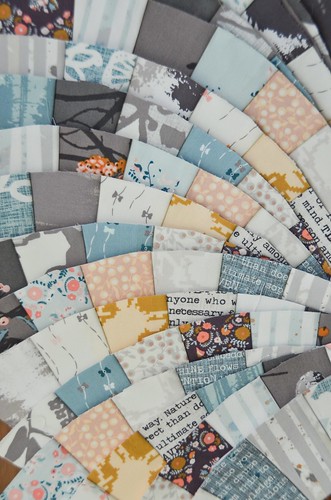
- Done! Trim fabric arc. Make 79 more!

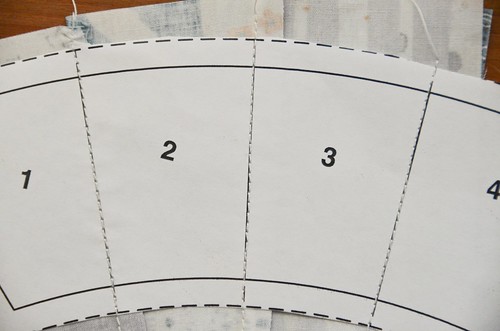

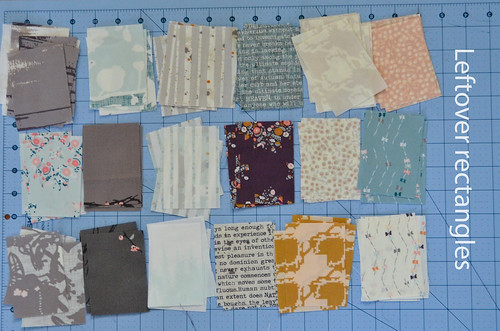
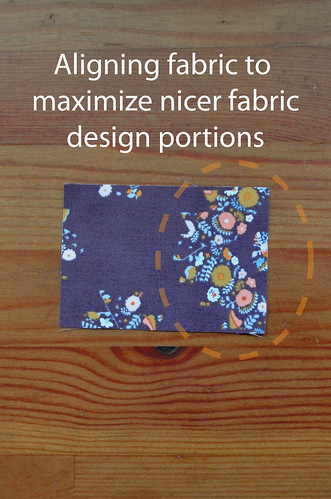
- It's possible/preferable to fussy-place some of the rectangles to position the main design in the arc. The rectangles are a bit bigger than needed, so normally you cut off the excess, but you can also place the fabric so that the excess doesn't include most of the design.
- It's possible to shift rectangle prior to sewing to have more of a preferred design showing.
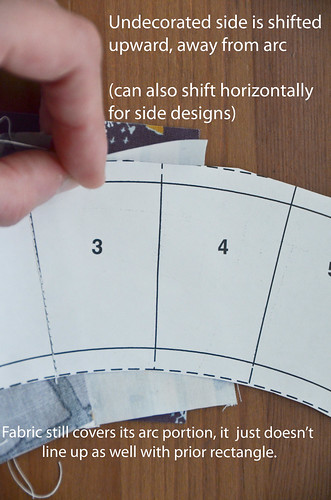
- It's the same process, just with the fabric a little higher up or down. It still must cover its paper rectangle.


0 comments:
Post a Comment