

Friday, June 23, 2017
Follow along as I make Free Spirit Fabric's Double Wedding Ring Quilt.
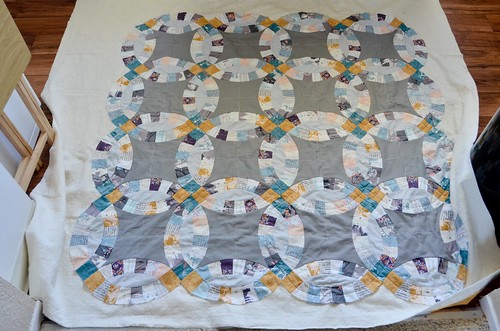
Carrie Strine's Double Wedding Ring Quilt involves a considerable amount of hand-quilting. More hand-quilting than I care to do in most cases. So, instead we're doing a mild amount of quilting - partially machine quilting. I think in the future I might do all the quilting by hand to be more consistent in appearance.
Before we get into machine quilting the double wedding ring quilt, it's handy to know that you should start the sewing slightly different from usual. You can't reverse over initial stitches to secure them, as that's not attractive, so we use tiny stitches. And you don't want the initial tails of the bobbin thread hanging out and getting in the way, so we do a little sneaky move to fish them up top. Photos will hopefully help, below.
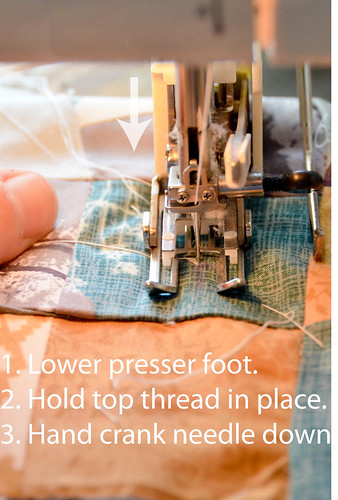
- Place fabric where you want to begin. Hold top thread, drop needle.
Starting machine quilting - pulling up the bottom thread so it doesn't get caught in stitching.
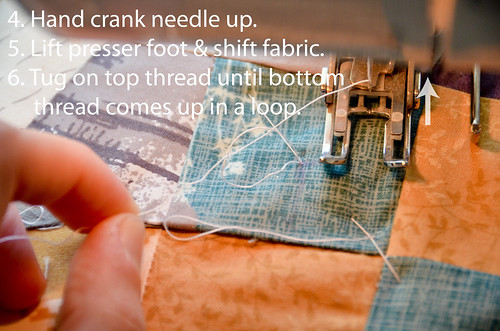
- Hand-crank needle until bottom thread comes up in a loop. Tug on loop.
Starting machine quilting - pulling up the bottom thread so it doesn't get caught in stitching.
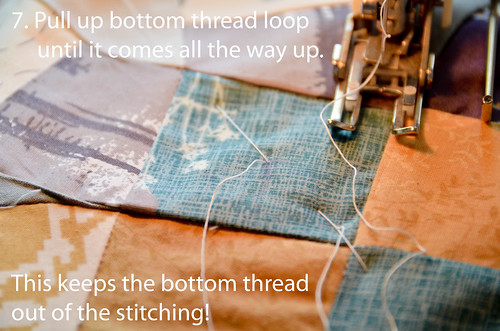
- Tug on bottom thread loop until it comes up all the way.
Starting machine quilting - pulling up the bottom thread so it doesn't get caught in stitching.
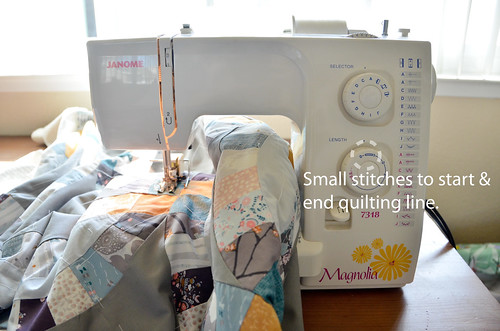
- Do ~5 small stitches, on smallest setting you can to secure thread.
Starting machine quilting - securing thread without reverse-stitching (looks better!)
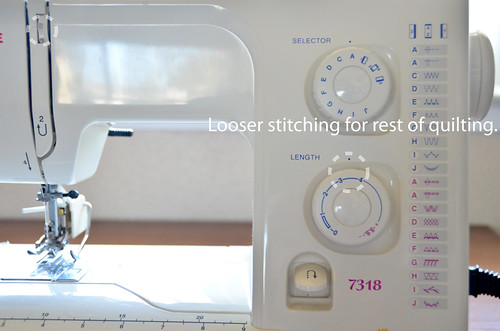
- Sew rest of quilt on a slightly looser setting than usual, due to the thickness of the quilt.
Starting machine quilting - securing thread without reverse-stitching (looks better!)
- Notice how the smaller stitches look cleaner than reverse-stitching.
Finishing Up the Machine Quilting
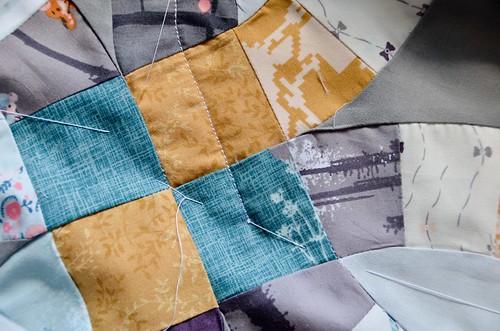
You'll notice that I'm only machine quilting through the middle of the arcs. It's tricky to have a standard sewing machine sew in circles, but if you're careful (and stop to reposition your guide after every half circle), then it can work. This level of machine quilting is not enough, I'm also hand-quilting some additional designs into the medallions.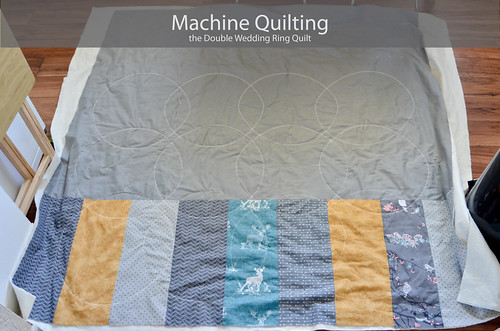
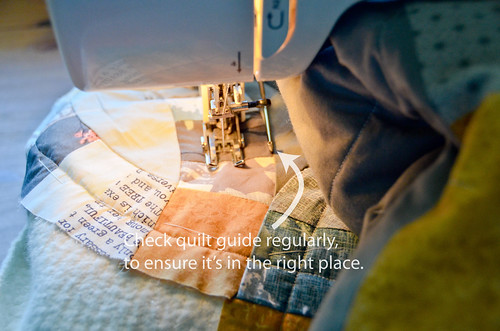
- After following instructions for starting, machine sew in middle of each arc. Be sure to use a quilting foot and guide.
After sewing half of an arc, check that your guide is still centered in the arc! It moves.
(it's possible to do 2 arcs without having to stop & re-secure thread, since each arc interacts with another arc)
- Secure final stitches with small stitches. Repeat process for all circles.
(it's possible to do 2 arcs without having to stop & re-secure thread, since each arc interacts with another arc)


0 comments:
Post a Comment