Sunday, April 21, 2024
A matching set!
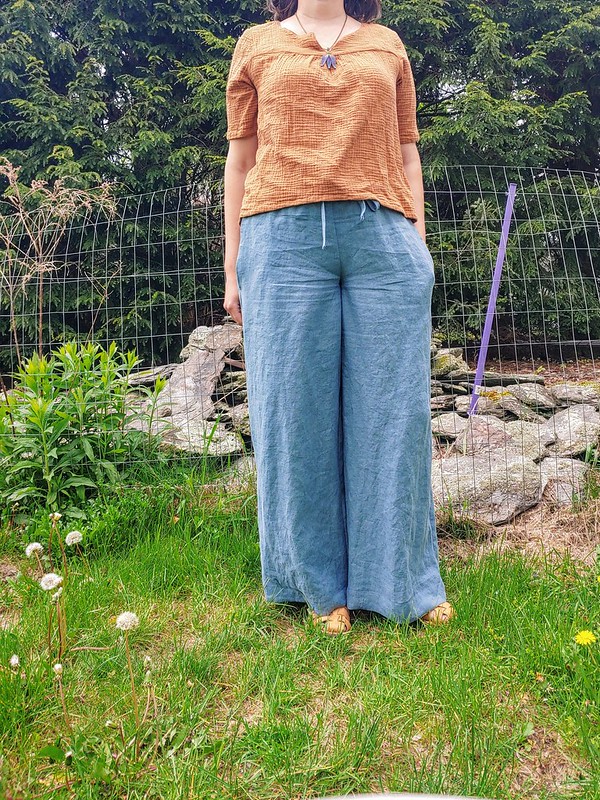
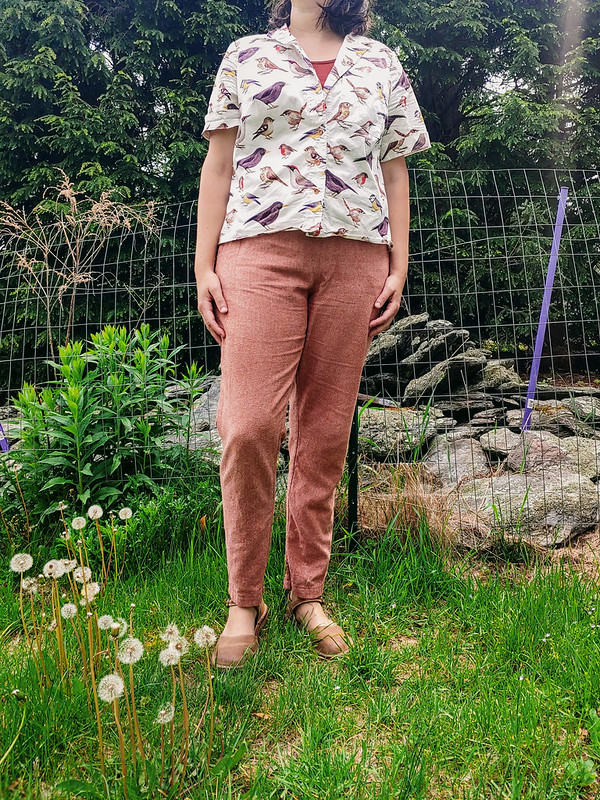
I think I was planning on making a pair of super wide leg pants with these 4 yards of linen...instead I've got a tank top, shorts, pants, and part of a colorblock tank...
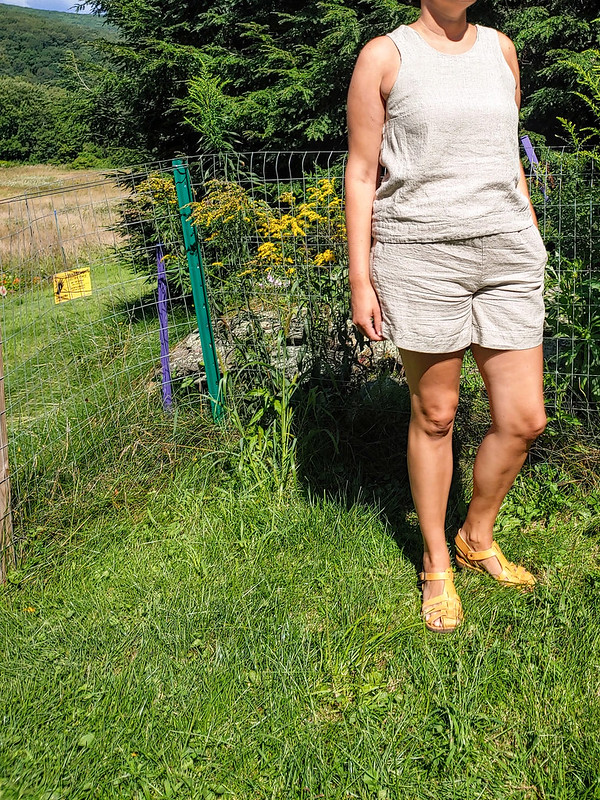 The top is a Helen's Closet Ashton Top size 12 with facings, the full-length version, with an inch added for height. Also a low back Ashtn Top Hack to 6 inches deep. Fabric is medium weight #linen from Fabricsstore.com in Natural. Would likely be a little happier in one size up. French seams ftw!

 The shorts are True Bias Dani Short in size 16. Added 1” in length, skipped the cuff. Material is Fabricsstore.com medium-weight linen in natural. From the photos, looks like I should probably do a full seat adjustment next time...but these are perfectly comfy as is. It would probably help a great deal if I stopped hiking the bottoms to my waistline before photographing.
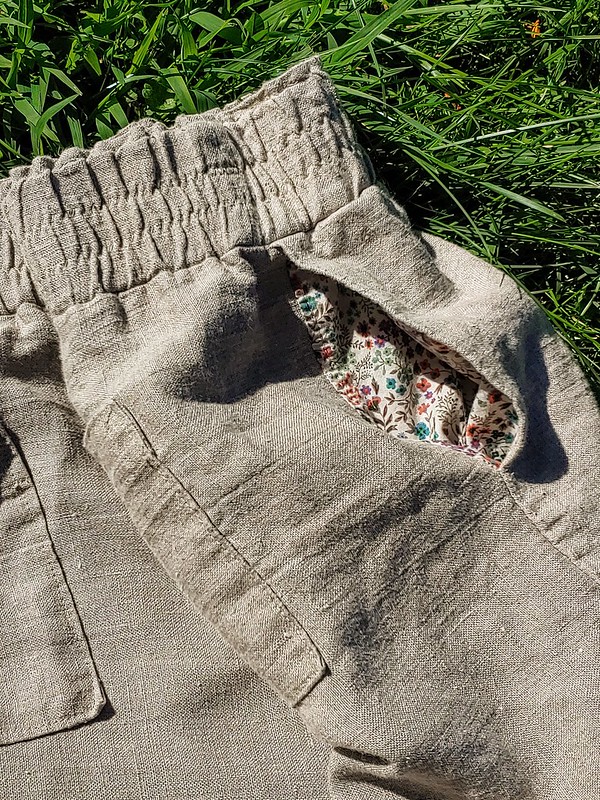
 The awe-some glory of rumpled linens! I only wore these shorts for this little photo shoot, that’s how fast they get wrinkly. Some very in-your-face linen!