Showing posts with label tech. Show all posts

Electronic Textiles for the Classroom

Wednesday, May 17, 2017

I started this whole eTextiles saga as steps toward putting together a 2-hour class for 7th graders. Here are some notes on putting together that shindig.
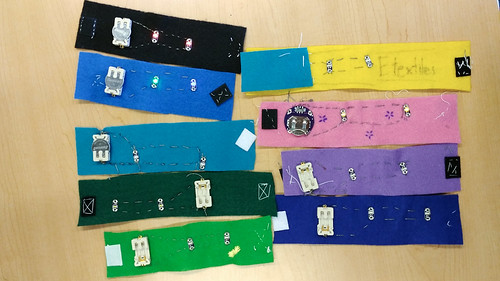
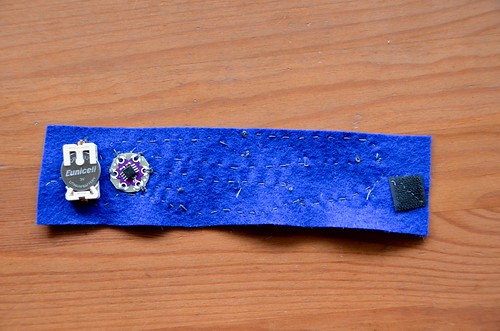
Light Up Felt Wristbands

Lesson-wise, I started them off with Sewing Skills:
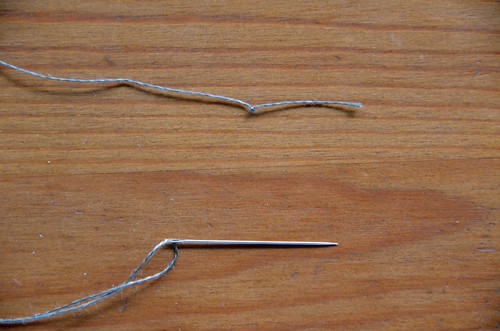
  1. Sewing basics (i.e., knot & thread a needle and eTextiles tips & tricks).
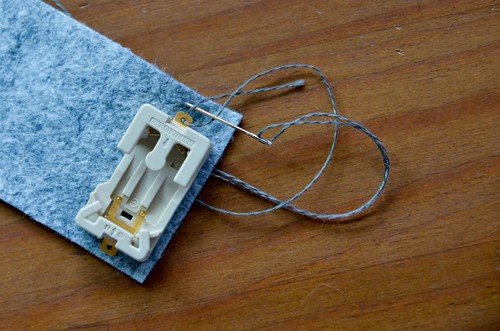
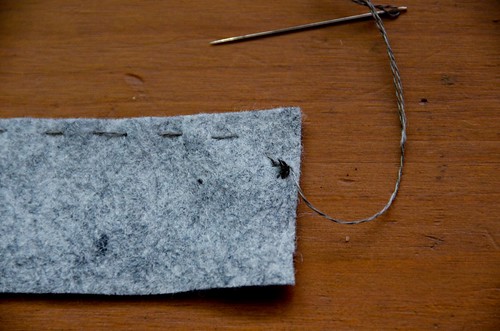
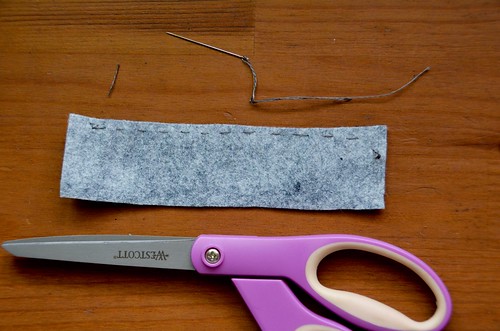
  2. Create a simple textile project practicing basic sewing skills. (Like a simple felt wristband, here)
For the next step we need to have the kiddos cut-out paper versions of the electronic components they're going to use. Tape them down in the right layout, and use a pen to connect all the positive connectors and a different color to connect the negative connectors. I like to hold onto the tiny LEDs and hand them out after checking the students' work.
  1. Diagram the circuit before you sew it (we use paper prototyping cut-outs)
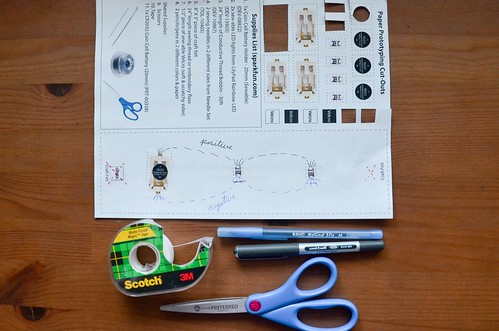
    Completed
Of course, before the students diagram the circuit, you (the instructor) need to pick which circuit they're going to build. I've got three options below in increasing complexity. For my two workshop sessions, I went with the Parallel Circuit option.

  1. Pick a circuit to implement.
Your choice of circuit will also (slightly) impact the supplies you need (pretty much just the number of LEDs and the fancy-ish computer chips).

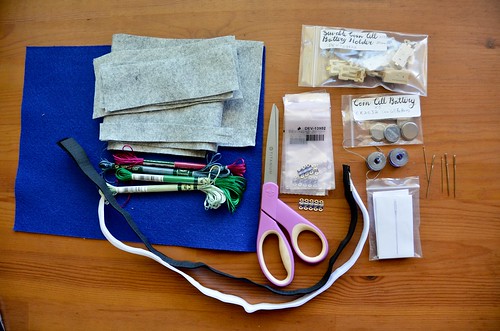
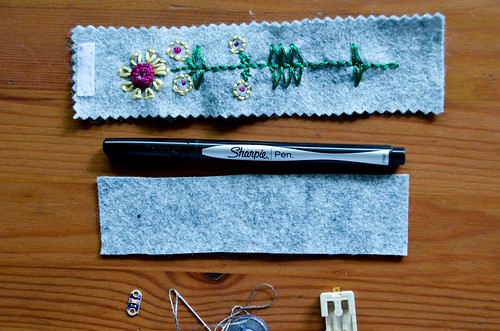
Classroom eTextiles supplies for 10 students!

Supplies for 10 students
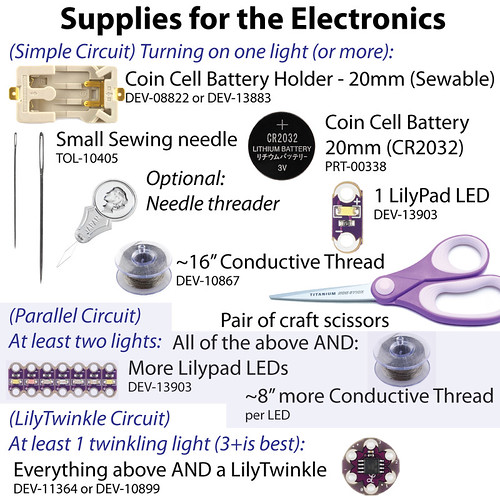
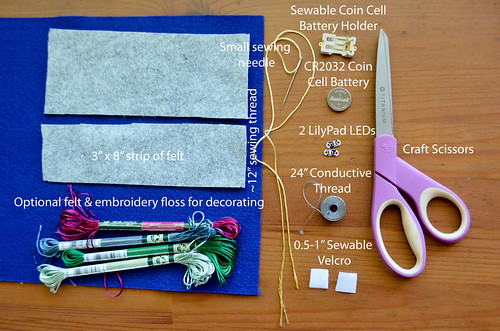
Depending on which project you implement and how, you'll need different things. In all cases, supplies should probably come from SparkFun.com, as I've included the product numbers from there. There are some simple items that are necessary for each project, that students can share:

For the felt wristband:
  • Craft felt (half sheet per student = 5 full sheets) ...$0.50*(num_students/2) = $2.50 (non-reusable)
  • Scissors (1 per student)...1*num_students = 10 pairs of scissors
  • Needle threaders (3) = $2 (students need to be told to pull the wires, not the handle, or they'll break!)
  • 2 yds sewing thread per student = $3 spool of thread
  • 1 small sewing needle (TOL-10405 2 per pack + big needles for embroidery floss)...$2/2*num_students = $10 (can do cheaper if you just buy sewing needles from JoAnn fabrics)
  • 0.5 in sewable Velcro ...0.5*num_students = 0.25 yd sewable Velcro

For the paper prototyping:
  • Scissors from above and...
  • Pens (or colored pencils/markers) in 2 colors ...2*num_students= 20 pens total
  • Tape (1 per 2 students) ...1/2*num_students = 5
  • 1 Paper prototyping print-out ...1*num_students = 10 pages (non-reusable)

Base reusable supplies for the circuits:
  • All of the above and...
  • 1x CR2032 Coin Cell Battery (PRT‐00338) (1 per 2 students) ...$2*1/2*num_students = $10
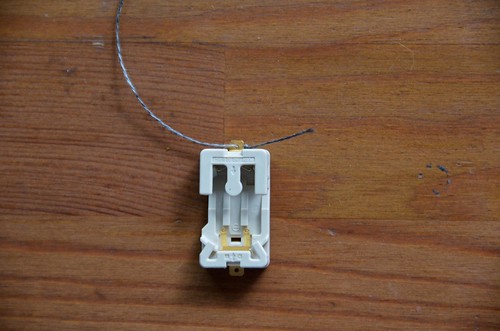
  • 1 sewable battery holder (DEV-08822 or DEV-13883) ...$2*num_students = $20
  • ~5ft+ conductive thread - actual number depends on how far apart all your components are! (DEV-10867 - 30 ft per spool) ...at least 2 --> $3*2 = $6 (kiddos tend to go through the thread) (non-reusable)
  1. Supplies for the Simple Circuit Wristband
    • 1 Lilypad LED (DEV-13903) ...$.80*1*num_students = $8
  2. Supplies for the Parallel Circuit Wristband
    • 2 Lilypad LEDs (DEV-13903) ...$.80*2*num_students = $16
  3. Supplies for the Sparkling Computer Chip Wristband
    • 4 Lilypad LEDs (DEV-13903) ...$.80*4*num_students = $32
    • 1 LilyTwinkle or 1 LilyTiny - they have different sparkling behaviors (DEV113-64 or DEV-10899) ...$5*num_students = $50
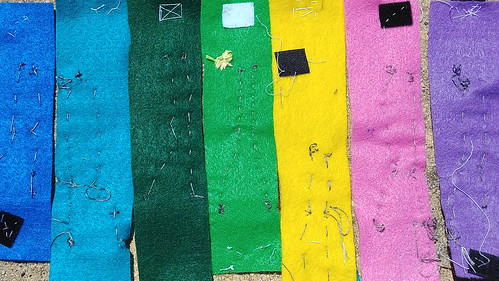
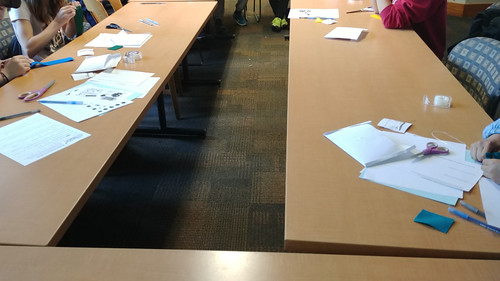
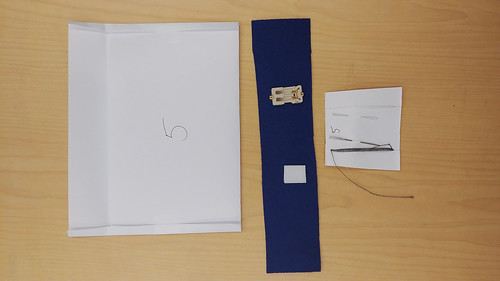
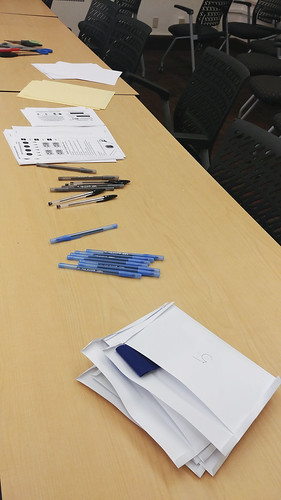
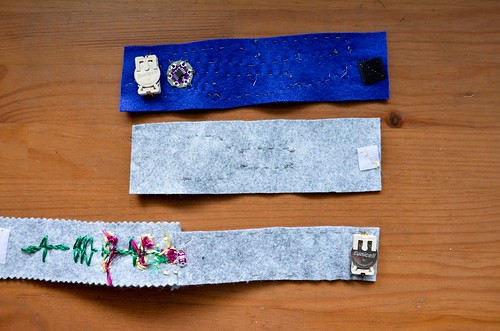
Light Up Felt Wristbands eTextiles Activity for a Class eTextiles Supplies - Inside the Paper Envelope eTextiles Supplies - Students need one from each pile
3 Different Circuits for 3 Different Light Up Wristbands

Electronic Textiles How To: Sew a Light Up Wristband with Four Twinkling LEDs (computer chip circuit)

Wednesday, May 10, 2017

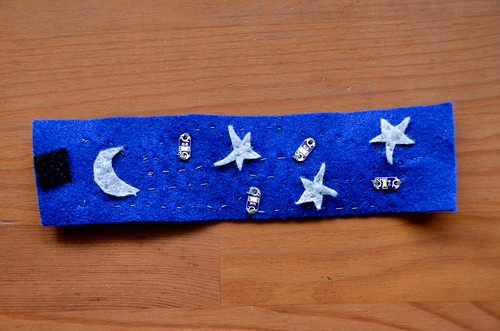
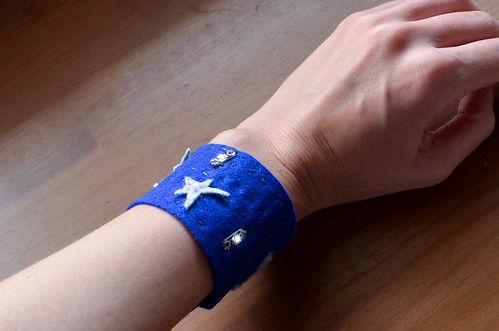
Completed Decorated Twinkly Felt Wristband with 4 LEDs
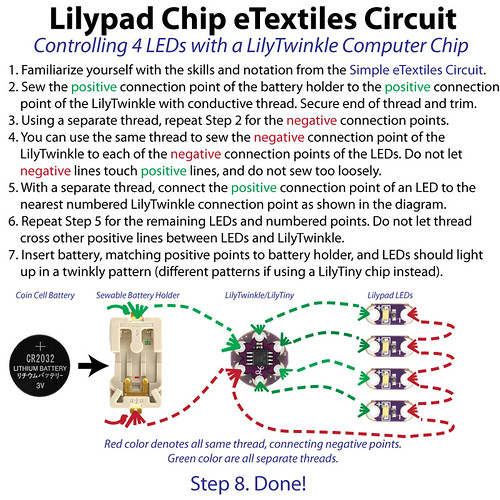
If this were a fancy place, that image above would be animated and you'd see that the lights twinkle at different rates. This is the very beginning of the fancy computer-processing portion of eTextiles. It uses the same concepts as our previous tutorials - all the negative connection points connected to each other/the negative end of the battery holder. But now all the positive ends of the LEDs are connected to different pins on the little computer chip. The computer chip can be reprogrammed to have the lights/pins do different behaviors, but I just used this cheap little pre-programmed LilyTiny that gives some preset behaviors.

The diagram included in the tutorial below shows what I'm talking about with the positive/negative threads.

How To: Make a Twinkly Light Up Wristband with 4 LEDs
Electronic Component Supplies for eTextile Circuit Projects

Supplies for Four Twinkling Lights Wristband
As always, SparkFun.com is a great source for most of your supplies.
  • 1 CR2032 Coin Cell Battery (PRT-00338)
  • 1 sewable battery holder (DEV-08822 or DEV-13883)
  • 4 Lilypad LEDs (DEV-13903)
  • 1 LilyTwinkle or 1 LilyTiny - they have different sparkling behaviors (DEV113-64 or DEV-10899)
  • ~1 yard+ conductive thread - actual number depends on how far apart all your components are! (DEV-10867)
  • 1 sewing needle (small enough to fit through the connection point/hole) (TOL-10405)
  • craft scissors
  • felt wristband (or textile of some sort).
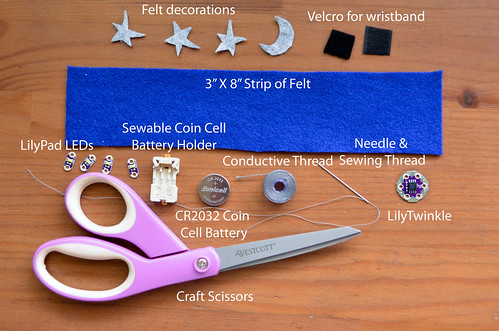
Supplies to make a twinkly light up felt wristband

Before we begin...
It's usually wise to prototype your electronic circuit design using paper first: http://byov.blogspot.com/2017/04/etextiles-paper-prototype-before-you-do.html. Just cut out the pieces you'll be using from the paper (i.e., a battery holder, 1-4 LEDs, and 1 LilyTiny/LilyTwinkle), tape them down onto a piece of paper that resembles the necessary circuit layout, and then draw lines connecting the positive connection points. And then a line connecting the negative connection points. These represent two separate pieces of thread, and remember, they should not intersect!

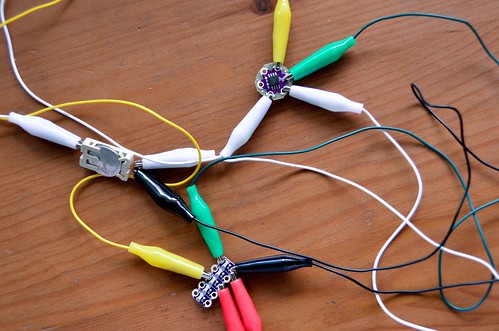
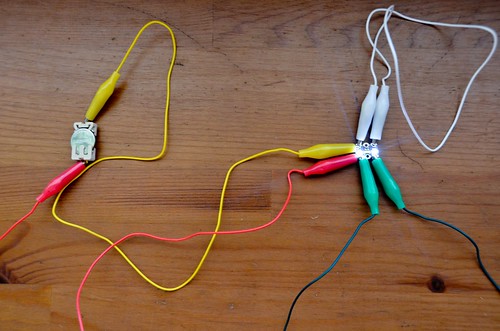
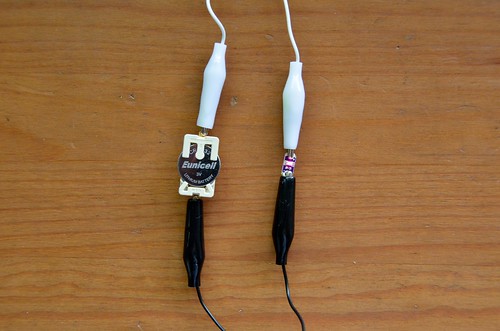
I like to test out my designs with alligator clips first, so I can ensure that all the pieces are working as they should. Below, I'm trying out two LEDs and a LilyTiny chip. Once I got rid of the dead battery, it worked!

It's sometimes good to test out  electronic circuit designs with Alligator Clips beforehand

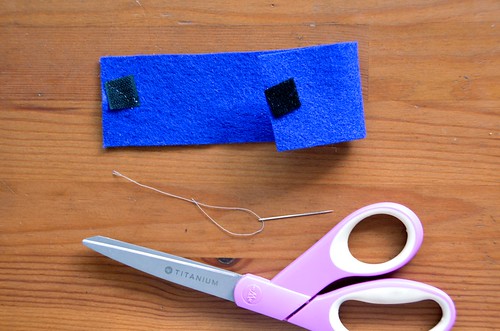
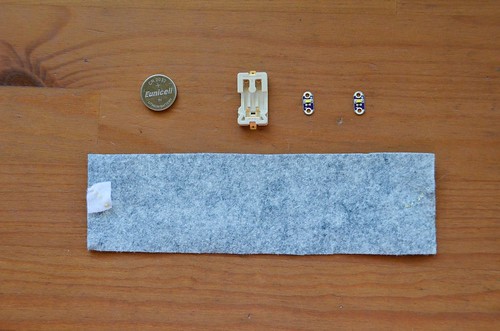
  1. Make your felt wristband / whatever textile you're sewing to
    If components (i.e. battery holder) are going on the inside of the wristband, you'll want a little extra length. Maybe an extra 0.75" or 1" extra to accommodate the size of the battery holder. I also find that using sewing thread, rather than embroidery floss, makes it easier to sew Velcro to the felt.

    2. Felt wristband should be circumference of wrist plus an inch or two for the electronic components to go on the inside

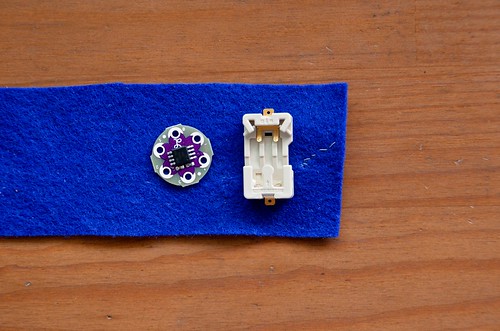
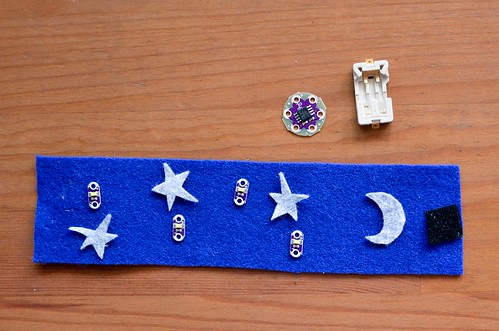
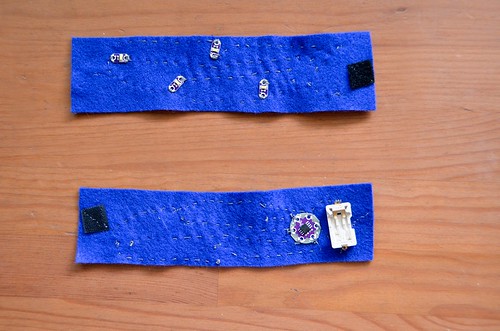
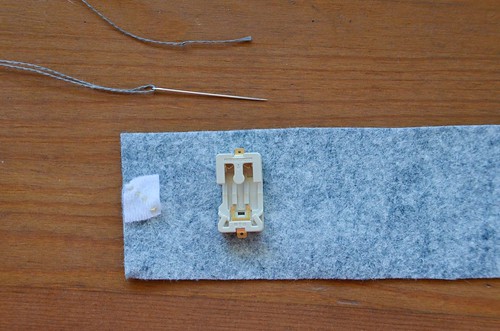
  2. Figure out approximate placement of battery holder and LilyTwinkle (I'm putting mine on the back of the wristband)
    3. Figure out approximate placement of battery holder and LilyTwinkle (I'm putting mine on the back of the wristband)

  3. Figure out approximate placement of the LEDs (subtly mark their spots with a marker)
    4. Figure out approximate placement of the LEDs

  4. Follow diagram to connect appropriate points.
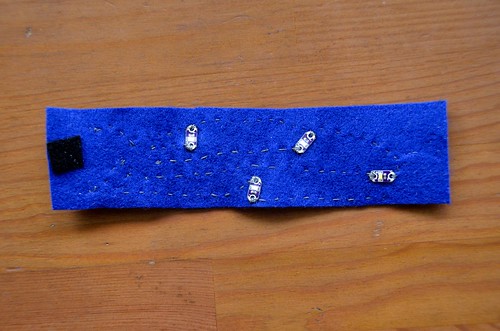
    1. Using 4-5 overcast stitches to secure each connection point, sew a running stitch from the positive connector of the battery holder to the positive connection point of the LilyTwinkle. Secure and trim threads.
    2. Do the same for the negative points of the battery holder and LilyTwinkle, but instead of trimming thread, continue to connect all 4 of the negative sides of the 4 LEDs with the same thread. Trim threads after all 6 components' negative connection points are connected via running stitch and overcast stitches.
    3. Connect each positive side of each of the 4 LEDs to one of the numbered points on the LilyTwinkle. Do not sew these threads across any other threads! Each of these lines needs to be cut & trimmed in between connecting another LED.
    5. Follow diagram to connect appropriate points.
    How To: Make a Twinkly Light Up Wristband with 4 LEDs

  5. Insert battery, matching positive end to positive side of holder. Lights should twinkle on an off.
    6. Insert battery, matching positive end to positive side of holder. Lights should twinkle on an off.

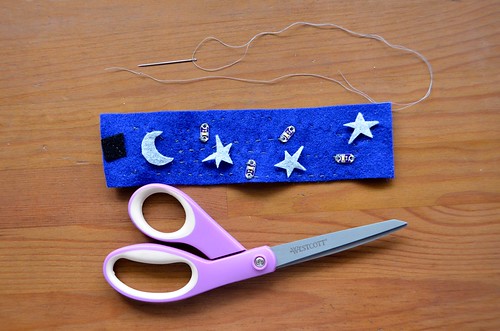
  6. Remove battery before attaching wristband decorations with non-conductive sewing thread.
    I used stars and a moon. Maybe you could do flowers? Or an Xmas tree or Menorah?
    7. Remove battery before attaching wristband decorations with non-conductive sewing thread.

  7. Done!
    Completed Decorated Twinkly Felt Wristband with 4 LEDs
    Completed Decorated Twinkly Felt Wristband with 4 LEDs
    Completed Decorated Twinkly Felt Wristband with 4 LEDs

Electronic Textiles How To: Sew a Light Up Wristband with Two LEDs (parallel circuit)

Wednesday, May 3, 2017

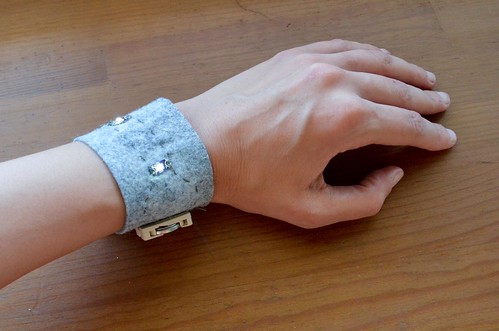
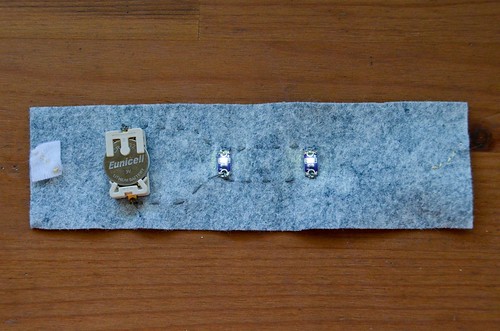
Completed Light Up Wristband with 2 LEDs
Sure, the two-light light up cuff above is rather plain, but with some added felt or embroidery, it can be dressed up in no time! I think some handmade felt flowers would really dress this bracelet up. These can be attached to your product when you're done with the electronics, using non-conductive sewing thread.

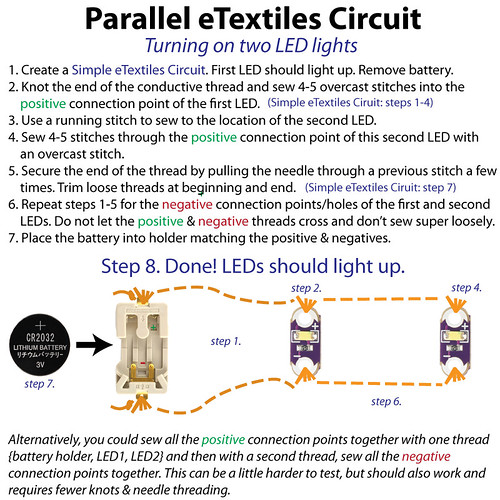
If you wish to turn your simple circuit light up wristband into a two-light wristband, follow the instructions in the illustration below. The step-by-step photo instructions follow the "alternative method" that saves a bit of time and knotting.

How To: Sew 2 Light Up LEDs to make a light up wristband
Electronic Component Supplies for eTextile Circuit Projects

Supplies for an eTextiles Parallel Circuit Wristband
As always, SparkFun.com is a great source for most of your supplies.
  • 1 CR2032 Coin Cell Battery (PRT-00338)
  • 1 sewable battery holder (DEV-08822 or DEV-13883)
  • 2 Lilypad LEDs (DEV-13903)
  • ~24"+ conductive thread - actual number depends on how far apart all your components are! (DEV-10867)
  • needle (small enough to fit through the connection point/hole) (TOL-10405)
  • craft scissors
  • felt wristband (or textile of some sort).
Supplies for Light Up Wristband with 2 LEDs in a Parallel Circuit

Before we begin...
It's usually wise to prototype your electronic circuit design using paper first: http://byov.blogspot.com/2017/04/etextiles-paper-prototype-before-you-do.html. Just cut out the pieces you'll be using from the paper (i.e., a battery holder and two LEDs), tape them down onto a piece of paper that resembles the necessary circuit layout, and then draw lines connecting the positive connection points. And then a line connecting the negative connection points. These represent two separate pieces of thread, and remember, they should not intersect!

I find it's often wise to test out my design with some alligator clips before sewing. Conductive thread is not easy to undo when something doesn't work. But unclipping an alligator clip is super fast ;)

Optional to test out design - Using alligator clips

  1. Make your felt wristband / whatever textile-based item you're sewing to
    1. 2 LED Light Up Wristband Supplies

  2. Knot end of thread, and thread needle with conductive thread.
    2. Knot end of thread, and thread needle.

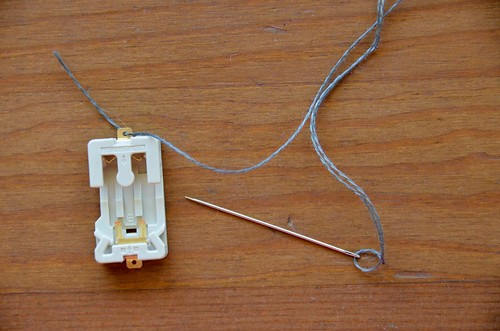
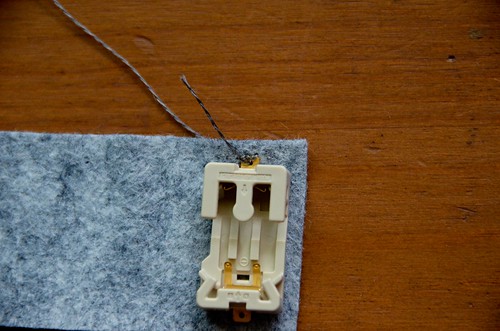
  3. Push needle from back to front of positive connection point on battery holder.
    3. Push needle from back to front of positive connection point on battery holder.

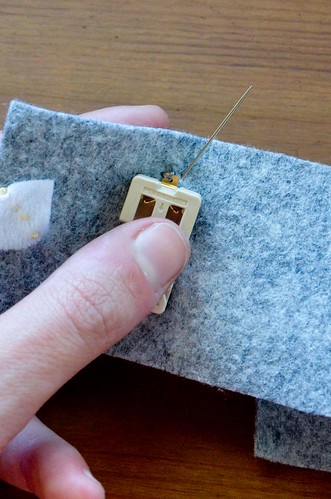
  4. Place battery holder in desired location. Push needle through fabric, near connection point. Then push needle back up through fabric, near previous stitch.
    4. Place battery holder in desired location. Push needle through fabric, near connection point. Then push needle back up through fabric, near previous stitch.

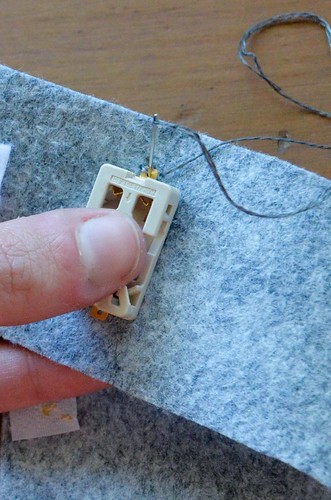
  5. Push needle back down through the positive connection point (overcast stitch).
    5. Push needle back down through the positive connection point (overcast stitch).

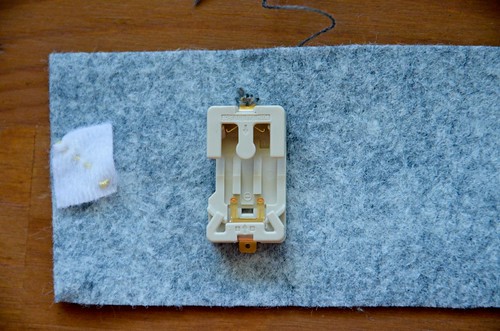
  6. Secure battery holder with 3-4 more overcast stitches to ensure a good connection.
    6. Secure battery holder with 3-4 more overcast stitches to ensure a good connection.

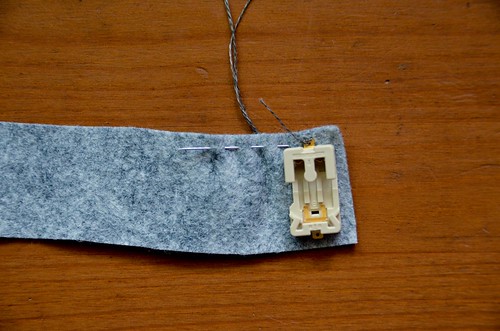
  7. Running stitch to first LED location
    7. Running stitch to first LED location

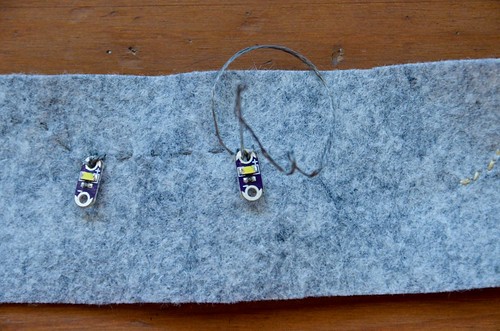
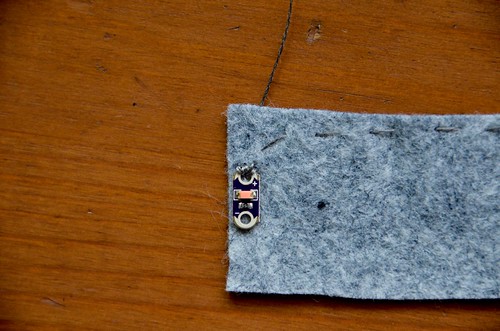
  8. Place LED in desired location, and push needle down through its positive connection point
    8. Place LED in desired location, and push needle down through its positive connection point

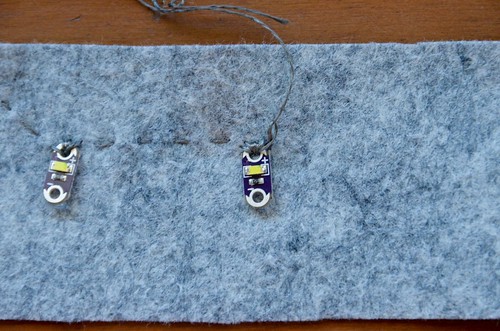
  9. 4-5 overcast stitches to secure first LED (i.e., repeat steps 4 & 5 a few more times)
    9. Running stitch to location of second LED

  10. Running stitch to planned location of second LED
    10.  Running stitch to location of second LED

  11. 4-5 overcast stitches through positive LED connection point on the second LED
    11. 4-5 overcast stitches through positive LED connection point

  12. Secure thread by running through a few previous stitches (preferably on the back of work, though this photo shows the front)
    12. Secure thread by running through a few previous stitches (preferably on the back of work, though this shows the front)

  13. Trim thread ends.
    13. Trim thread ends.

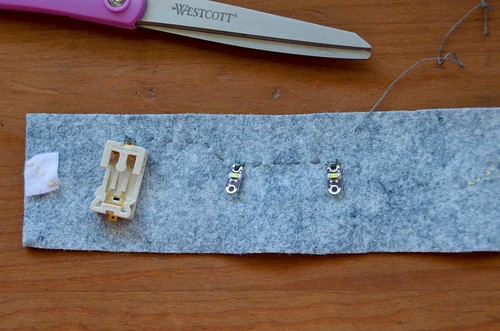
  14. Repeat steps 2-13 for the negative connection points of the battery holder and the two LEDs.
    14. Repeat steps 4-13 for the negative connection points of the battery holder and the two LEDs.

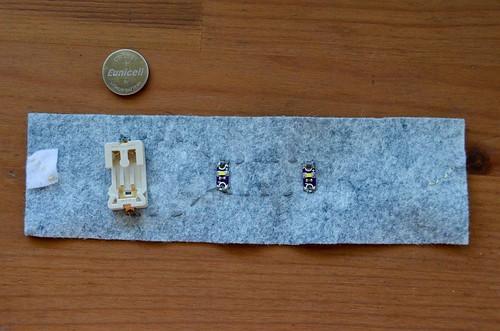
  15. Place coin cell battery into holder, matching the positive end with the battery & holder. Two LEDs should alight.
    15. Place coin cell battery into holder, matching the positive end with the battery & holder. Two LEDs should alight.

  16. Done! Remember to remove coin cell battery if adding any decorative elements at this point!
    Completed Parallel Circuit Wristband with Two Light Up LEDs

Electronic Textiles How To: Sew a Light Up Wristband with One LED (simple circuit)

Wednesday, April 26, 2017

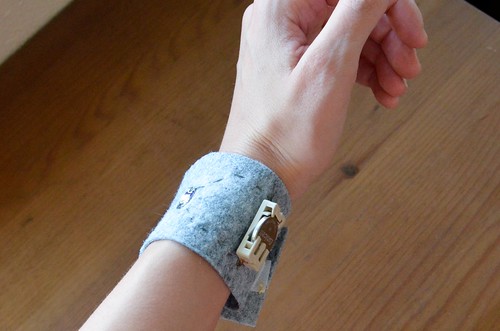
Completed light-up felt wristband with one LED

Yes! Now we make a light up wristband or light-up bracelet or whatever with one light!
If you've read through the eTextiles Tips & Tricks and know how to knot thread & thread a needle, and have your hand-sewn felt wristband, then you can begin! Even if you don't have a felt wristband, you can do this project with a random piece of fabric, or a belt, or a hat, or something. You really do, however, need to know the eTextiles Tips & Tricks and how to knot thread & thread a needle.

How To: Make a Simple eTextiles Circuit (lights up one LED)
The short instructions are in this image above, but you can also go through step-by-step with the photos below. You'll need some supplies first.

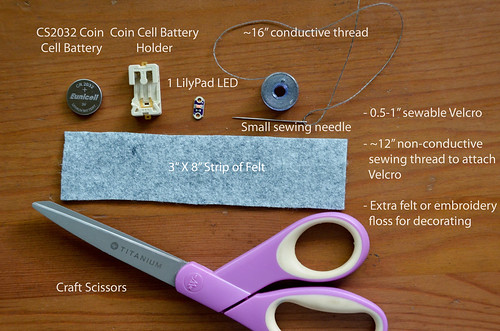
1. Supplies for lighting up one LED

Supplies for the Light Up Wristband with One LED
  • 1 CR2032 Coin Cell Battery (PRT-00338)
  • 1 sewable battery holder (DEV-08822 or DEV-13883)
  • 1 Lilypad LED (DEV-13903)
  • ~16"+ conductive thread (DEV-10867)
  • needle (small enough to fit through the connection point/hole) (TOL-10405)
  • craft scissors
  • felt wristband (or textile of some sort).
Electronic Component Supplies for eTextile Circuit Projects

Before you begin...
It's usually wise to prototype your electronic circuit design using paper first: http://byov.blogspot.com/2017/04/etextiles-paper-prototype-before-you-do.html. Just cut out the pieces you'll be using from the paper (i.e., a battery holder and one LED), tape them down onto a piece of paper that resembles the necessary circuit layout, and then draw lines connecting the positive connection points. And then a line connecting the negative connection points. These represent two separate pieces of thread, and remember, they should not intersect!

If you've got some alligator clips, it's often nice to test out your design to ensure everything works before you sew it to fabric. I've discovered dead batteries this way ;)

Alligator Clips are great for testing out designs.

  1. If you're doing a fancier design, you may wish to mark where the LED & battery holder should be sewn.
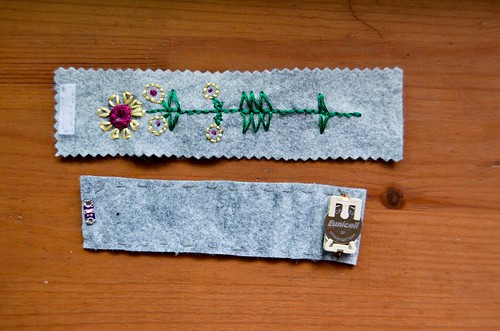
    I'm going to attach my components-felt to a fancier embroidered wristband. I'll cut a tiny hole in the main flower so that the LED can shine through. But first I have to figure out where to place the LED on my plain felt.

    You can also just sew your electronic components directly to the felt wristband, too. They'll just be a bit more obvious.
    2. For fancier designs, mark where you want your LED to be placed.

  2. Double pretzel knot the thread end & thread your needle
    Instructions for starting your hand-sewing: How to knot thread and thread a needle.
    4. Thread the needle with the other end.

  3. Push needle through positive end of battery holder, back to front.
    5. Push needle through positive end of battery holder, back to front.

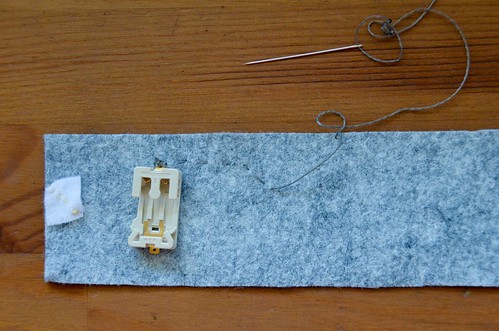
  4. Place battery holder in desired location, then push needle through the fabric.
    6. Place battery holder in desire location, then push needle through the fabric.

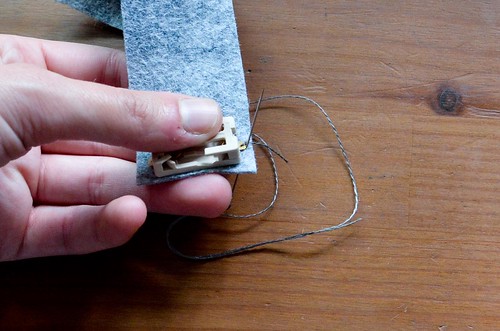
  5. Push needle back up through fabric, close to previous stitch. Then push needle down through the hole in the metal connection point.
    7. Push needle back up through fabric, close to previous stitch. Then push needle down through the hole in the metal connection point.

  6. Repeat steps 5&6 four or five times for a secure connection (i.e., this is the overcast stitch)
    8. Repeat steps 6 & 7 four or five times for a secure connection (i.e., overcast stitch)

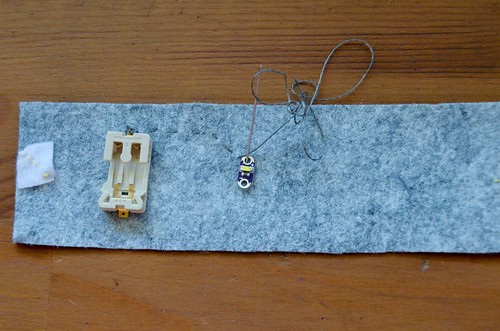
  7. Use a running stitch to sew to desired location of the LED
    9. Use a running stitch to sew to desired location of the LED

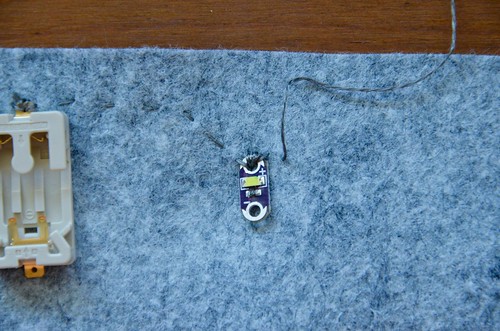
  8. Use the overcast stitch from steps 5 & 6 to secure the positive connection point of the LED.
    10. Use the overcast stitch from steps 6 &7 to secure the positive connection point of the LED.

  9. Secure the end of the thread by pushing the needle through a few previous stitches, preferably on the back of the work.
    11. Secure the end of the thread by pushing the needle through a few previous stitches.

  10. Trim any loose thread ends.
    12. Trim any loose thread ends.

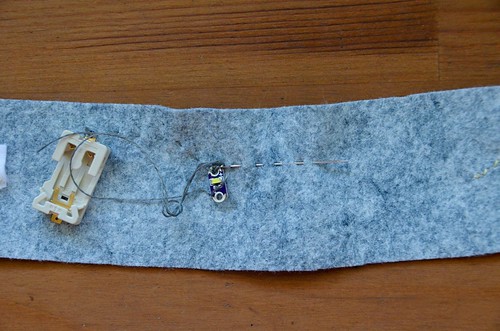
  11. Repeat steps 3-12 for the negative side of the battery holder and LED.
    13. Repeat steps 2-10 for the negative side of the battery holder and LED.
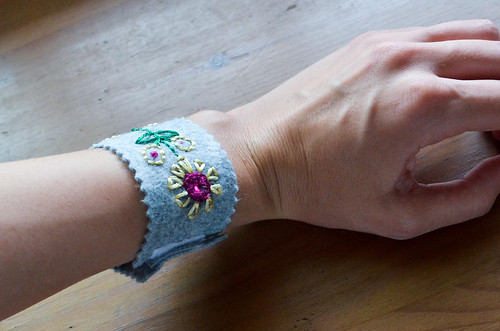
  12. Place the coin cell battery into the holder, matching the positive end to the positive side of the holder. The LED should turn on.
    14. Place the coin cell battery into the holder, matching the positive end to the positive side of the holder. The LED should turn on.

  13. (Optional) If you have a fancy cover for your wristband, you should cut a hole in the fancy felt where you want the LED to shine through.
    If you have a fancy cover for your wristband, you should cut a hole in the fancy felt where you want the LED to shine through.

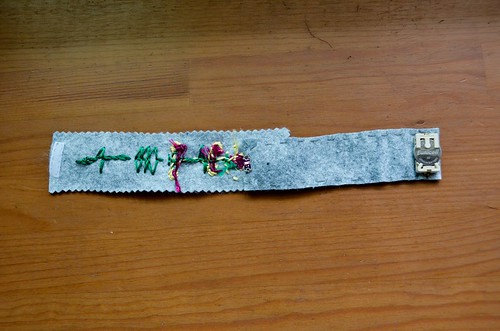
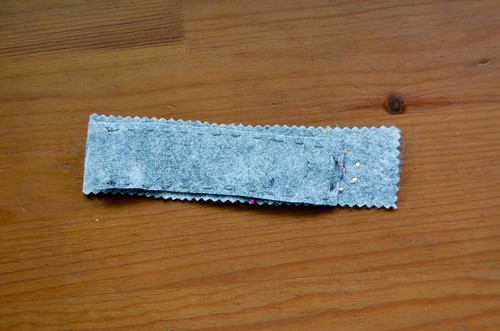
  14. (Optional) If you have a fancy cover for your wristband, you can attach the circuit felt to the cover felt, using non-conductive thread.
    Be sure to remove the battery when sewing, so that the conductive threads don't touch as you sew with your non-conductive thread!
    If you have a fancy cover for your wristband, you can attach the circuit felt to the cover felt, using non-conductive thread.
    If you have a fancy cover for your wristband, you can attach the circuit felt to the cover felt, using non-conductive thread.

  15. Replace the coin cell battery and you're done!
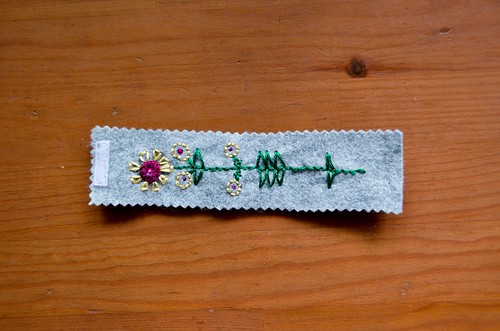
    Completed light-up felt wristband with one LED