

Wednesday, July 29, 2020
When cool-loving vegetables encounter too much heat they "bolt" or grow really tall with a bunch of flowers that eventually dry out and turn to seed. Around here, we'll pull out a couple of the plants once they start bolting, but we'll save some of our favorites to collect the seed. Mache, lettuces, and arugula are some big contenders. This year I'm also attempting radish. Fun fact - fruit that contain seed, such as squash and beans are pretty easy to collect seed from, too. For peas/beans, you just let a few pods dry on the vine and then store. For squashes, I just pull the seeds out of their guts prior to eating, clean, and then store. Zucchini/cucumbers will likely require you to let the fruit age on the vine a bit longer to allow their seeds to mature. Tomatoes are a little more intensive (i.e., you need to ferment the seeds). For garlic, you just plant the individual cloves. Onions go to seed their second year of life, and work best with fresh seed (easiest to just purchase it). But if you're a little savvy, you can pretty much collect almost all your own seeds from your garden, and save the $20/year!
- Allow plant to grow tall, lanky, and have flowers

- These flowers may form into seed pods. If they're green, it's too early to harvest the seed!

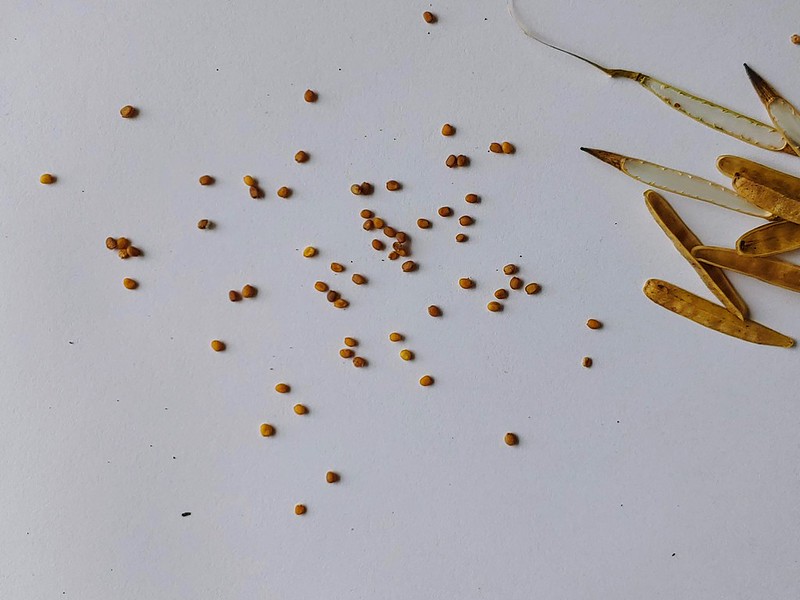
- Wait until the seed pods and browned and dried out, and ready to burst open easily (much seed will likely end up on the ground and some will regrow for next year/season. This is a desirable thing for my arugula and mache, for me)

- Bust open the seed pods over some paper or an envelope or container of some sort
- Keep going until you have enough seed for yourself and some friends for the next season! Sometimes, you might have to wait for more pods to dry out so this ends up being a multi-day process.

- Label seed envelope, discard the pod husks (compost!)

- Store your seeds. I use big jars in my fridge with lots of silica gel packs to extend the life of my seeds across many years.


0 comments:
Post a Comment