

Sunday, April 11, 2010
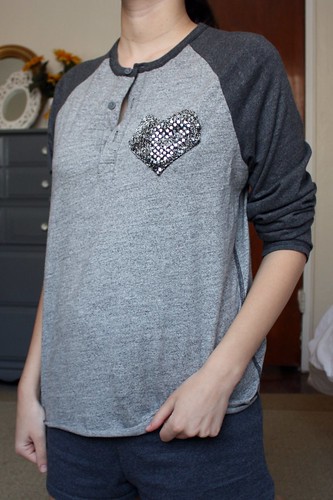
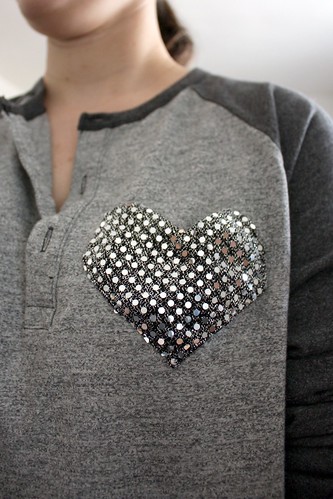
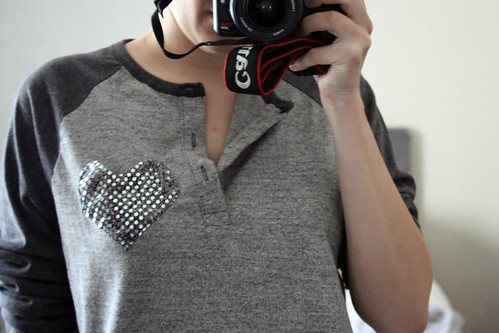
Inspired by a $120 'Son of John' pocket T-shirt, I decided to make one myself, and instead paid approximately $10 and two hours of time.
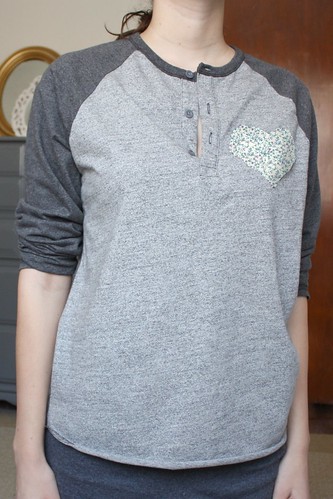
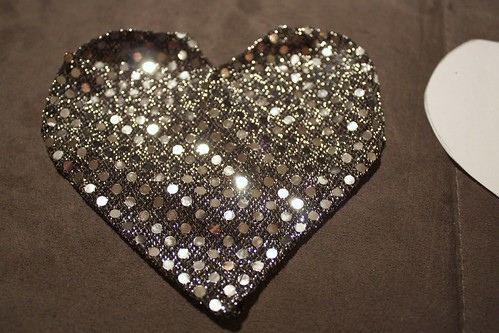
You can see from some photos of the Son of John fashion line that the pockets are typically rectangular and made of sequined fabrics. I switched up the shape with a heart, and I think the effect would've been equally cute with some ditsy floral fabric instead of the confetti dot.
Resources:
- City Sage: Playing Hookey with Son of John
- Son of John Spring 2010 Collection
- Purchase Son of John Fashion at the National Jean Company
Step 0: Materials
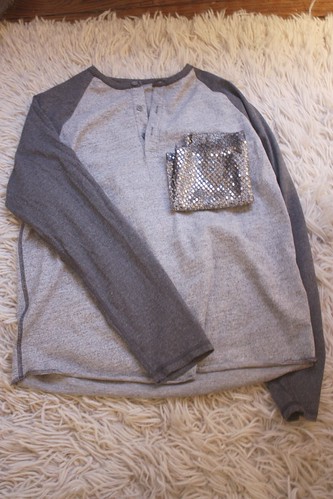
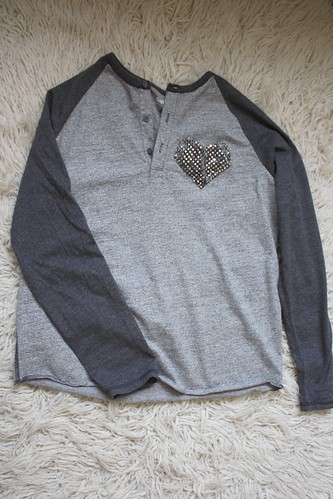
Materials: Washed T-shirt (or in this case, a men's baseball henley on sale from The Gap), Sequined/Decorative Fabric, Needle, Thread, Scissors, Pins
Optional: Embroidery Hoop (Makes life easier), Pencil + Shape Template (for a non-rectangular pocket), Fabric Lining (for your flimsy decorative fabric).
Be careful what decorative fabric you use, as many are not machine-washable. I'm pretty sure my chosen confetti dot fabric will disintegrate in the wash, then I'll have to hand sew sequins to the pocket!
Additionally, this project might look equally awesome with a dainty floral print instead of sequins, as pictured above.
Step 1: Trace Pocket Shape Onto Paper and Cut
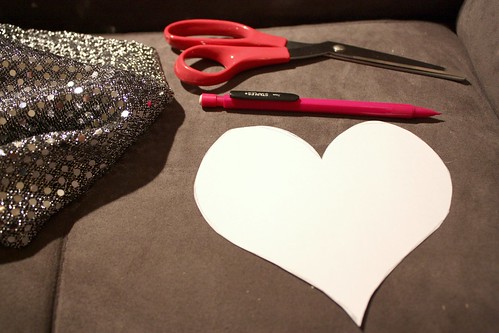
Trace out your pocket shape onto paper and then cut from the paper.
You could do something simple, like a rectangle, or something a little trickier like the heart above.
Step 2: Pin Paper Shape to Decorative Fabric And Cut Out
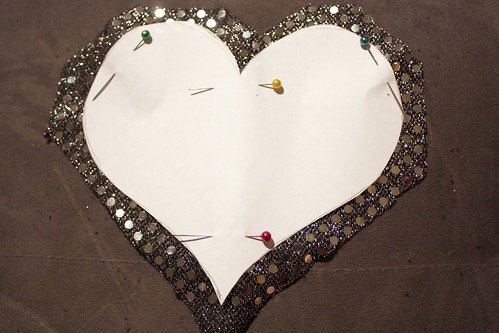
Pin the paper shape to your fabric, and then cut it out of the fabric, giving yourself an approximately 1/4"-1/2" around.
Step 3: Pin the Seam Allowance to the Wrong-side of the Fabric

Pin the extra fabric border to the wrong-side of the fabric, in preparation for sewing.
Step 4: Baste (Sew Loosely) Edge to Wrong-side of Fabric
Baste (Sew Loosely) the extra fabric edge to the wrong-side of the fabric. You might want to use a contrasting thread so you can remove the stitches later. No need to sew smaller stitches, as you'll be sewing over the basting in the next couple of steps.
Note: If you are not sewing a fabric lining to the shape, you should not baste. You should sew a normal running stitch (or use a sewing machine).
Step 5 (Optional): Cut Lining Fabric to Same Size as Basted Decorative Fabric
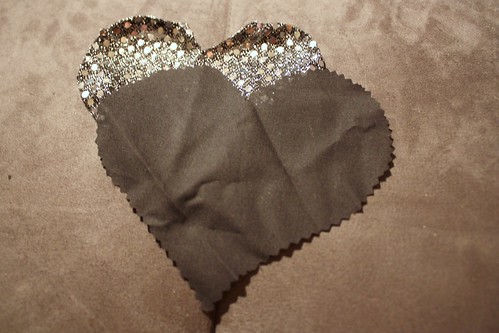
If your decorative fabric is sort of flimsy, you may want to cut out a lining fabric and do the next couple of optional steps.
Step 6 (Optional): Sew Right-sides of Decorative and Lining Fabrics, Leaving a 1 inch Hole
Pin and sew the right-sides of the decorative and lining fabrics together, leaving yourself a 1 inch hole somewhere in the seam (in the photo it's at the bottom of the heart).
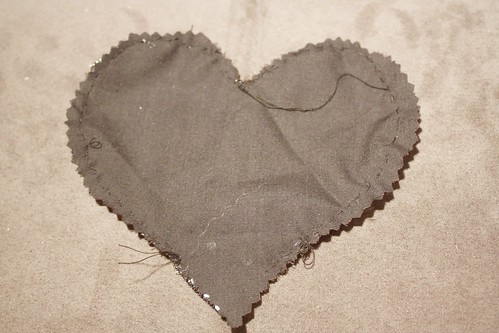
Step 7 (Optional): Flip Right-sides Out and Sew Hole
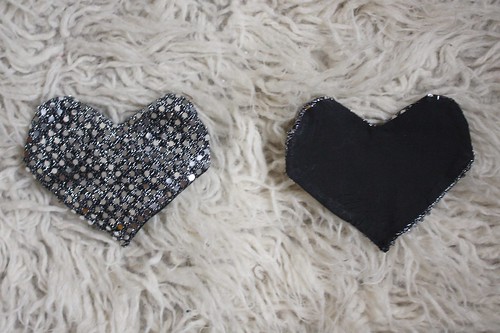
Using the 1 inch hole, pull the right-sides of the fabric to the outside. When you're satisfied with the shape, sew up the 1inch hole.
You may wish to iron the piece at this point. However, many decorative fabrics cannot be ironed, so you can quickly (and on a low heat setting) iron the piece with the lining fabric side up.
Step 8: Put Embroidery Hoop in Place and Pin Shape
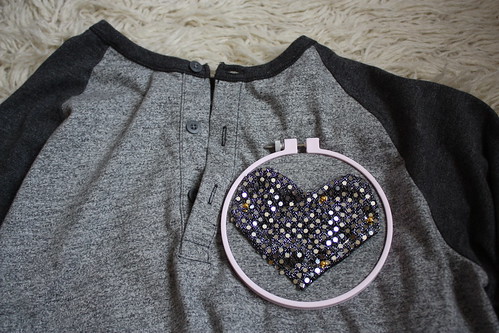
Through some putting on and taking off of the shirt, figure out where you want to place your pocket. Put the area into an embroidery hoop (or use some water-soluble stabilizer, to prevent the shirt from stretching). Pin the decorative pocket shape to the fabric in the embroidery hoop.
Step 9: Sew Shape to Shirt, Leaving a Pocket Opening at the Top
Sew the edges of the shape to the shirt, being sure to leave an opening for the "pocket" (unless you don't want a true pocket...).
You may wish to double or triple sew the bottom of the pocket for extra sturdiness.
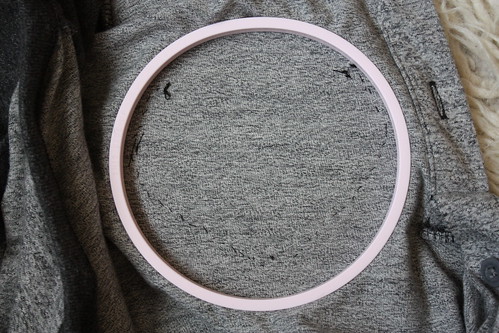
Step 10: Remove the Embroidery Hoop and You're Done!
Loosen the embroidery hoop, remove, and you're done!


0 comments:
Post a Comment