Saturday, August 28, 2010

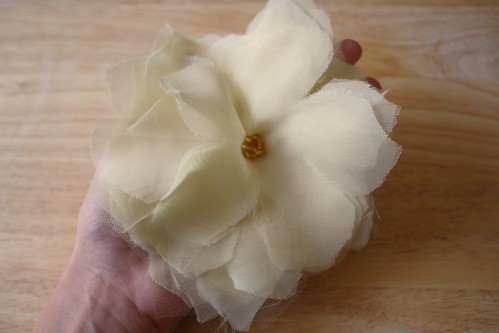
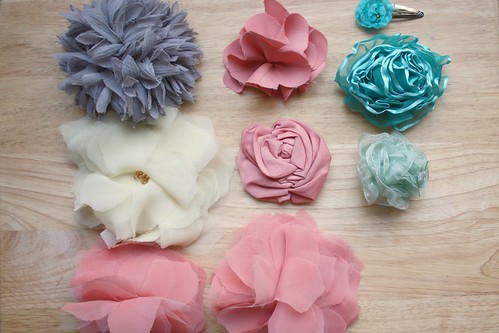
My favorite fabric flower tutorial I've done so far. This is simple to assemble, is big and floppy, and looks great in lots of colors. However, the chiffon has a tendency to fray- not really sure if there's anything to be done about that.
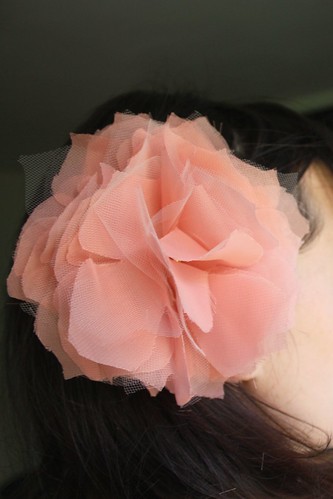
Original tutorial is from Project Wedding.
Step 0: Gather Materials
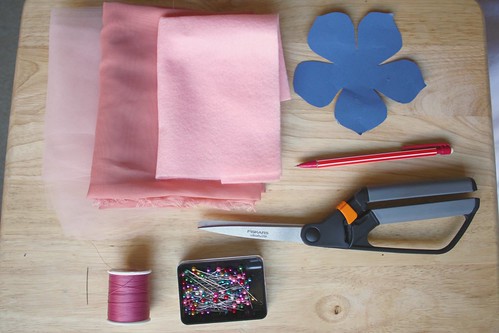
Materials: 1/4 yd tulle, 1/4 yd chiffon, small piece of felt, paper flower pattern (below), scissors, thread+needle, pins, and embellishment (I used a handful of gold seed beads).
Note: 1/4 yard of tulle + chiffon will actually make two 5" flowers (from this tutorial) or one thicker flower.
Step 1: Fold Chiffon
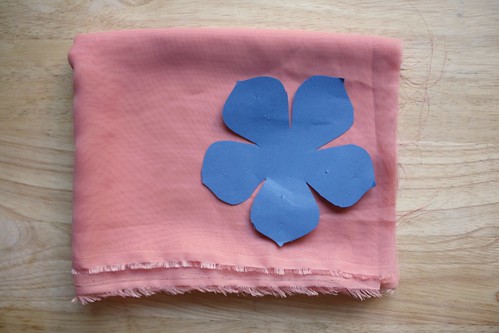
Fold the chiffon slightly larger than the flower pattern (I should have folded the width into thirds here).
Step 2: Pin the Pattern to the Folded Chiffon
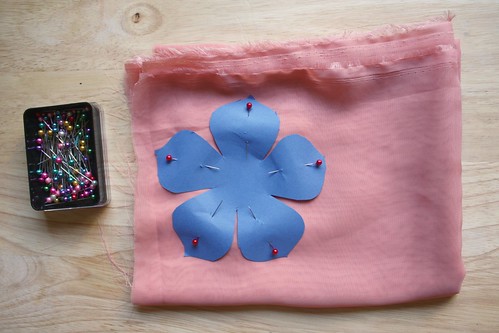
Pin the flower pattern to the folded chiffon. I recommend using at least one pin per flower petal. The fabric gets awfully floppy when you start cutting.
Step 3: Cut the Chiffon in Pattern
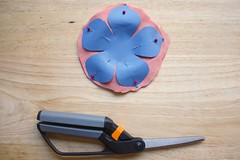
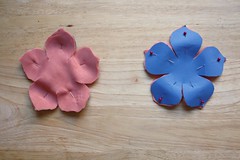
Going around the pattern with your scissors, cut the flower shape from the folded chiffon.
The trick for this step is to have really sharp scissors. If you don't, then try only cutting some of the fabric at once, instead of all of it at one time.
Step 4: Repeat Folding/Pinning/Cutting with Tulle
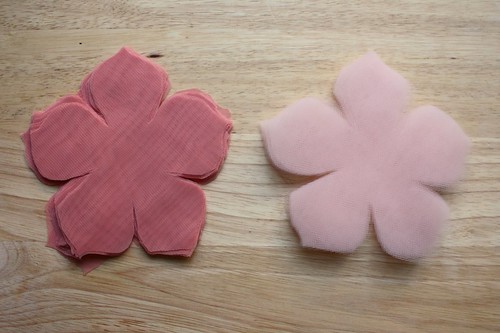
Repeat steps 1-3 (folding, pinning, and cutting) for the nylon tulle. You should have two little piles of fabric flowers, as shown.
Step 5: Alternate Tulle/Chiffon in a Stack
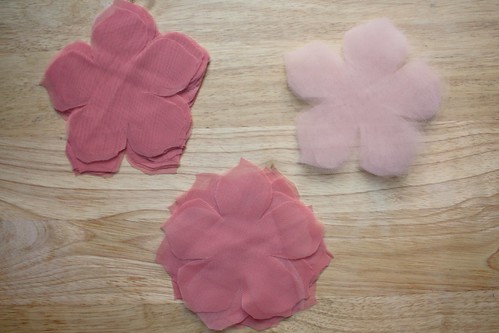
Create a stack of tulle/chiffon flowers, keeping the centers in the same spot, but changing the direction of the petals. You should also alternate chiffon and tulle as you layer.
A flower needs to have at least 10 chiffon layers and 10 tulle layers. More than this will just make a fluffier flower, which is good if you like it that way :)
Step 6: Secure the Middle of the Stack by Sewing
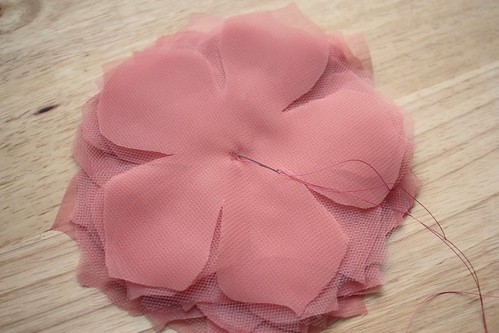
Sew a couple stitches in the middle of the chiffon/tulle stack, just to prevent the layers from sliding around.
Step 7: Pinch Flower Middle and Sew
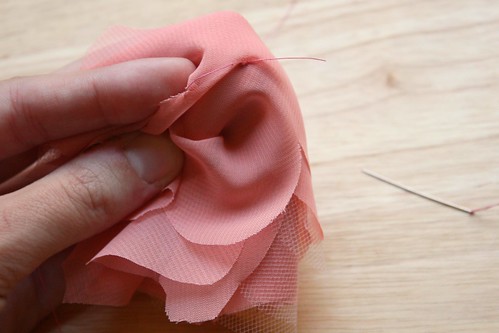
Pinch all the layers of the flower in the middle. This will form a little wad of flowers with the bunched center on one end, and all the flower edges/petals on the other. Secure the shape with 5 or so stitches through the bunched center.
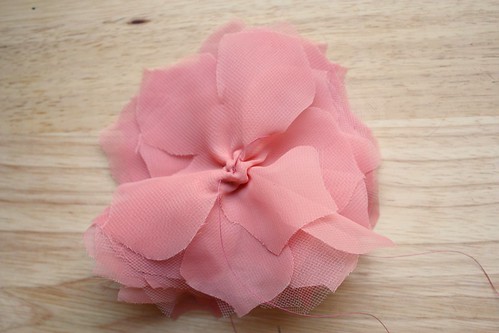
This step will make the flower poofier, like a more natural flower.
Step 8: Sew Embellishment to Top Center of Flower
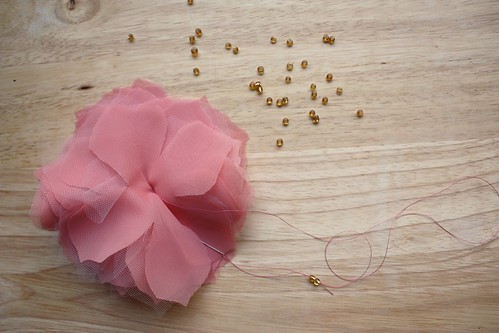
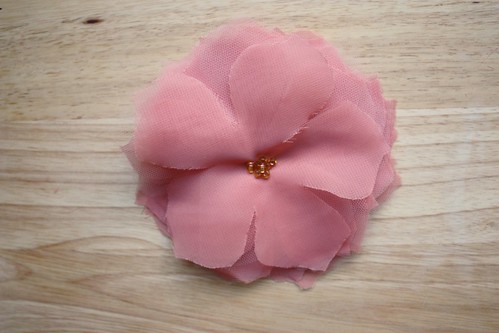
Flip the flower over (to the non-bunch-sewn side) and sew your embellishment to the center of the top flower layer. I used a handful of gold seed beads, but you could use a fancy button or a large decorative bead.
Step 9: Attach a Small Piece of Felt to the Back of the Flower
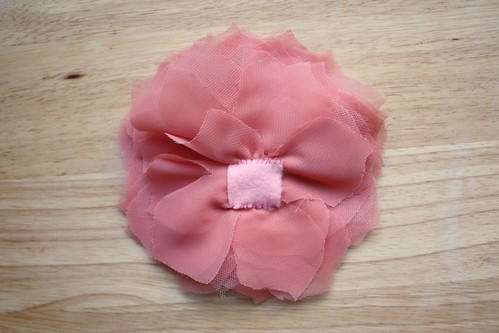
Attach a small piece of felt to the back of the flower by sewing two sides of the felt. Be sure to sew through a couple layers of chiffon/tulle so it's secure.
This will give you a spot to thread a hair clip through so you can pin the flower in your hair or on a shirt.
Step 10: Done!
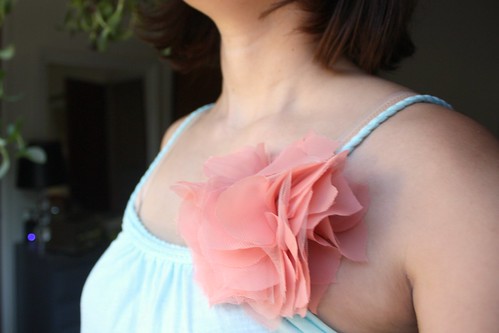
Thread a hair clip through the piece of felt, and attach the flower to your favorite outfits! You're done!


5 comments:
This is lovely! Love the colors you chose - so pretty!
Thanks, Carlotta! I really really like these flowers!
You're so crafty! These are adorable!
And, I loved your wooden spoon to JC shoes analogy haha definitely puts my frivilous spending into perspective :)
THANK YOU SO MUCH! I was struggling trying to make a chiffon flower for my ring bearer pillow and I wasn't having any luck. I followed your instructions and it came out PERFECTLY!! Thank you for the help!
I'm glad to be of help!
Post a Comment