

Friday, August 27, 2010

I'm on a roll. A fabric flower tutorial roll. This one I made up myself, after looking at some other flower tutorials involving melting the edges of synthetic fabrics. Yes. We're playing with fire and making flowers at the same time. Life is pretty good.
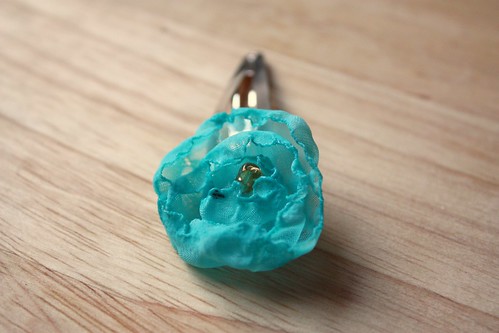
This is actually my least favorite of the flowers I've made, but tomorrow I'll reveal my absolute favorite!
Step 0: Gather Materials
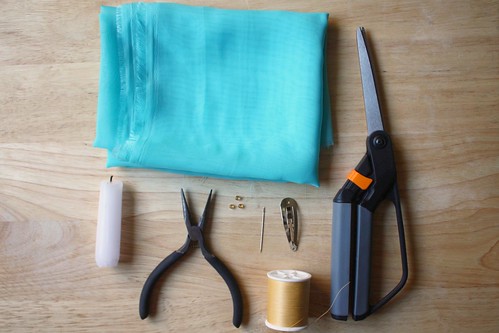
Materials: Chiffon or some synthetic fabric (polyester, polyester linings, satin, etc), scissors, needle+thread, embellishment (a few gold seed beads), pliers/tongs, and candle+candlestick.
Step 1: Cut Small Circles of Fabric
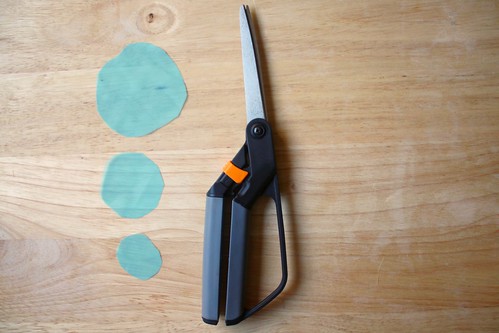
I cut three small circles of chiffon, the largest circle is around 2 or 3 inches in diameter.
Step 2: Light Candle
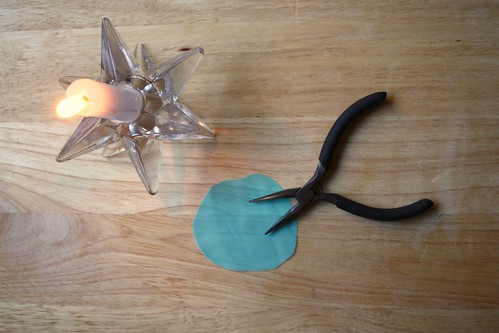
Light the candle in the candlestick. Have your fabric circles and pliers (or tongs) ready.
Step 3: Melt Edges of Fabric Circle
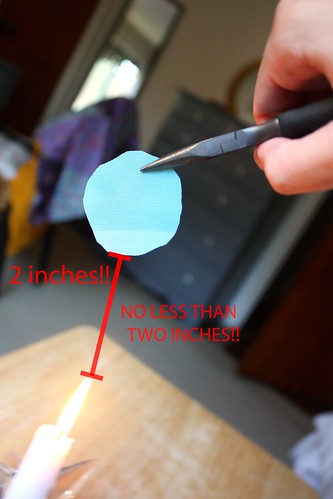
Using your tongs to hold the fabric circle (so as to not burn your fingers), place the circle at least 2 inches above the candle flame. The closer you get to the flame, the more likely it is to melt a hole in your fabric.I am not responsible for you lighting your house/apartment on fire during this step. Please practice responsible fire safety!
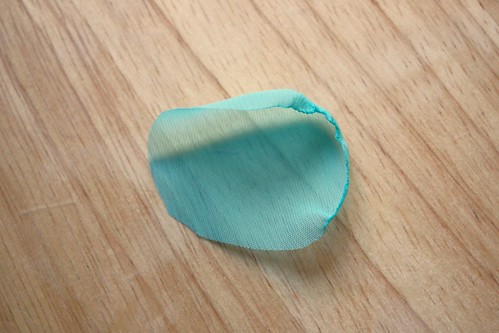
Step 4: Continue to Melt Entire Edge, and Make More Circles!
Continue to melt the entire edge of the fabric circles by removing the fabric from the flame, then carefully repositioning the circle in your pliers.
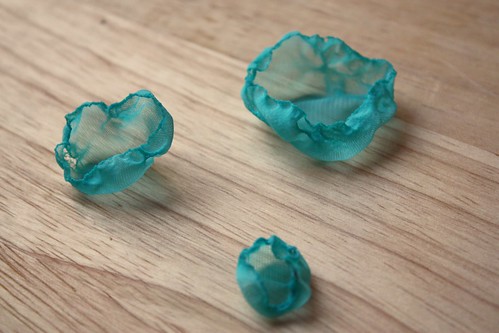
When one chiffon circle is done, continue with the others until satisfied!
Step 5: Sew Fabric Circles Together with Embellishment
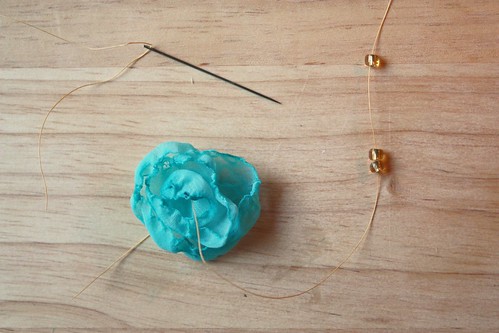
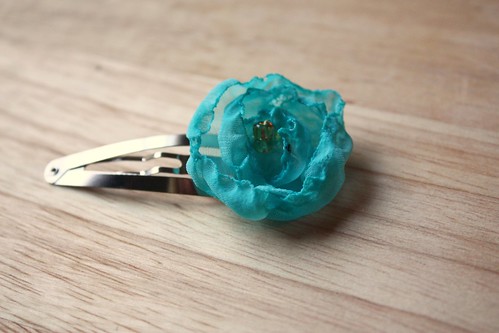
Sew your fabric circles together, with the smallest ones nested in the larger ones. You may also wish to add your embellishment to the center of the smallest circle at this time.
Step 6: Attach Flower to Hair Clip
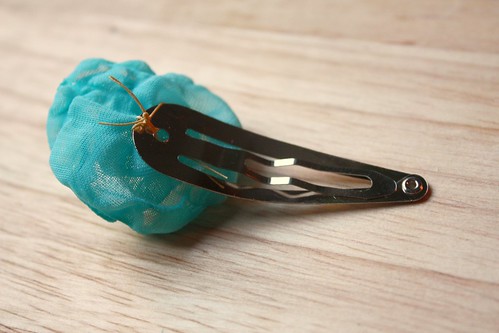
Sew the flower to a hair clip and secure the thread ends.
Step 7: Done!


3 comments:
I like that one! And I got to see a bit of your face:) I'm starting to be able to piece you together:)
Haha, yeah, I like to keep myself semi-anonymous, but every once and awhile I let a photo slip, heh.
I might try this out just to test out your 2 inch rule with the candle. haha, see how close I can get it with out bursting into flame!
Post a Comment