

Friday, August 13, 2010
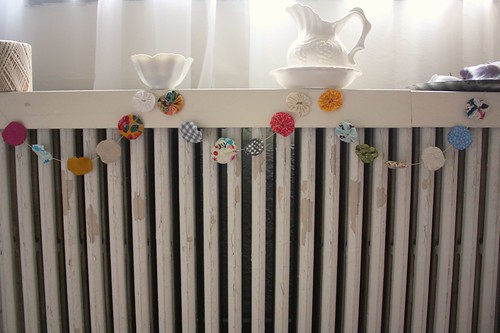
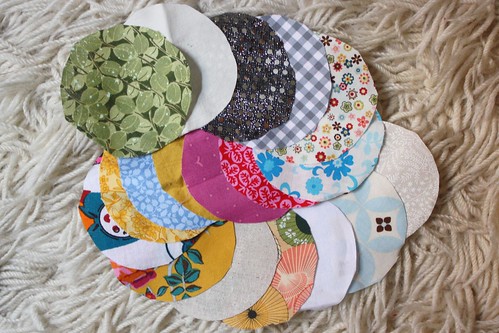
It's been awhile since I made yoyo magnets for my fridge (and since replaced them), but I've made some new fabric yo yos into a garland for my office on campus.

It's just a sweet and simple project to keep my hands busy. Fabric yo yos can be attached to various home decor items, turned into comforters, flowers, magnets, or this garland.
Step 0: Gather Materials
Materials for the Yo Yos: Assorted fabrics (pretty much any material, although my sequined yo yo didn't come out that great), Needle, Thread, Scissors, Pencil, and Circle Pattern (or Shape) to trace.
Materials for the Garland: Crochet Thread (or some strong string), and an Embroidery Needle.
Step 1: Trace Circle Shape Onto Wrong-side of Fabric
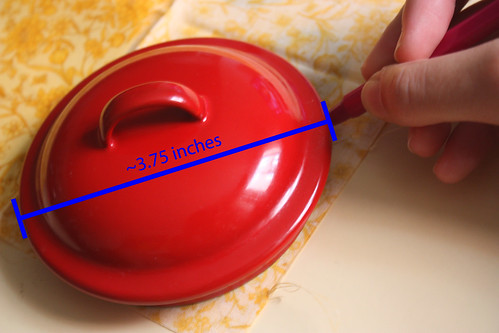
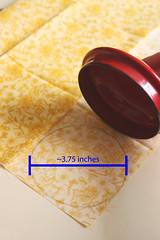
I used a canister lid, 3.75" in diameter to trace onto the wrong-side of my fabric. But you could use a jar, or a bowl, or a cardboard cut out pattern.
Step 2: Cut Out Fabric Circles
Cut around the circle shape you drew in the last step.
Step 3: Do a Running Stitch Around the Folded Edge
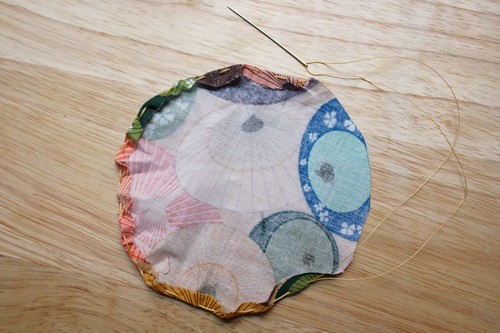
Fold a small (~1/4") edge around the circle of fabric as you do a running stitch around the edge.
Longer running stitches will make a smaller yoyo hole. Shorter stitches will make it larger. (I prefer longer running stitches).
Step 4: Pull the Thread and Squish the Center Down
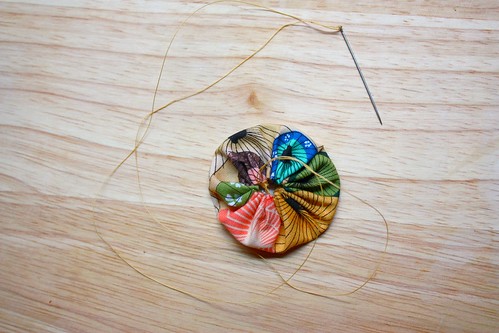
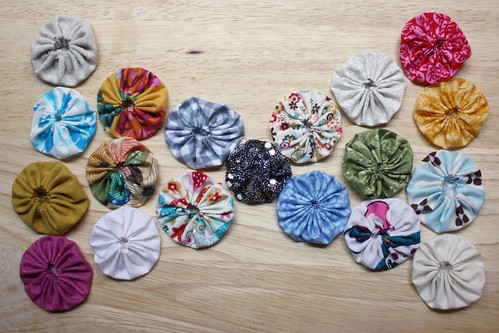
When you're done doing a running stitch around the entire circle edge, pull on the threads. This should gather the edges together. Simply press the yo yo flat, and it should look like the one in the photo.
Step 5: Secure the Thread Ends
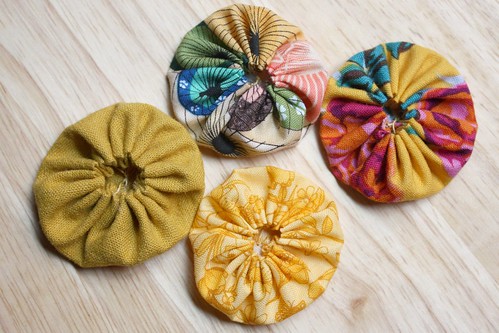
Secure the thread ends with a knot, snip the thread, and you're done the yo-yo.
Making the Garland

If you want to make a garland from yo yos, you need to make several yo yos, and get your thicker string + needle ready.
Step 6: Push the Needle Through the Yoyo
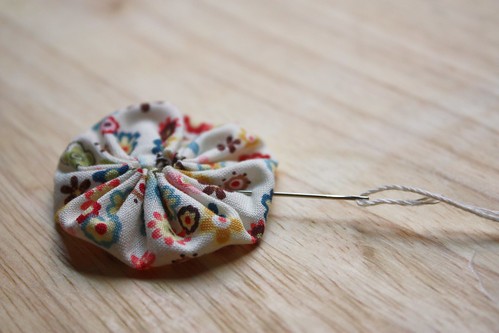
Push the needle and string through the yo yo as shown in the photo above.
Step 7: Keep Stringing on Yoyos
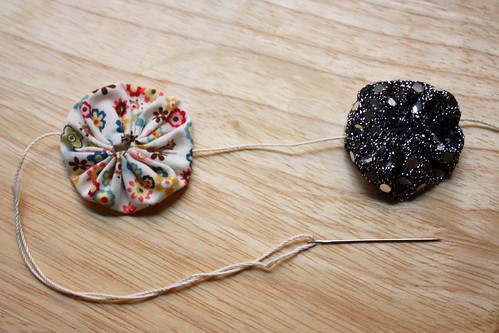
Keep stringing fabric yo yos onto the crochet thread until satisfied.
Step 8: Space Out Yoyos and You're Done!
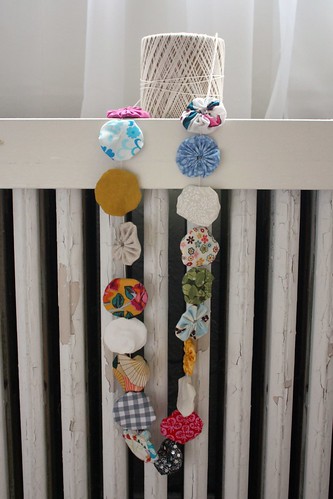
Spread the yo yos out on the string, and you're done.


0 comments:
Post a Comment