

Sunday, January 2, 2011
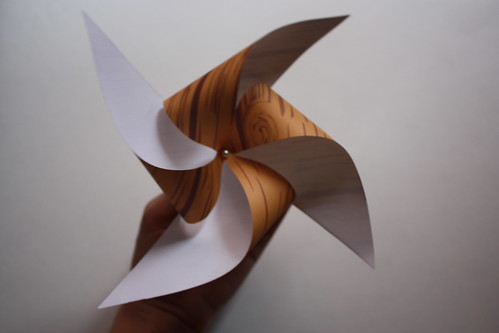
I made some pinwheels for a project: another, and the final, interactive electronics project. 'Thought I'd share the quick pinwheel tutorial, along with my project video, for some inspiration ;)
How To Make a Paper Pinwheel
Step 0: Materials
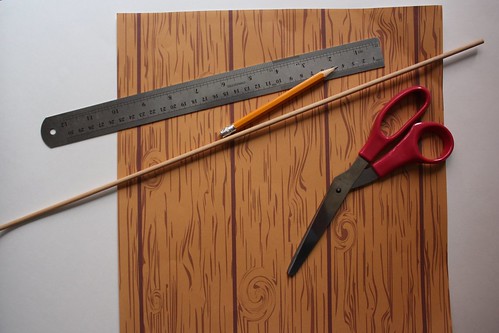
Square piece of paper, pencil, ruler, pin, and a dowel.
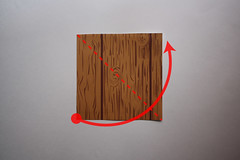
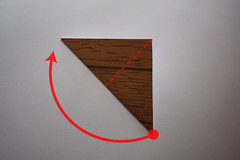
Step 1: Fold Square Paper in Half Diagonally, and Fold in Half Again
Step 2: Unfold the Paper, then Measure & Mark 2/3 of the way from Each Corner
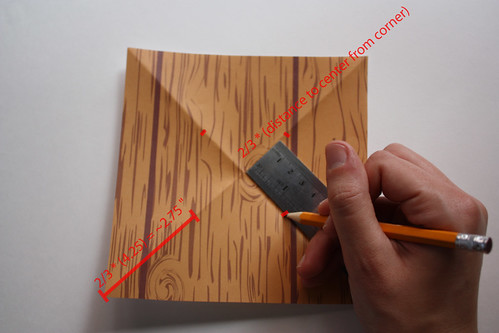
Measure the distance from a corner to the center of the paper, along a fold line. Then mark the paper, 2/3 from a corner towards the center. My corner-center distance was 4.25", so I marked (4.25*2/3 = )2.75" from the corner.
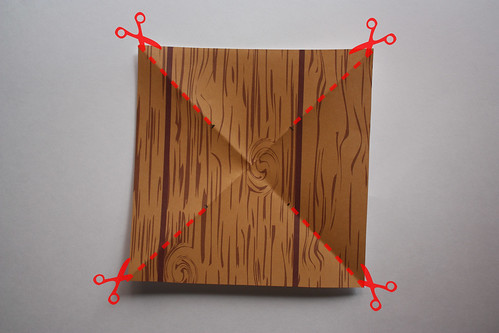
Step 3: Cut from Corner to 2/3 Mark
Step 4: Make a Pinhole in Every-Other Split Corner, and the Center
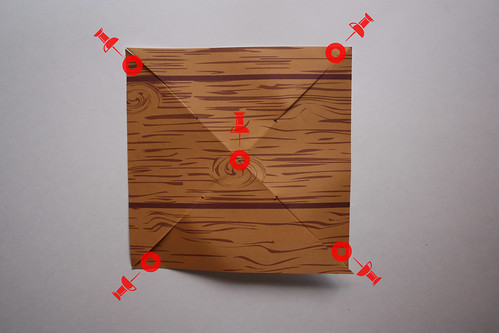
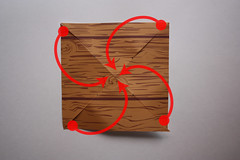
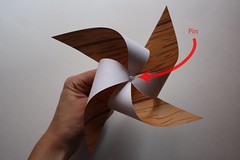
Step 5: Align all the Split Corner Pinholes Towards the Center, and Push a Pin Through Them
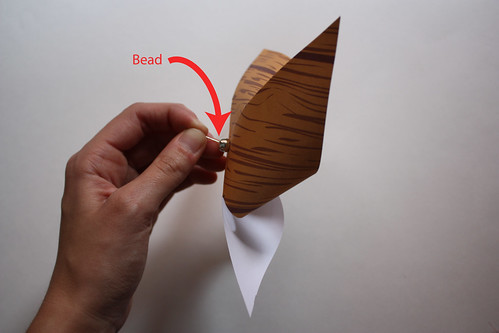
Step 6: Thread a Bead Onto the Back of the Pinwheel Pin and Attach to Dowel
Step 7: Done!
Now you may do with your pinwheels as you wish.! For my electronics project, I didn't add the bead or dowel, I just attached the pinwheel to a cardstock spool with some tape...and then I drew a bunch of illustrations (I'm a little bit addicted).


0 comments:
Post a Comment