Wednesday, December 19, 2012
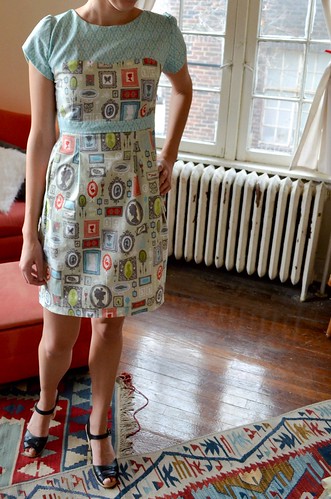
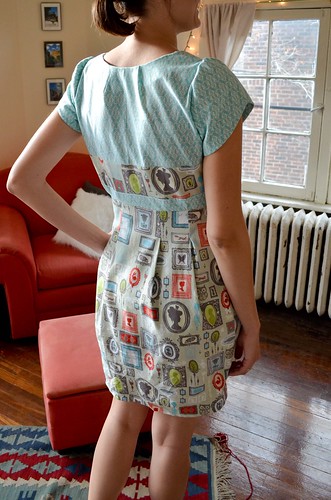
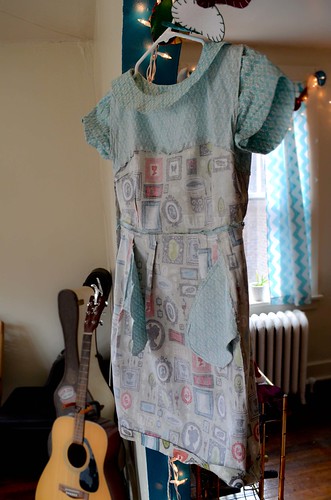
Welp. I've finished it. It took two muslins, a small bust adjustment (SBA), removal of back darts, 3/8" chopped off either side of the front yoke, and 1" added to the skirt length, but it's done. Colette Pattern's Macaron dress in Sarah Watts for Blend Fabric's Cushion & Dust Gallery in taupe and Keepsake Calico Fabric's Beloved Small Damask in sky. Pattern on pattern. I'm a walking wall exhibit!
This dress represents a lot of effort. Lots and lots of modifications to fit my frame, but I'd say it fits pretty well.
Fit - SBA
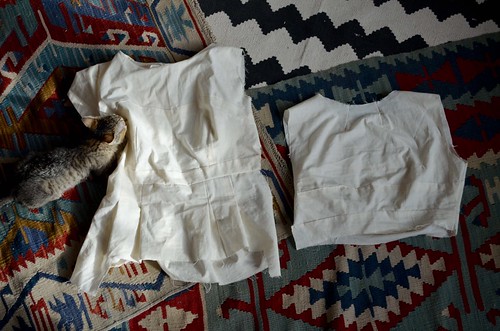
I knew from the buzz on the Internet that Colette patterns typically has a generous bust size, so I followed that lead and made a muslin in the size that would best fit me. The muslin made it obvious that I'd need to perform an SBA on this pattern, and seeing as I've never done one, I once again turned to the wise and mighty Internetz. However, there's not a whole lot of illustrated SBAs on the Macaron out there. So, I took Gertie's SBA on the Parfait dress, and (1) constructed a wearable paper pattern, (2) pinched out the excess, and (3) measured, just as she did. However, the Macaron has darts already, so instead of drawing in pretend-dart lines, (4) I just used the existing darts and cut along those, leaving a pivot hinge at the apex of the dart. (5) I overlapped the pattern the pinched out amount (divided by two) on either side of the darts, and taped. Instead of "smooshing" as Gertie does, (6) I simply retraced the outline of the front bodice piece. (7) Then, I redrew the darts using the existing points on the edge, but redrew the dart corners to end 2 inches from my bust apex, and to point towards the apex. (8) My second muslin proved that these modifications would make it nearly impossible to get the dress on, so I also made the 4 bust darts thinner without correcting for it in the width of the bodice pattern piece. (8) The height of the back bodice piece then needs to be shortened along the "lengthen or shorten here" lines, and the front midriff piece needs to be less wide (although this is easy enough to trim whenever).
So, basically in order to modify the front bodice pattern piece, I cut about 1/2" off of both the armhole and torso sides via a pinch & hinge method (making the hinge be along the original dart lines). Then, when I redrew the darts, I made both the armscye and torso darts 1/4" thinner, point to the bust apex, and end 2" from the apex. Then I needed to adjust the height of the back bodice to be (1/2" - 1/4" = 1/4") shorter, and the width of the front midriff piece to be 1/4" less wide. Somehow, despite redrawing the darts, they're end exactly at the apex instead of the 2" as intended. I suspect not pinching out the darts when redrawing was to blame. Too many adjustments!
It seems that an SBA really is similar to an FBA, but instead of spreading the pieces out at the pivot-hinge, you just overlap the amount necessary. Lazy Stitching's FBA on Macaron might be a good reference because of this. Just follow her tutorial, but overlap instead of spreading.
Fit - Yoke Width
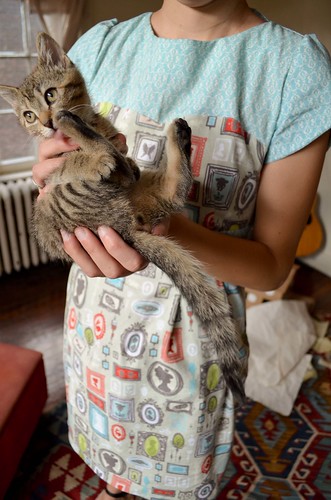
Upon getting the shoulder seams assembled and trying on my progress, I realized that the top yoke pieces were wider than I wanted, however, the shoulders and waist were the correct size so simply making larger inseams or considering a narrow shoulder alteration was rather out of the question. The extra poof was in the décolletage area and not the shoulders or the waist. I'm not sure there's a a Small Décolletage Adjustment...so I just drew a 3/8" mark on each of the armscye and used a ruler to follow straight down to the waist. Then I cut. In hindsight, this cut is probably why my front and back bodice pieces don't line up perfectly (cutting fabric off the sides prevents the bodice from sloping down to its shortest height). I'm not exactly sure how to avoid this in the future (because there WILL be a future endeavor). Probably by increasing the height of the back bodice while reducing the height of the back yoke an equal amount? Either way, this mismatch is safely hidden directly under the armhole.
Fit - Back Bodice Darts
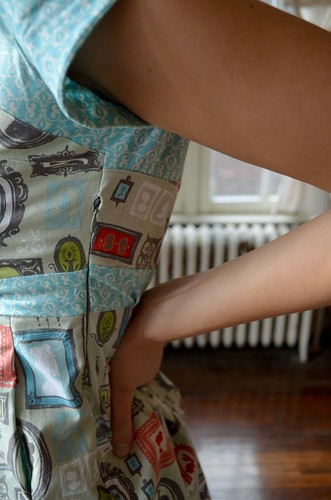
I am not the only one to notice that the back of the dress tends to poof out (see exhibits A, B, and C). When I tried on the piece, I realize there was a very localized poof around the bodice back darts. So, I undid the back midriff seam and removed the back bodice darts completely.
Fit - Back Midriff
There's also a general consensus around the web about the curved nature of the midriff pieces, and the trouble with matching up it can cause. I'm not sure if the back skirt was too narrow, or if my meddling of the back bodice darts caused it, or if it was just a symptom of the curved midriff piece, but my back skirt was way too small compared to the upper part of the dress. Once again, I was afraid to remove width in the waist as the fit was pretty much perfect, so I compromised and put in two tiny gathers (lined up with the back skirt's pleats) on the back midriff piece.
Construction - Invisible Zipper
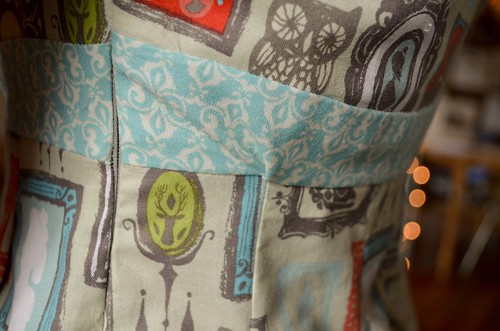
I used Sew Serendipity's installing an invisible zipper with a regular sewing foot tutorial and another tutorial from burdastyle to get my invisible zipper installed with a regular zipper foot. This way I didn't need to purchase a new foot. Huzzah! However, the tutorials are for a garment which is still completely unattached, so I had to do some extra finagling with the Macaron zipper installation, as it was already attached at the armpit. Fun times.
Construction - Matching Repeats
I was considering matching the repeats along the seam in the fabric's pattern, a la Sewaholic, but then realized that nearly all the cuts were curved. So there was little point. I could have matched the repeats where the front and back bodice pieces meet, but that happens hidden underneath the armhole and probably would have gotten lost with my 3/8" cutting of the front piece anyways. Next time?
What I Learned
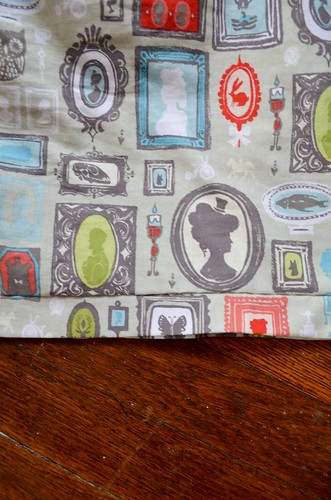
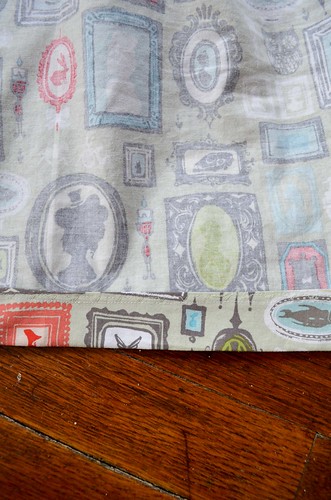
I had never inserted an invisible zipper before (or even used the zipper foot on my machine), and the blind hem & adjustable blind hem foot were also new to me. I finished all the raw edges, either with French seams, or mock French seams, or a zig zag stitch (when the bulk of the French seams was too much, like on the bust). My Design-It-Yourself Clothes book was getting all preachy at me to finish my seams, so I went ahead and tried it out. 'Looks better than unfinished.
Future Work
I really like All Dressed Up and Nowhere to Go's Macaron version, with lace overlay and a circle skirt. Hello Autumn has a similar version that doesn't have a midriff piece and only has the lace on the yoke. Lazy Stitching lengthened the sleeves and added a cute cuff, although the original sleeve is also pretty darn cute. And I already have the fabric for a Macaron shirt, like Emma's Favourite Things.


4 comments:
Wow. Not only is it impressive that you MADE that but it's also a REALLY cute dress. I would buy that dress. And I luuuurve that you included pockets. Every dress should have pockets!
Oh my word, this is so cute! Great job!
Very nice! I love the main fabric!
I've been contemplating buying that pattern but just haven't jumped on it yet.
I think I'm sort of taking a sewing hiatus for a couple weeks... I just finished a couture dressmaking class and I've had my fill for a while.
Oh yea. The kitten is adorable as well.
A very pretty looking dress but goodness, that is so much work! I hope it was a really fun process.
Post a Comment