

Wednesday, July 24, 2013
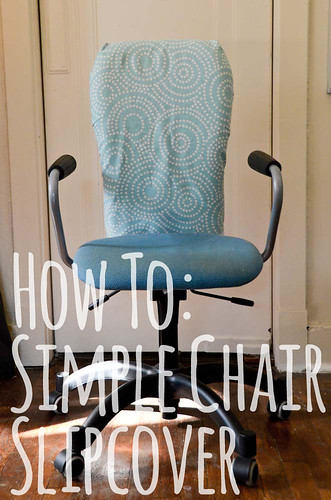

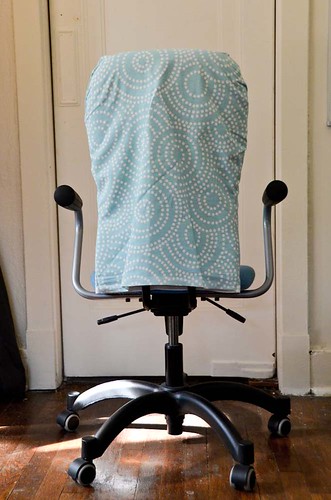
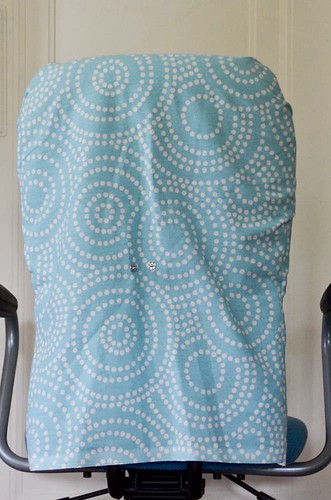
While we're still on the topic of cat-proofing, let me introduce an easy slip-cover that I'm using to replace the sad chair toupee in the image above. Because. First the cat decided that climbing up the back of my Ikea Nominell chair was tons of fun. And then the cat discovered that a furry chair hat is actually a fun toy as well. So now we're trying a simple home decor slip cover. It's easy enough that if the cat destroys it too, then it doesn't matter very much. And yet with the right fabric choice it is still pleasing to the eye. Moreso than a chair toupee, anyways.
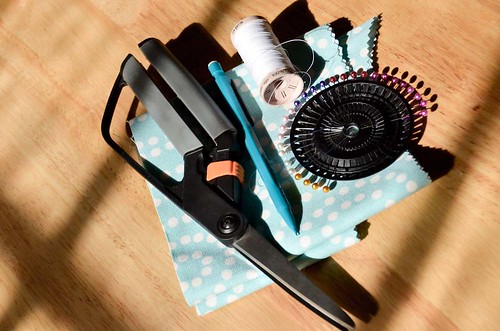
Step 0: Gather Supplies
You'll need: enough fabric to cover your chair top (I used 3/4 yard 45"-wide home dec fabric), scissors, a pencil, needle & thread (or sewing machine), and some pins. (And an optional snap).
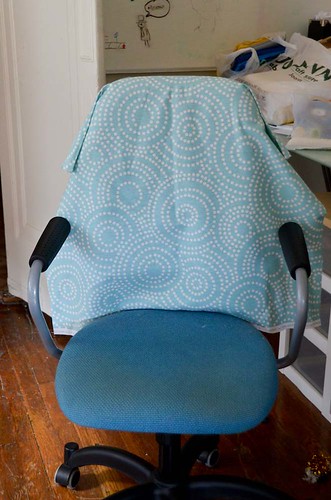
Step 1: Make sure you have enough fabric!
You can either measure your chair before purchasing your fabric, or just drape your fabric over the chair to make sure you have enough.
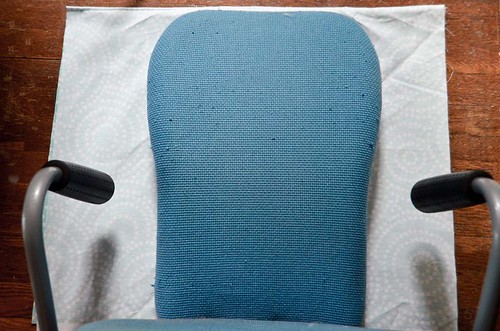
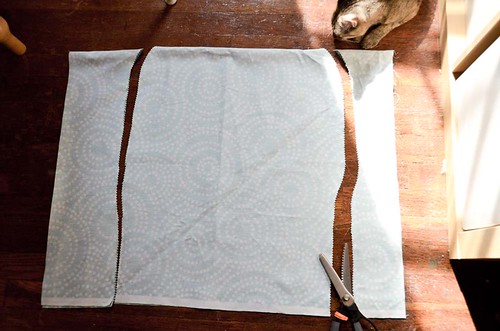
Step 2: Trace chair back
Fold your fabric in half, right sides together. Lay your chair on top of the fabric and using a pencil trace the outline of the chair. The outline needs to be at least 2" larger than the chair. If your chair is thicker, you're going to need more than 2". If it has a defined, wide side, you're going to have to cut a separate piece for that. If you make the slipcover too big, you can always cut some off, but there's no solution for too small!
If your chair tapers like mine does (the bottom being smaller than the top), make sure not to make the bottom too narrow, or you won't be able to fit it over the wider top.
Step 3: Cut
Cut the fabric along the outline you drew in the previous step.
Step 4: Pin
Pin the two sides of the fabric together.
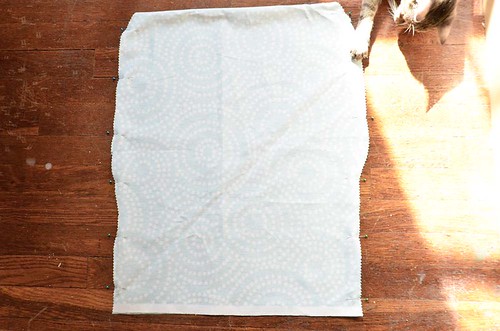
That tiny cat right there. The one trying to shove sewing pins into her tiny cat pie-hole as fast as she can.
Step 5: Sew
Sew along the two sides of the fabric, using at least a 1/4" inseam.
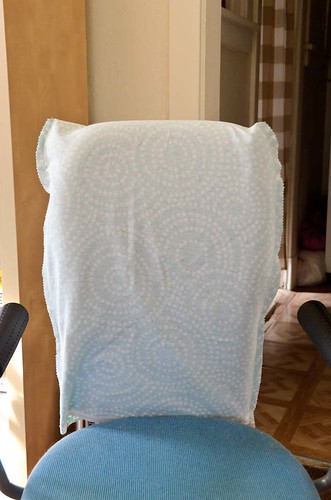
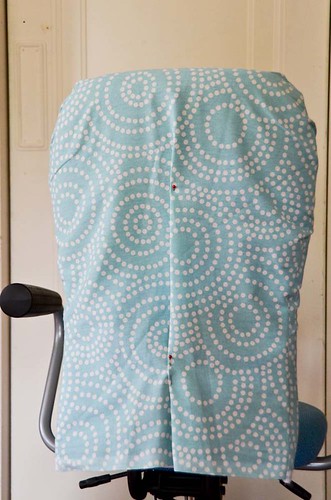
Step 6: Check size
With the slip cover still inside out, place it on the chair. If there's any part that is loose then use a pencil to draw where you need to sew to fix it. I always get the corners wrong!
Step 7: Repeat until it fits
Repeat steps 5 & 6 until the slipcover fits adequately.
Step 8: (Optional) Finish bottom edges
If you like, you can finish the bottom edges of your fabric. I didn't really have enough fabric left and decided that the selvedges won't fray, so it doesn't matter too much.
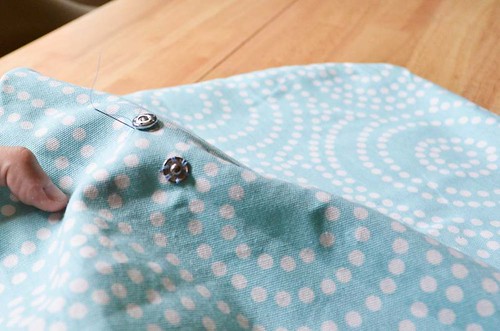
Step 9: (Optional) Hand-sew folds into back
In some cases, there may be extra fabric in the back of the slip cover. My chair has a curved back so I chose to add a fold and a snap (or you could lose the snap and just sew it taut, if you don't plan on removing the slipcover), to get a better fit. To do this, I marked where I would place my snap and then sewed both sides of the snap to either side of the folded fabric.
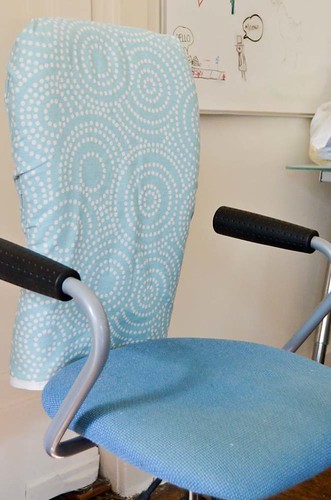
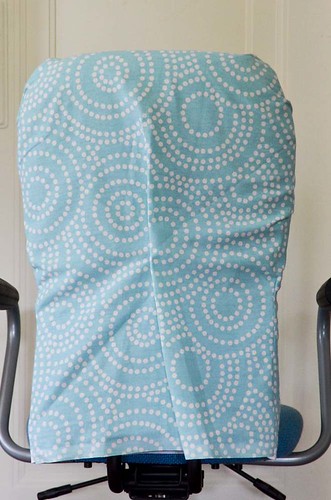
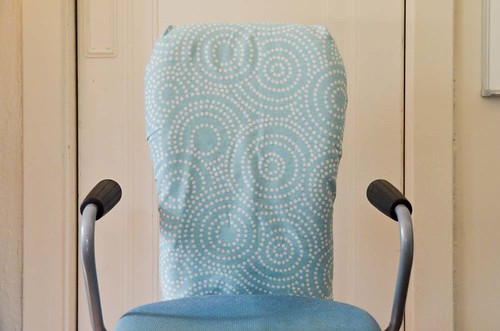
Done!
Good enough to deter the cat.


7 comments:
It looks fantastic!!! Oh I can so do this!!..I always get a bit antsy with some of my chairs and have looked into buying slipcovers but they are way too expensive. Thank you for sharing this tutorial!!!
I love that your DIY is actually, you know, doable. Do you have your own Pinterest page? :-)
Nice articles and your information valuable and good articles thank for the sharing information office chair
Lumbar support is a game-changer in the office—it helps maintain the natural curve of your lower back, reducing strain during long hours at a desk. It’s key to staying comfortable and avoiding chronic back pain over time.
https://vbonchairs.com/
Proper office chair adjustments can make a huge difference in preventing wrist strain. Ensuring your armrests are at the correct height and your elbows stay close to your body can significantly reduce tension on your wrists during long hours of typing or mouse use. Ergonomic support is essential for productivity and long-term health.
https://vbonchairs.com/
Office chairs with headrests provide crucial neck and upper spine support, especially during long work hours. They help reduce tension, prevent strain, and promote better posture throughout the day.
https://vbonchairs.com/
Nice post! The right office chairs makes all the difference in comfort and efficiency. Vibecrafts has an amazing range of ergonomic, stylish, and durable office chairs designed to support long working hours effortlessly.
Post a Comment