Sunday, December 14, 2014
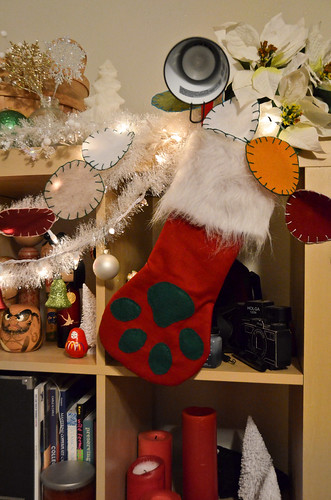
Here are the steps I followed, with improvements!
I apparently took half these photos in manual focus mode without knowing it. I apologize in advance for the blurriness.
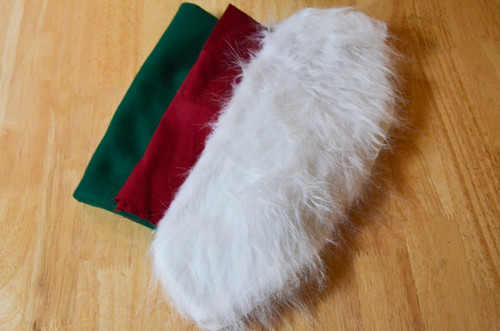
16X9” fabric for arm (2), 16X9“ fabric for lining (2), 4X5” felt in paw color, 7X5.5“ faux fur for cuff (2). Scissors, White Pencil. Needle, Pins, and Thread. 8” ribbon.
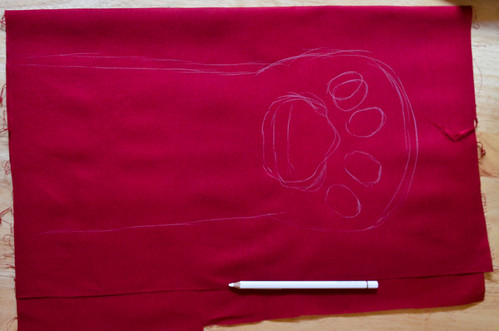
Draw the shape of the stocking on the arm-fabric. Mine was 6” at the top of the arm, 5" at the wrist, and 8.5” at its widest (paw). Give 1.4“ seam allowance on all sides.
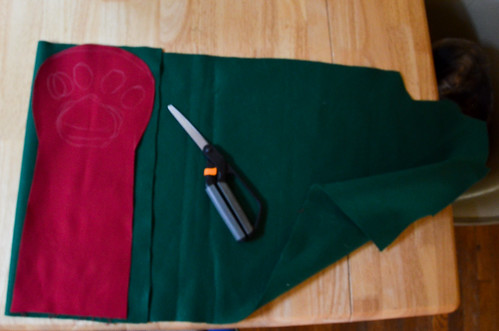
Cut the arm and lining fabric (4) according to your drawing.
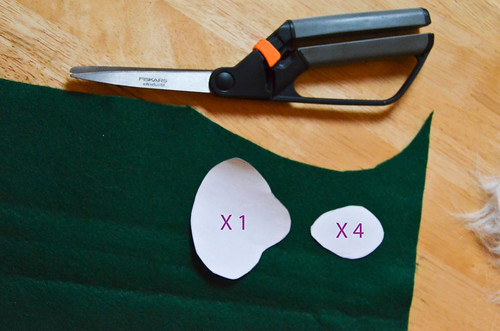
Cut out the paw pieces (5) from the felt, using template. Hem one long edge of the faux fur, if desired.
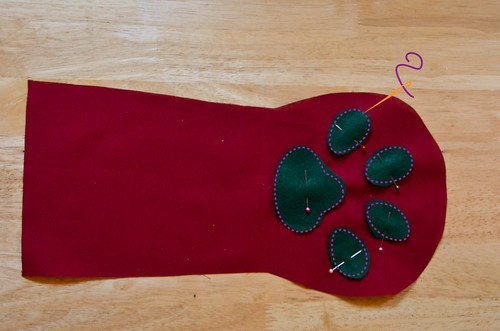
Pin felt paw pieces in place on the arm fabric, and sew in place.
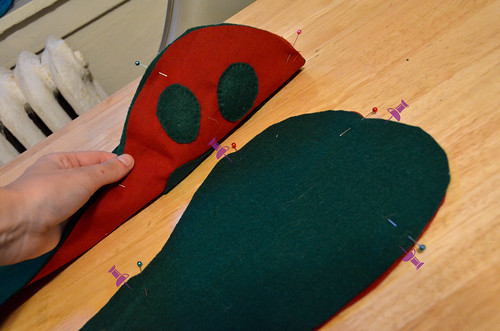
Pin wrong side of lining fabric to wrong side of arm pieces. You’ll do this twice.
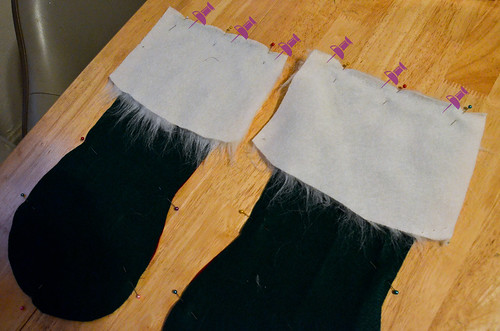
Pin right side of faux fur cuff to to right side of lining, with the hem pointed toward the paw.
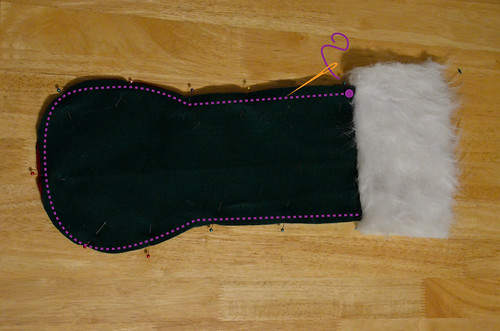
Pin right sides of the two pieces together, with the fur cuffs flipped upwards. The right side of the lining should be visible.
Sew around the stocking. Do not sew the cuffs, nor the opening at the top of the arm.
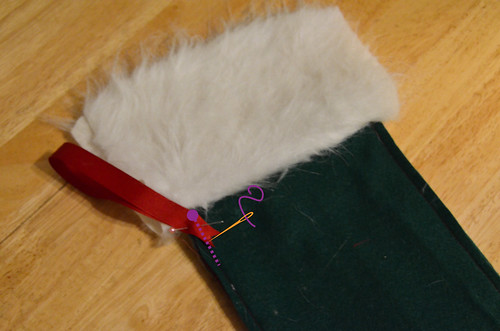
Fold ribbon in half and pin to top, near cuff. Place it so it will be at the left side of the front. Sew.
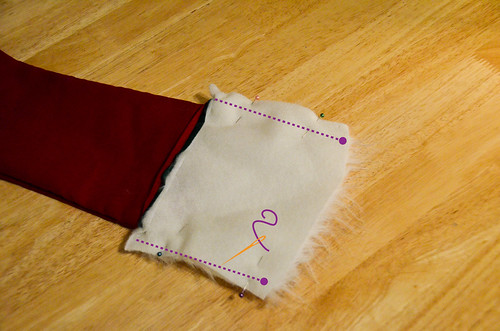
Flip right side out, pin sides of cuffs, and sew. Do not sew ribbon into cuff.
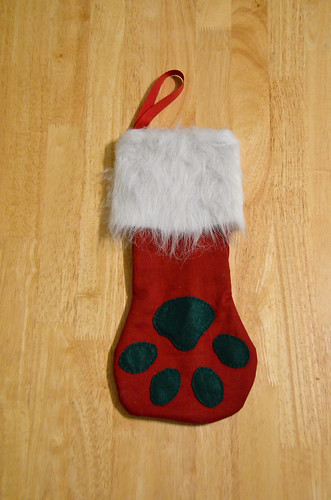
Flip cuff to show right sides.


0 comments:
Post a Comment