Are you a loony tune who enjoys spending countless hours making things with your hands? Us folks around these parts do, so hold onto your hats and let's talk about how J made his own wedding band out of wood.
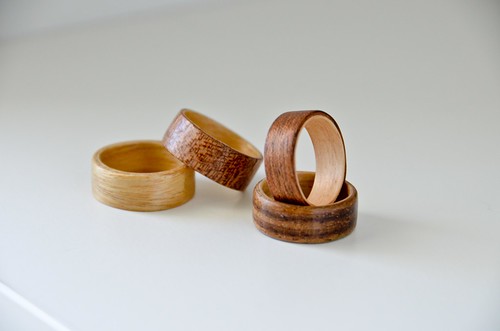
J followed instructions from
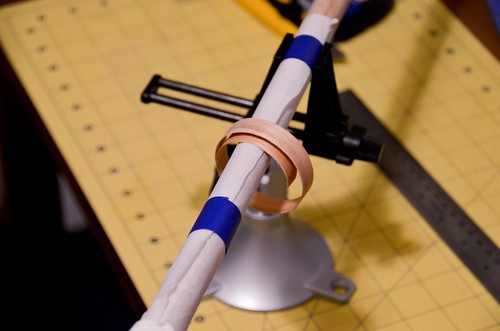
YouTube User / Woodwork Art, starting with 'Make your own bentwood ring - Part 1 - Preparation'. The wood veneer came from
Woodcraft, and most of the other tools, sandpaper, etc. were Amazon purchased. So all supplies are fairly acquirable by the Joe the Plumbers of the world.
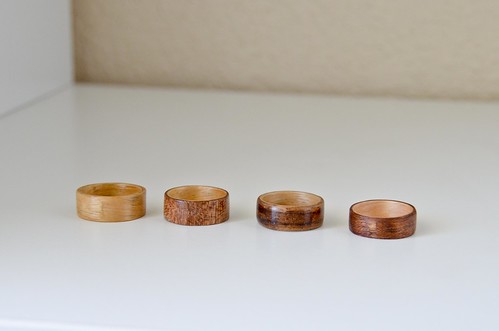
Bentwood rings are supposed to be pretty sturdy, require semi-regular maintenance (re-application of super glue), and are especially affordable and eco-conscious when compared to gold. More advanced jewelers can achieve some pretty nifty effects with stone inlay, like
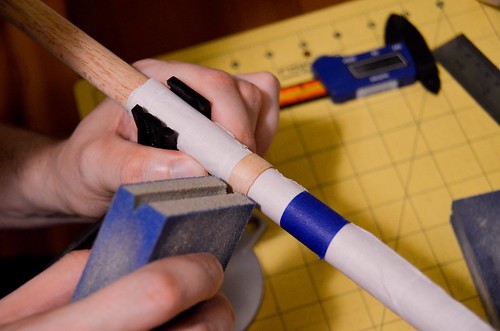
etsy/stoutWoodworks here. In the above photo, you can see where the external bands end, are sanded smooth, and then sealed in super glue (
or can you?!).
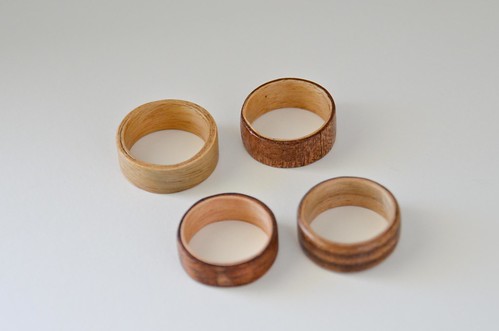
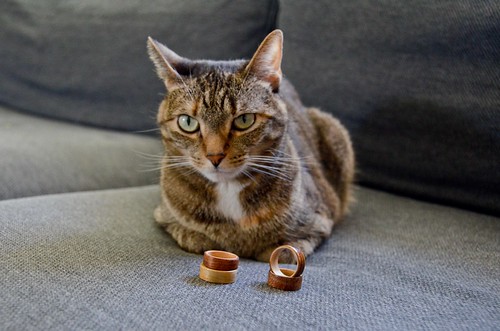
The sixth ring, not pictured here, was finally accepted as his final bentwood band. Lots of stuff can go slightly wrong. The wood can absorb the glue weird, the finished end can stand out, the edges can be uneven, etc. etc. Here you can see a gap in the edges of the first ring he made (top left) and the uneven edges of the second ring (top right). The uneven edges are mostly noticeable when using two different colors of wood, so if going for that effect then you need to pay special attention to that.
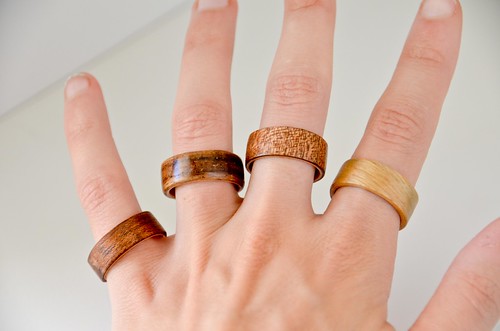
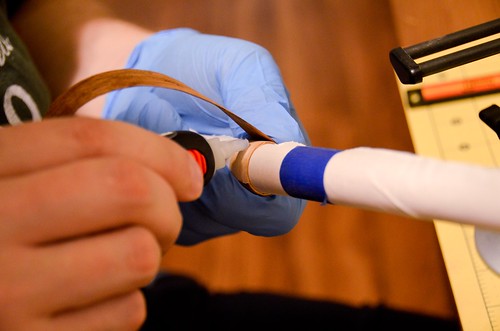
J's final ring involved some impromptu process using olive oil instead of soaking in water. And something about not letting the veneer strips dry in-between, because it results in uneven edges. But mostly it was trial and error to find the right woods that cooperated and looked good. Also a bit of experimentation with finishing techniques, as you can see the two-stripe band on my ring finger is considerably glossier than the others.
It'll be interesting to see how durable the ring is, and what commitment to re-coating is necessary.
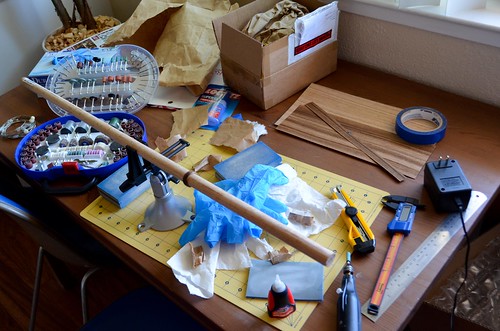
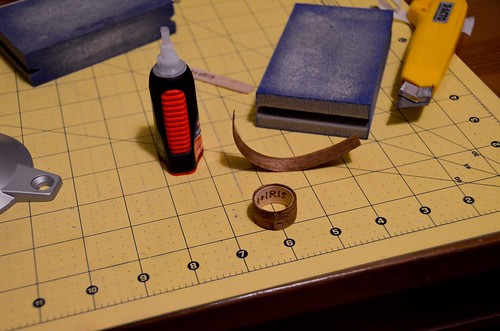
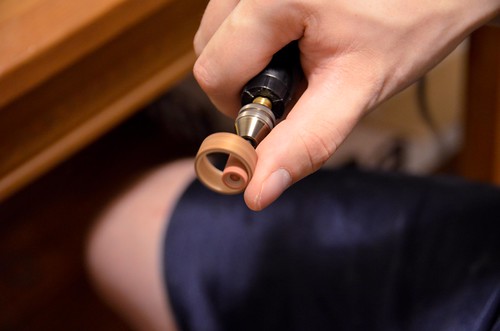
Tools of the trade.


0 comments:
Post a Comment