

Wednesday, May 3, 2017
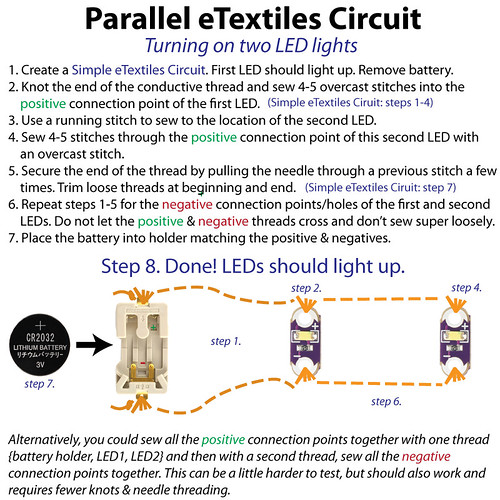
If you wish to turn your simple circuit light up wristband into a two-light wristband, follow the instructions in the illustration below. The step-by-step photo instructions follow the "alternative method" that saves a bit of time and knotting.
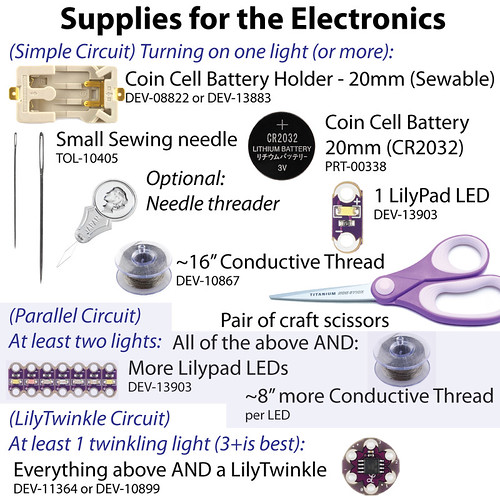
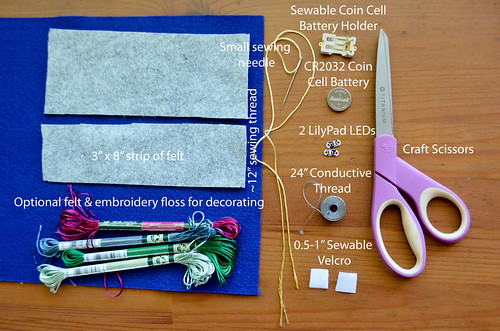
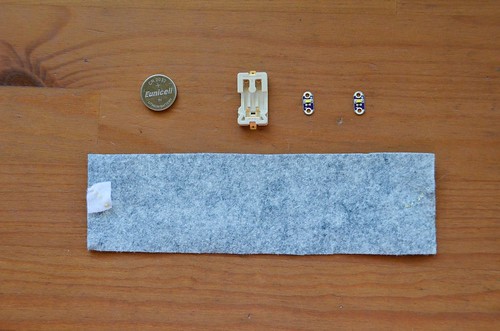
Supplies for an eTextiles Parallel Circuit Wristband
As always, SparkFun.com is a great source for most of your supplies.
- 1 CR2032 Coin Cell Battery (PRT-00338)
- 1 sewable battery holder (DEV-08822 or DEV-13883)
- 2 Lilypad LEDs (DEV-13903)
- ~24"+ conductive thread - actual number depends on how far apart all your components are! (DEV-10867)
- needle (small enough to fit through the connection point/hole) (TOL-10405)
- craft scissors
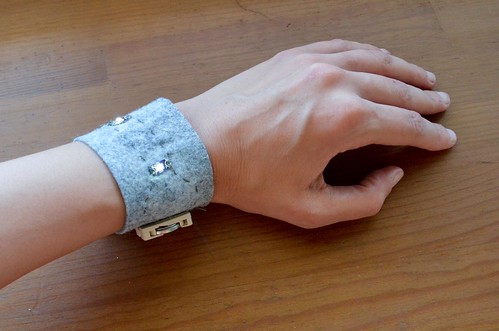
- felt wristband (or textile of some sort).
Before we begin...
It's usually wise to prototype your electronic circuit design using paper first: http://byov.blogspot.com/2017/04/etextiles-paper-prototype-before-you-do.html. Just cut out the pieces you'll be using from the paper (i.e., a battery holder and two LEDs), tape them down onto a piece of paper that resembles the necessary circuit layout, and then draw lines connecting the positive connection points. And then a line connecting the negative connection points. These represent two separate pieces of thread, and remember, they should not intersect!
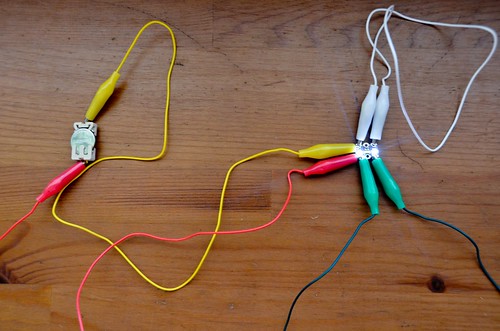
I find it's often wise to test out my design with some alligator clips before sewing. Conductive thread is not easy to undo when something doesn't work. But unclipping an alligator clip is super fast ;)
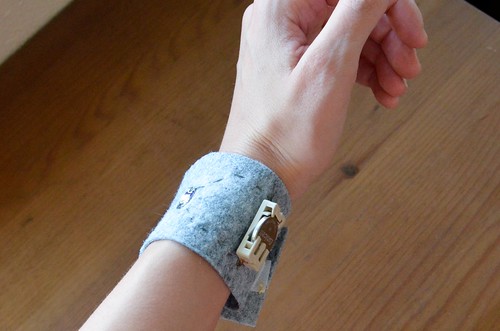
- Make your felt wristband / whatever textile-based item you're sewing to
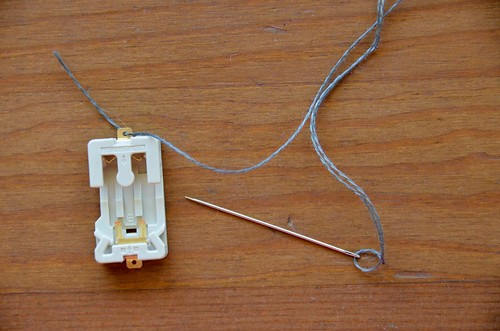
- Knot end of thread, and thread needle with conductive thread.

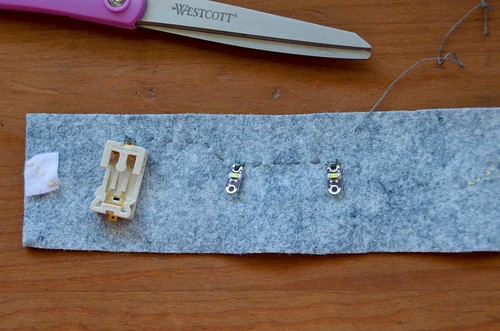
- Push needle from back to front of positive connection point on battery holder.
- Place battery holder in desired location. Push needle through fabric, near connection point. Then push needle back up through fabric, near previous stitch.
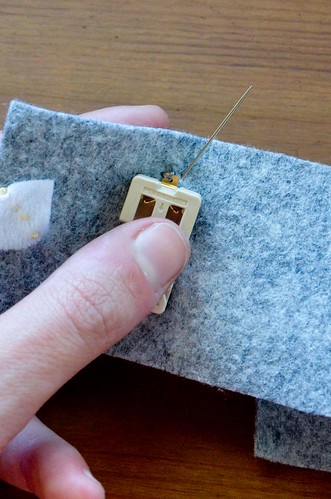
- Push needle back down through the positive connection point (overcast stitch).
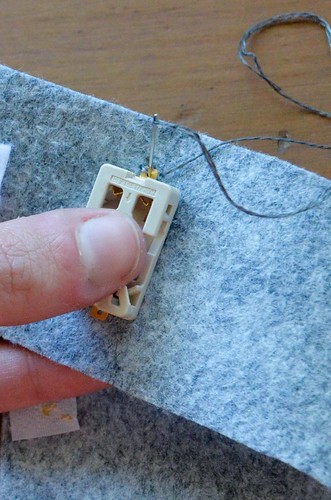
- Secure battery holder with 3-4 more overcast stitches to ensure a good connection.
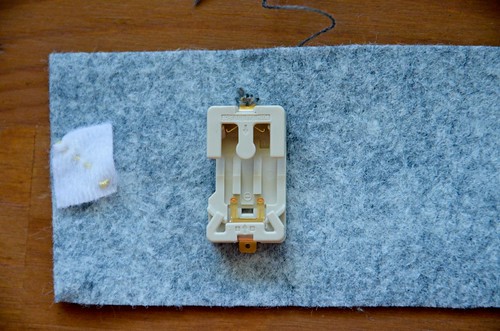
- Running stitch to first LED location

- Place LED in desired location, and push needle down through its positive connection point
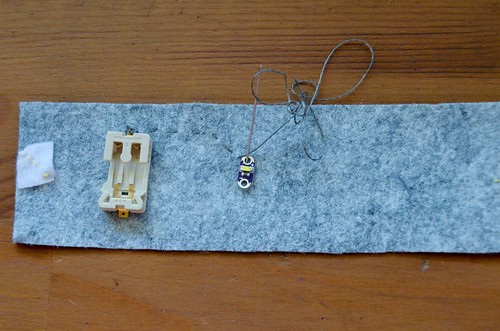
- 4-5 overcast stitches to secure first LED (i.e., repeat steps 4 & 5 a few more times)
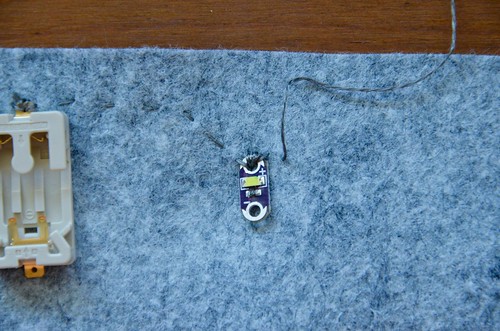
- Running stitch to planned location of second LED

- 4-5 overcast stitches through positive LED connection point on the second LED
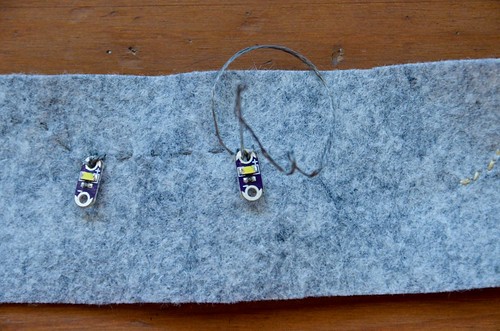
- Secure thread by running through a few previous stitches (preferably on the back of work, though this photo shows the front)

- Trim thread ends.
- Repeat steps 2-13 for the negative connection points of the battery holder and the two LEDs.

- Place coin cell battery into holder, matching the positive end with the battery & holder. Two LEDs should alight.
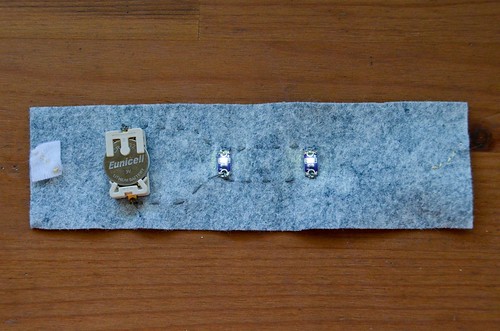
- Done! Remember to remove coin cell battery if adding any decorative elements at this point!


0 comments:
Post a Comment