

Wednesday, July 12, 2017
This tutorial is essentially a revamp of the 9 year old How to Make Pillow Covers With Welt Cording.
- Materials: Pillow form (mine was 16" square), Decorative fabric size of pillow form (I had a fat quarter), More fabric to cover the back (needs to be about 1.5X the length of the decorative fabric), Trim/Welt Cording (optional 16"*4+3), Scissors, Sewing Machine, Thread, Pins, Ruler, Iron + Board
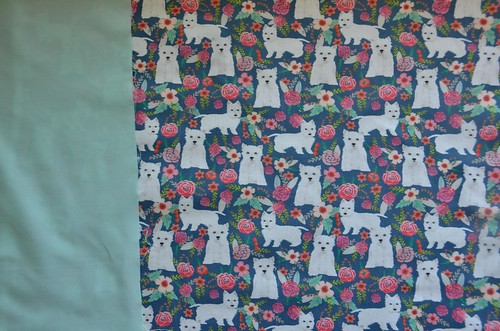
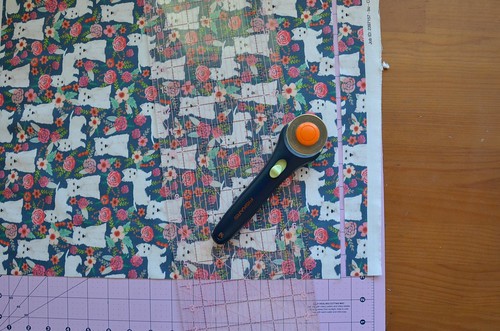
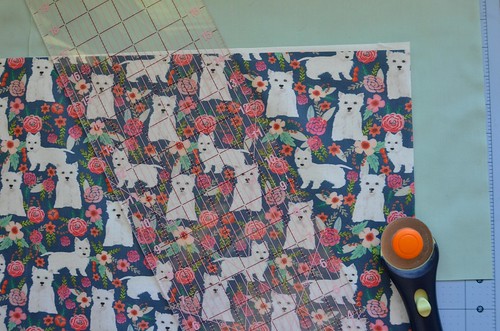
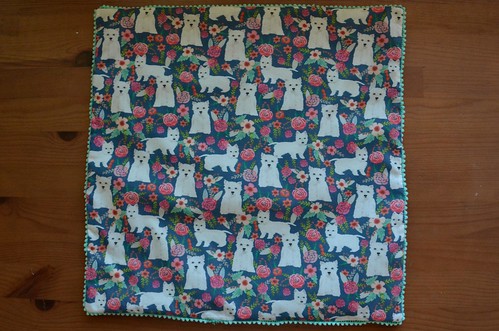
- Cut Front Fabric, size of pillow form. My pillow form is 16"X16", so is the front piece of fabric.
- Cut two backing pieces, Width of pillow form X (width/2)+5". I cut one of my pieces a bit shorter than the 13" the formula suggests. So I had one 13" piece and one 11" piece - you really want at least 5" overlap.
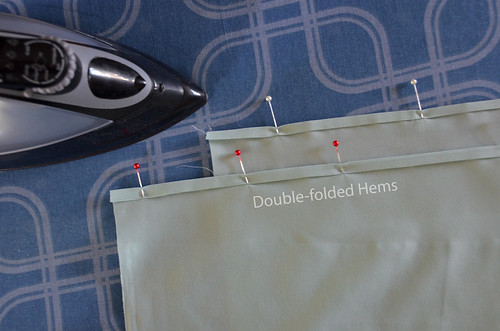
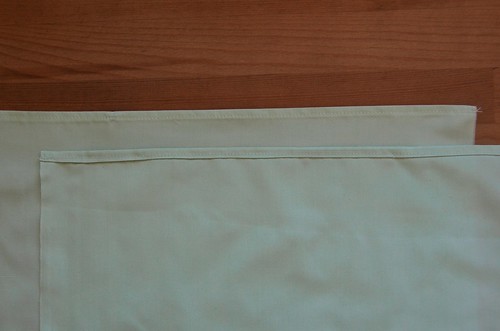
- Double-fold a long edge of each of the backing pieces
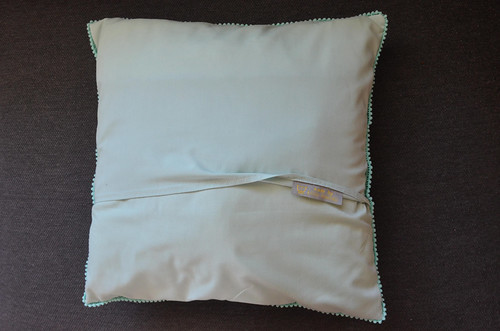
- (optional) If adding a sew-in label, should be pinned in now, on the wrong side of the [shorter] backing fabric.
![4. If adding a sew-in label, should be pinned in now, on the wrong side of the [shorter] backing fabric.](https://c1.staticflickr.com/5/4180/34019303783_605ec94af0.jpg)
- Sew the double-folded hems.
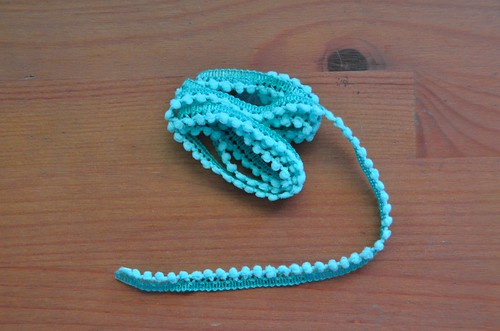
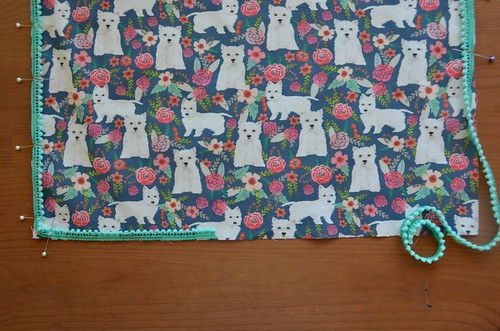
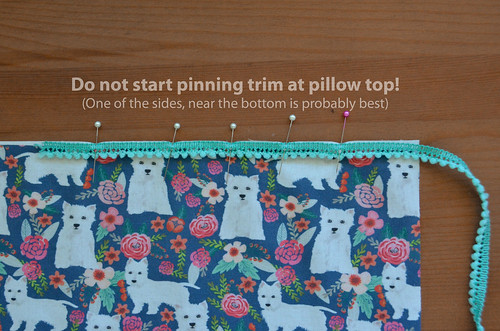
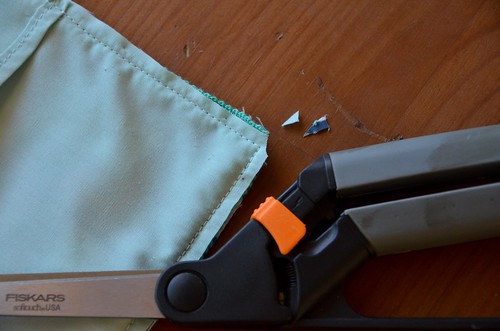
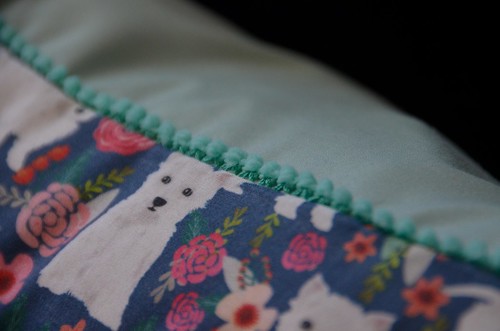
- Start pinning the trim along the side or bottom of the top pillow, not centered. Fabric should be right side up. The decorative side of the trim should be facing inward, and the trim edge should align with the pillow edge.
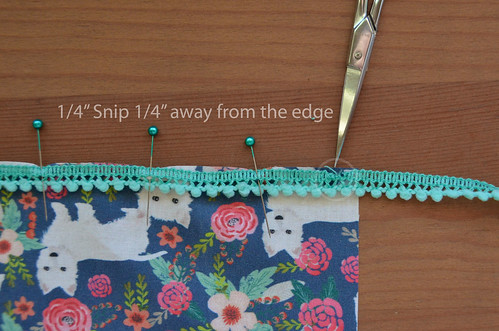
- When you get to a corner, make a 1/4" snip, 1/4" from the fabric edge. If doing wider seam allowances, snip seam-allowance, seam-allowance from fabric edge.
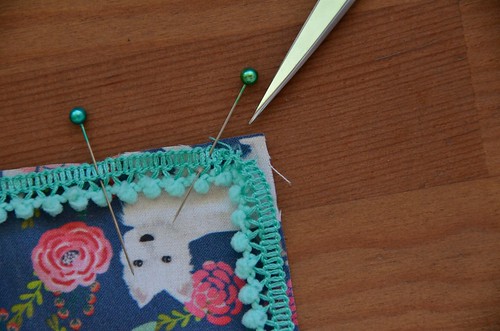
- Bend trim 90 degrees so that outer edge of trim aligns with fabric edge
- Keep pinning trim and following corner directions until you get where you began.
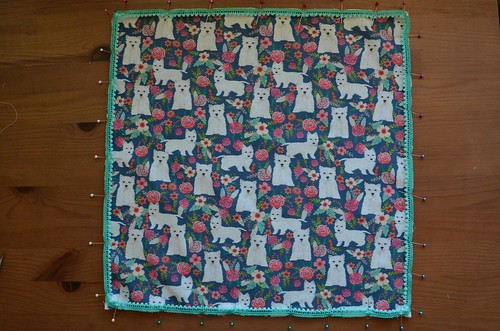
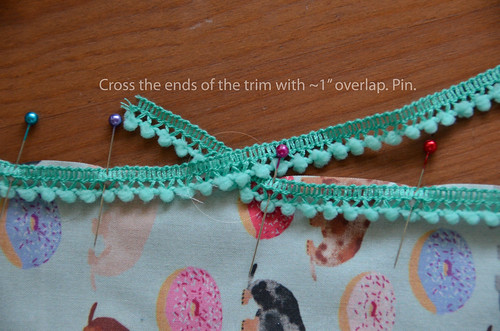
- When you get to end, cross the trim with about a 1" overhang, as shown. Pin. If trim is thick (like with welt cording) and you can't machine sew over it, machine-sew on either side and hand-sew the crossover.
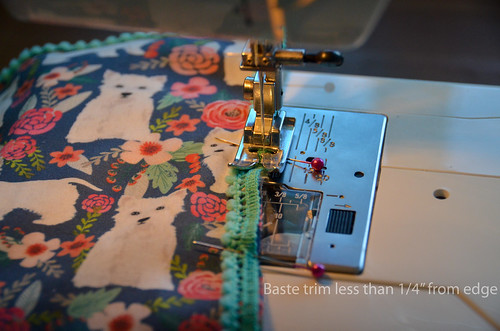
- Baste trim to fabric, with seam allowance smaller than 1/4"
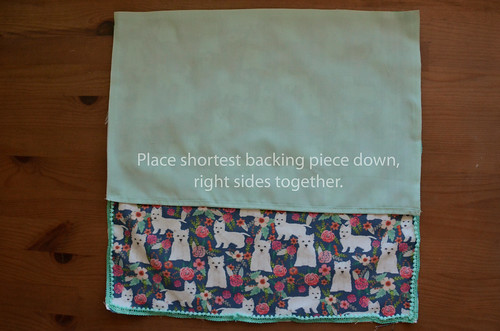
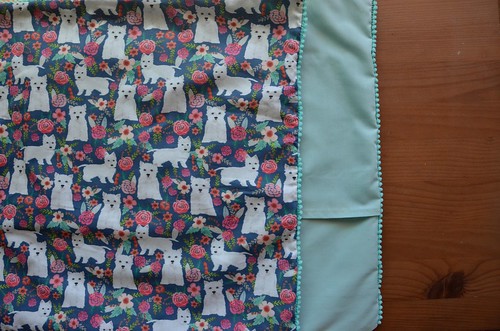
- Place first backing piece on fabric, right sides together. Double-folded hem horizontally in the middle. Orientation matters! Up-down direction of decorative fabric should match up-down direction of backing fabric.
If your backing pieces are two different heights, put the shortest one down first. If using a sewn-in label, this should be the piece with the label attached.
- Place second backing piece at other end, right side down with double-folded hem horizontal.
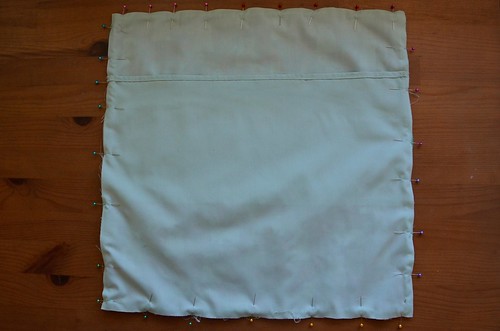
- Sew 1/4" from edge, around the pillow case. Turn corners as usual.
- Snip corners off, just before the seam.
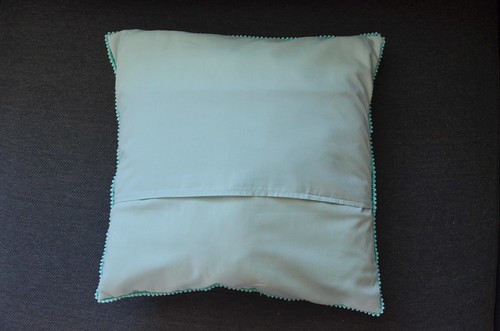
- (optional)Zig-zag (or serge) edges. Add a second seam for durability as needed (I do this on the sides to strengthen the envelope backing connections.
![15. [optional] Zig-zag (or serge) edges. Add a second seam for durability as needed (I do this on the sides to strengthen the envelope backing connections.](https://c1.staticflickr.com/5/4249/34665934652_21f237704d.jpg)
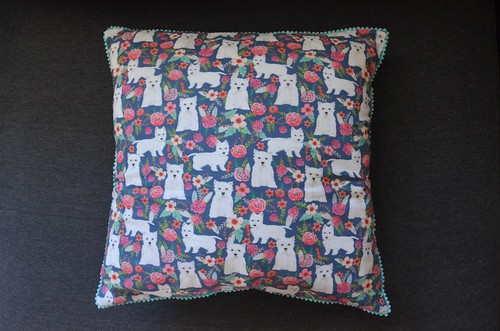
- Flip right side out, being sure to poke the corners out to a point.
- Iron, or stuff a pillow form through the envelope closure.
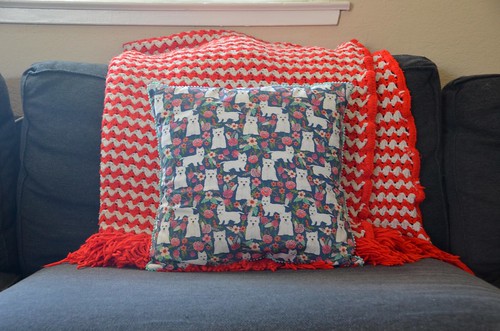
- Done!
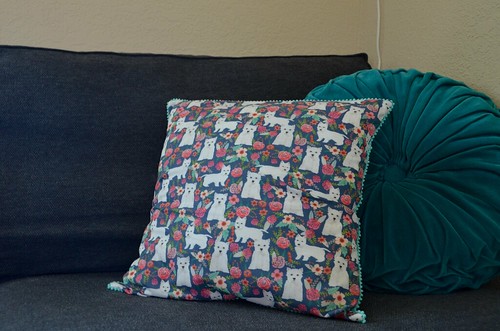
If I made my inseams the width of the pom-pom edging, the edging would be better hidden, leaving just the poms to poke out.


0 comments:
Post a Comment