
Over some very toasty summer days, the dog & I took advantage of some air conditioning and painted a mural. I wanted a digitized cow print (for apparent reasons, if you know me), and so I scrounged for crochet/knitting/cross-stitch patterns that I could adapt. I found this
Cow Print Pillow from The Crochet Couch, and decided to draw it up in Adobe Illustrator and somehow place it on the wall. Below is how I did it:
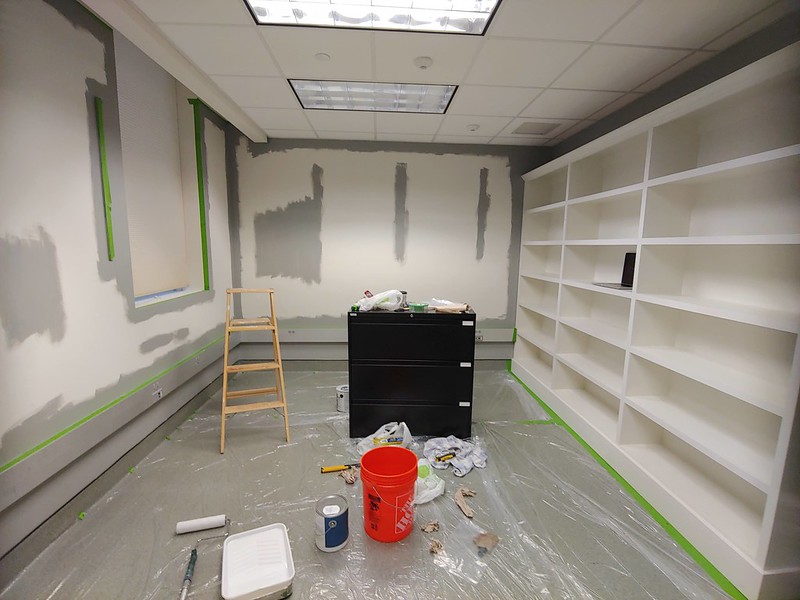
- Step 1: Remove Things on Walls, Furniture, etc.
- Clean the walls with TSP, rinse walls, and spackle any holes (sanding between layers)

- Test out paint colors (I ended up with Benjamin Moore Sabre Gray, one shade lighter than the Cos Cob Stonewall shown on the right)

I don't recall what the left color is, but it's some warm-shaded gray that looked like mud in this room, lol
- Tape any edges, put down drop cloth, and cut-in edges with an angled brush
- Use a projector on a projector stand to put the design on the wall
Make sure that projector is level, especially if you're going to turn it on its side! We used some mis-printed business cards to get the projector level.

- I opted to tape the design first, as my design is all right-angles (if it wasn't, I might paint the edges while still using the projector)

- Paint inner edges of the tape with the background color, to prevent bleed-through

- Test out colors for the mural design
I ended up using a custom mix of these two below, two- and one-shade darker than the background color. Mostly the Cos Cob Stonewall sample mixed with the Ashwood Moss (the darkest color on the paint card).

- Fill in the design with the selected color

- Remove tape while paint is still a bit wet, if it pulls off many layers, paint over those areas with the background paint

- Using an angled edging brush, hand-paint any of the damaged areas from the previous step

- Done!


1 comments:
This is such a unique and inspiring idea! I love how the tutorial breaks down the process of painting a precision wall mural—it makes something that looks complex feel approachable. The “BYOV” twist adds such a fun and creative touch, giving the project personality and originality. It’s a great balance of artistry and playfulness, and definitely something I’d love to try out.
for more info: NURS FPX 4010 Assessment 2
Post a Comment