I wanted to cover some honey-toned wood shelves, to match the light oak desktops I was putting in a space, so I bought some
DC Fix Light Oak Contact Paper. These shelves aren't going to experience heavy use, they're mostly just decorative: hold a clock, a print, a table lamp high above, etc.
But the Contact Paper rolls were
crushed in transit. I didn't think much of it until covering these small shelves took
hours and resulted in the friction of attempting to remove the creases actually removing the first several layers of my finger tips instead. It also resulted in a rather shoddy look, as shown below. Full of creases that couldn't be pushed out with a credit card, those creases would turn into holes. No amount of only unrolling a half-inch at a time seemed to solve the problem.

So then it was time to bring out the big guns: a heat gun on medium, and a rubber brayer from
linoleum block printing. When heated, you have to be
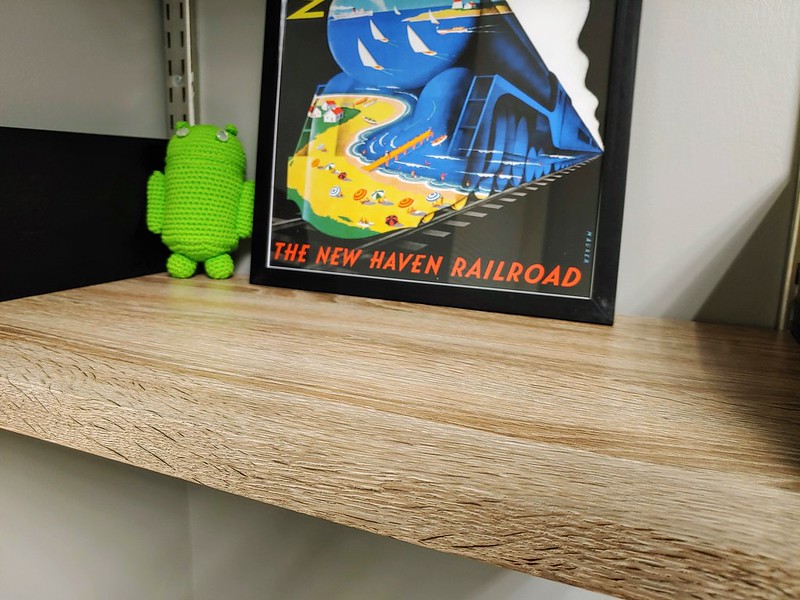
very careful unrolling the Contact Paper, being sure not to stretch it (so only unroll an inch or two at a time). As for the creases I already pressed into the Contact Paper, heating it up a bit and rolling firmly with the brayer ironed out all those blemishes, yielding a pretty seamless shelf covering, as show in the top photo.


1 comments:
This is a useful tutorial, but I really love the crocheted shelf decoration =).
Post a Comment