

Wednesday, May 19, 2010
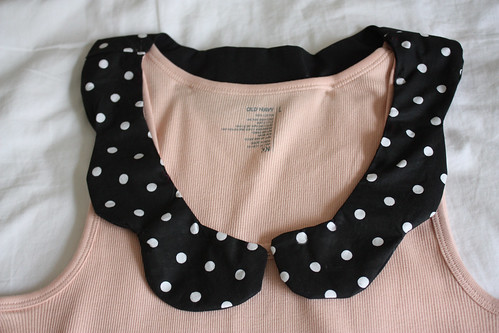
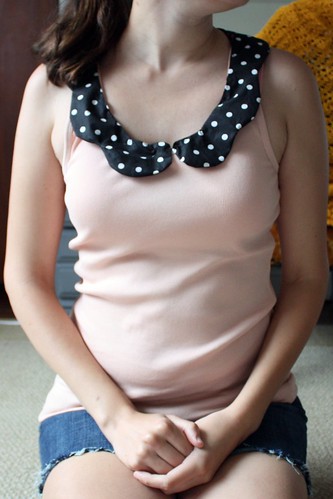
I saw this peter pan collar tank top (shown below) from UrbanOutfitters and figured I could do something similar with what's already in my closet. I took an Old Navy Perfect Tank and gave it a wavy peter pan collar. The black polka dot collar is just a first draft (as is the pattern, which needs some tweaking). I have new fabric coming in the mail for the final version. I'll post photos when that's done, but I wanted to get this up speedily.

Anyways, if you want to use the provided peter pan collar pattern (below) you can skip a few steps, to where you start cutting the pieces out of the fabric. Otherwise, follow steps 1-5, which were inspired by a tutorial for a detachable peter pan collar.

Step 0: Materials
Materials: Pre-washed Tank top (I used an Old Navy perfect tank, size L). Pre-washed fabric for the collar, Pre-washed facing fabric, pins, needle/thread, tracing paper, pencil, scissors...
Step 1: Trace Outline Half of front Neckline
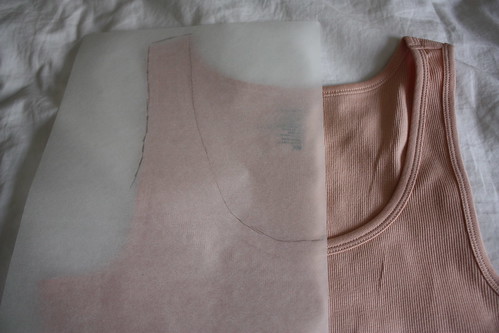
Trace over the curve of the front neckline on the tracing paper. you may also want to trace the width of the tank straps, as shown.
Step 2: Draw-in Desired Collar Shape
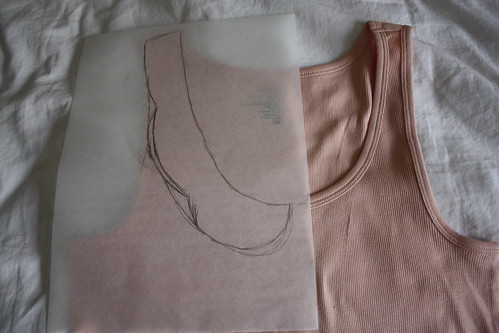
Using the pencil, draw in the desired peter pan collar shape.
Step 3: Outline 5/8" Around Collar Shape
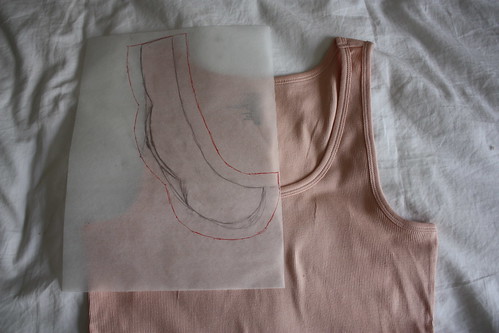
Draw an outline, 5/8 of an inch outside of the collar shape (you'll need 3/8" for the seam allowance, and 2/8" extra).
Step 4: Trace the Back Neckline of Tank Top

Just as you did with the front, trace half the back neckline of the tank top.
Step 5: Draw in Collar Shape with 5/8" Outline
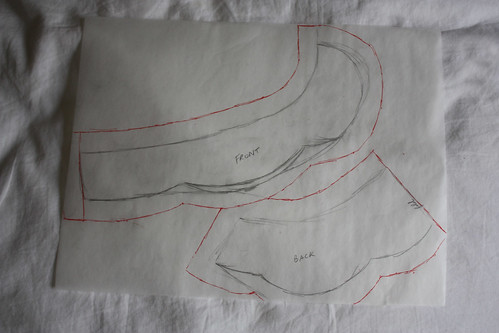
Just as you did with the front collar piece, draw in the desired collar shape for the back, and then outline 5/8" outside of that shape.
IMPORTANT: Add about one extra inch (or half inch) to the strap-side of the back tank top piece. Otherwise, the back collar won't drape low enough.
Remember, you could use the provided pattern, if you're working with a size Large Old Navy Tank.
Step 6: Fold Facing & Lining Fabric in Half, then Pin Pieces
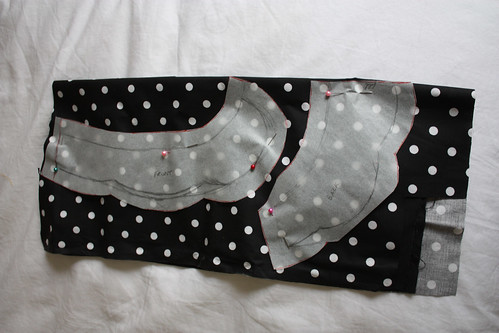
- Cut out the pattern pieces
- Lay the facing and fabric wrong-sides up on top of each other.
- Fold fabric pieces in half, together, in a way that the pattern pieces can fit.
- Pin the front pattern piece to the middle of the folded fabric.
- Pin the back pattern piece along the fold of the fabric. Be sure to pin the "fold" of the pattern piece, and not the strap side.
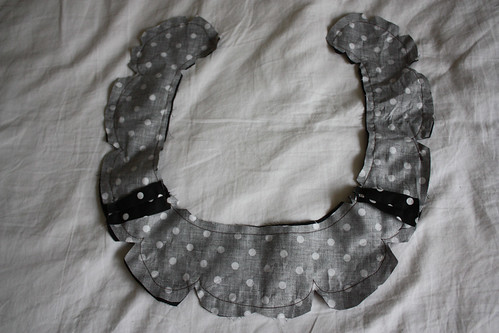
Step 7: Cut Pieces from Fabric
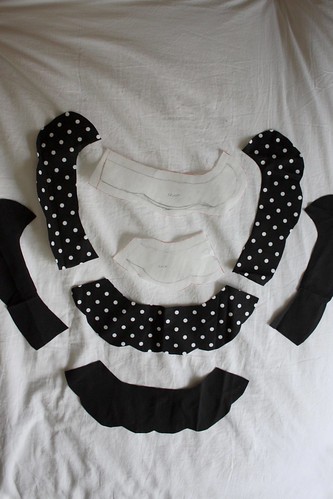
Cut the pieces from the fabric, You should have 6 pieces, as shown.
Step 8: Pin Edges Together and Sew with 5/8" Seam Allowance
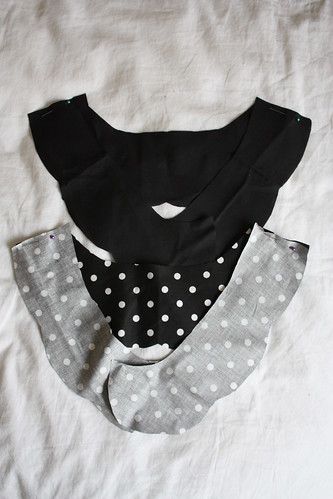
Pin the connecting edges of the facing and fabric pieces together, right-sides facing each other. Then sew along the edges, using a 5/8" seam allowance.
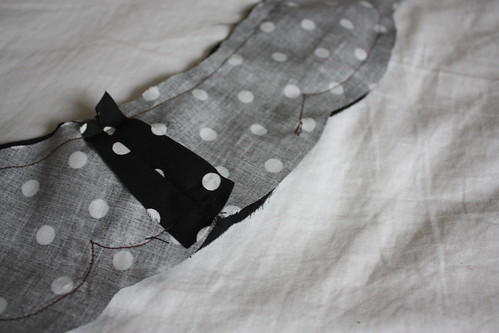
Step 9: Iron Allowances Open then Pin Facing and Fabric Together
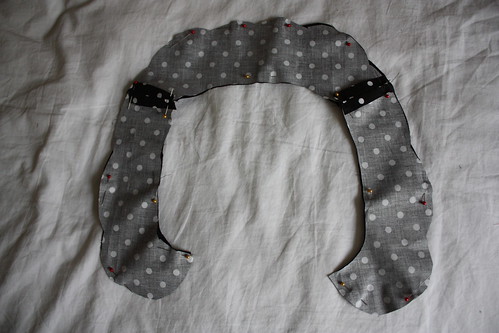
Iron the 4 seams open, as shown. Then, with right-sides facing each other, pin the facing and fabric collars together.
Step 10: Start at a Seam and Sew Around Collar
Start at one of the ironed seams, and sew around the collar using a 3/8" seam allowance. DO NOT SEW ALL THE WAY AROUND. Be sure to stop 2 inches early (aas shown).
You probably don't want to sew the curves as drastically as I did.
Be sure to cut divots out of the seam allowances anywhere there is a point or a curve.
Step 11: Flip Rightsides Out then Sew Closed
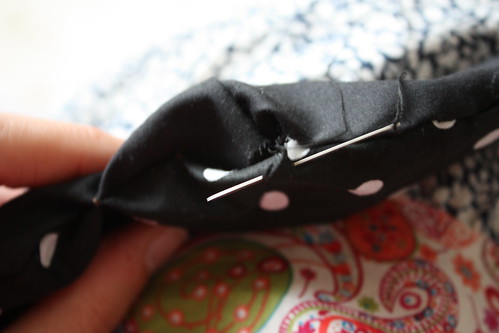
Using the 2 inch hole you left, pull the right sides of the fabric through. Then, sew the hole closed using a slip stitch (tutorial here).
Iron the collar flat.
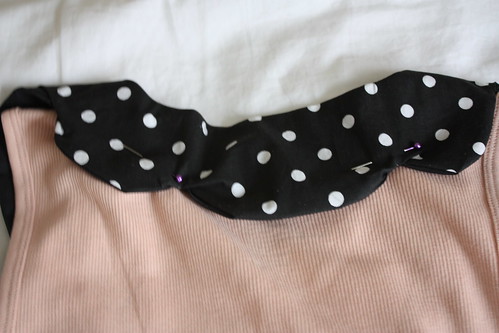
Step 12: Pin the Collar to the Front & Back of the Tank Top

Pin the collar along the front neckline of the tank top. Then, do the back.
Step 13: Sew Collar to Tank Top and You're Done!
Using the slip stitch (tutorial here), attach the collar to the neckline of the tank top and you're done!
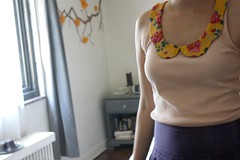
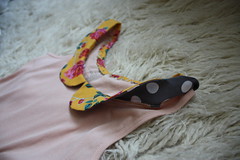
[Edit 5/30/10: The completed Peter Pan Tank Top with Anna Maria Horner's "Garden Party: Social Climber" fabric.]


5 comments:
Very cute! I really need to start using my sewing machine more.
http://jammer10am.blogspot.com/
Thanks, I'm actually redoing this with some nicer fabric, and I plan on spending a little more time defining the curves/points after I flip it inside out. I realized after posting that it looks a tad bit wonky.
You're right, this is very similar to http://adventuresindressmaking.blogspot.com/2010/05/great-use-for-hankies-peter-pan-collar.html!
I do recommend leaving the entire inside curve open and sewing with a machine to lay it down on the tank. It'll lay a lot better, flatter, and smoother.
Yeah, I figured that would work, too, but I'm playing with the idea of a removable/reversible collar, too...so I need to come up with alternate ways of attaching it.
Lovely!!! I will try it soon!! =)
carrynapratiwi.blogspot.com
Post a Comment