

Tuesday, July 27, 2010
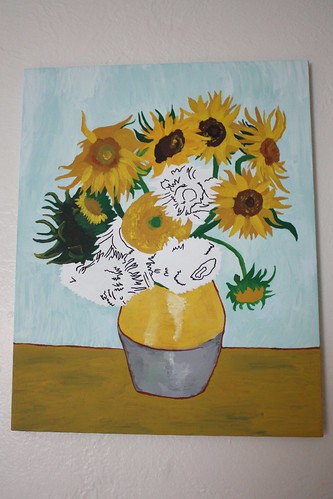
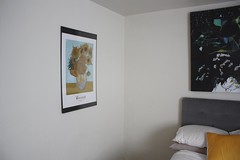
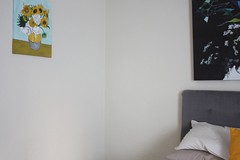
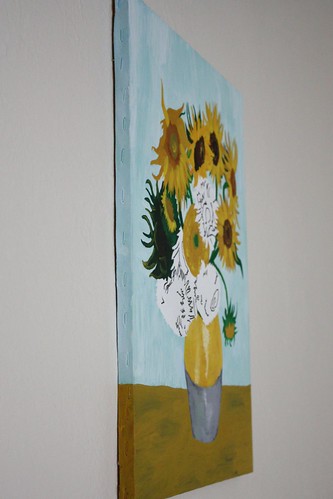
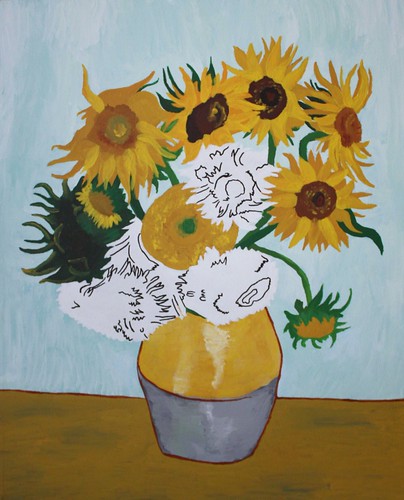
I've been in a bit of an intense cleaning phase lately, where I've been trying to complete all those overdue things on my to do list (dry cleaning, closet organization, etc). I've had a poster of Van Gogh's "Vase with 12 Sunflowers" hanging on my bedroom wall, that I've been meaning to upgrade for awhile. The above image is the result of attempt #1 (attempt #2 might involve just buying a nicer frame, or a nicer-formatted print of the same artwork; I have a thing for Van Gogh and his flowers).
Part way through my project, I realized my painting skillz are more akin to the cheesy country style, than to Van Gogh. To prevent my hardwork from ending up in the Museum of Bad Art (MOBA), I decided to only partially finish "coloring in" my initial drawing. I am leaving the rest of the painting in coloring book style. There's a trend in fabric design for "paint-by-number fabric" (see Moda Birds by Number, Deer by Number by Erin Michael for Moda, and this blog post has a good etsy round up). So. I ended up with a coloring book painting. ...it's like paint-by-number, right? My guess is this piece is still MOBA-worthy, lol.
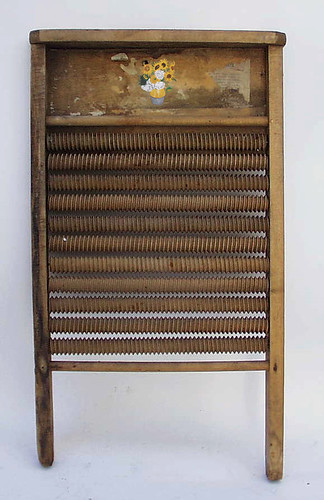
I think it looks damn good [country-style] on an antique washboard, hahaha.
This is a step-by-step record of how I created a partially unfinished-looking painting. You could also follow these directions for creating a hand-painted/drawn reproduction of any artwork. Be forewarned: depending on your painting skills, it may look nothing like the desired original image ;)
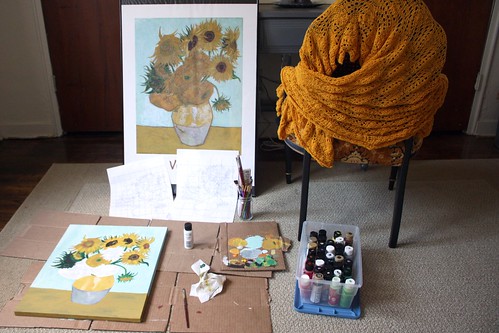
Step 0: Gather Materials
![Photo of Van Gogh's 12 Sunflowers [Poster]](https://c1.staticflickr.com/5/4154/4835684429_73539461fd.jpg)

Materials: Pencil, ruler, eraser,
Desired Image (above: there's a cleaned-up coloring book version of this "Vase with 12 Sunflowers" by Van Gogh available from about.com),
Prepped canvas/paper (I used pre-stretched, prepared canvas from a craft store),
Paint (I used cheap $1 plastic bottles of acrylic,
Cup of water (to quickly clean brushes in between colors),
Paper towel (clean brushes),
Drop cloth or cardboard (to protect the paint surface),
Paintbrushes (I used a 1/4"-wide flat brush, and a tiny round brush),
Something to mix paint colors on (i.e., cardboard),
Paint marker, etc.
Step 1: Place Grid on Image
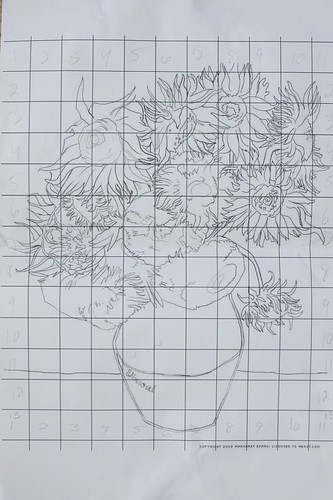
Take a print-out of your desired image and (using a ruler) place a square grid on top. I used 1"x1" squares in this example.
It's also possible to draw a grid on the image using software, as I did.
Step 2: Transfer the Image Using the Grid
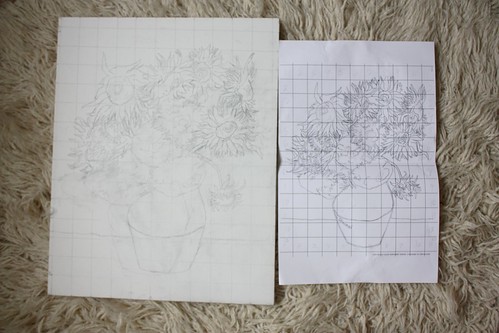
If you want, you can just free hand the image you want onto the canvas. However, I'm not particularly good at drawing, so this is the method I use:
- After you draw a grid over your desired image, figure out how many squares tall & wide you need/want.
- Using some basic math, determine how large the squares on the target canvas need to be. (I take the smallest length/width of the canvas, and divide it by the smallest number from the previous step.
- Using a ruler, draw squares of the size determined in the previous step onto the canvas.
- Using the grids on both the desired image and the canvas, draw the illustration onto your canvas.
Step 3: Background Base Coat
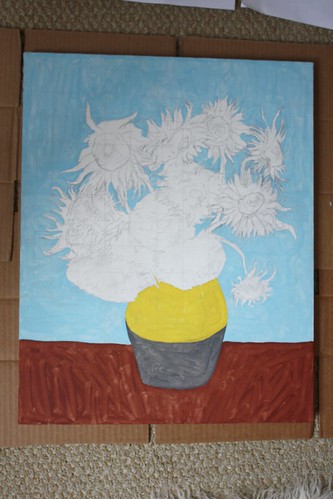
Step 4: Background Top Coat
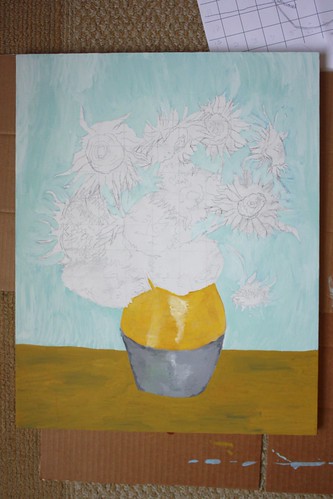
Step 5: Foreground Base Coat
Step 6: Foreground Top Coat
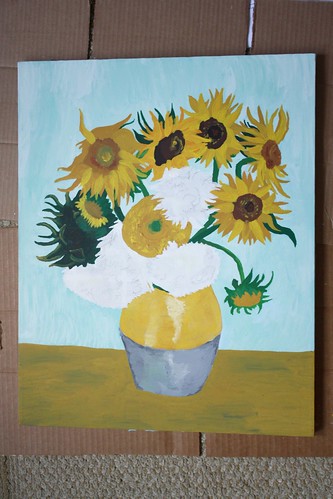
Step 7: Paint Blank Areas with White, as Needed
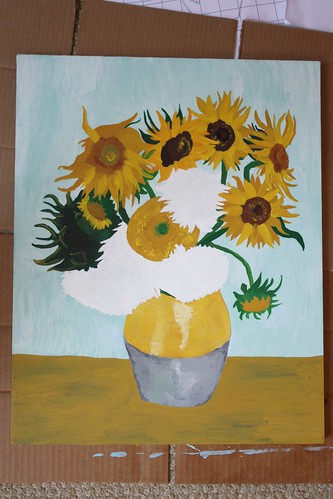
Step 8: Draw Coloring Book Lines with Paint Marker

Step 9: Done!


0 comments:
Post a Comment