Monday, July 26, 2010
Awhile back I had a tutorial on how to create the below [illustrated] embroidered necklace. Fast forward 4 months later, and the summer heat is causing my skin to react with the copper deposits in the inexpensive craft store chain...resulting in green marks around my neck.
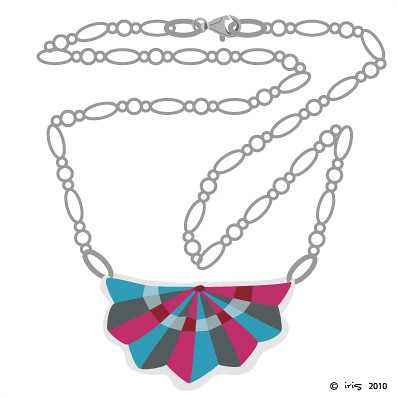
Uh, yeah. So, how do we prevent the green rings? If it's a ring (not made of gold/platinum/sterling silver), you can paint the inside of the ring with a clear coat of nail polish. If it's a necklace, I think your best bet is to replace the chain with something that's not silver or gold -plated, but fully sterling silver or gold.
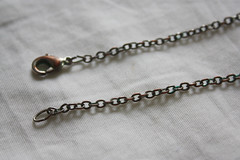

This is just a quick illustrated tutorial for removing and adding a chain on a charm that has two attachment points (I have a couple necklaces like this). It could easily be adapted for other types of charms.
Step 0: Gather Materials
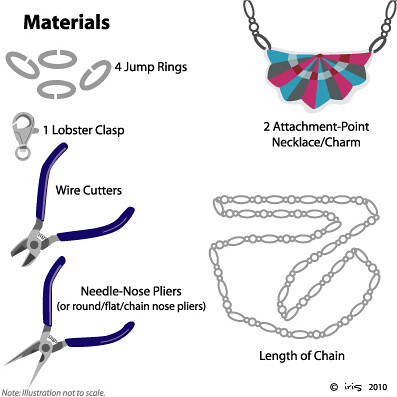
Materials: 4 jump rings, 1 lobster (or other) clasp, wire cutters, needle nose pliers (or flat/round nose), a 2 attachment-point charm, and a piece of chain that's long enough.
Step 1: [Optional] Remove Old Chain
![Step 1: [Optional] Remove Old Chain](http://farm5.static.flickr.com/4139/4830372449_cf16c476bd.jpg)
If you're replacing a chain, use wire cutters to cut the old jump rings, or needle nose pliers to bend them open and remove the jump rings+chain.
Step 2: Cut 2 Pieces of Chain of Desired Length
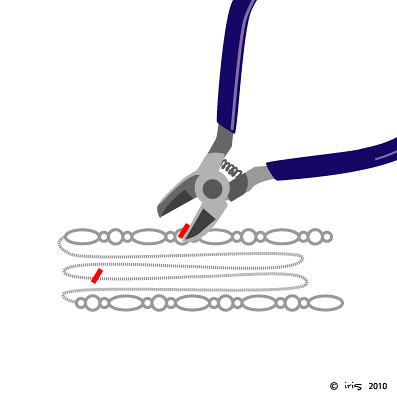
Use the wire cutters to cut two pieces of jewelry chain of the desired length for your necklace. These two pieces should be of approximately similar length (if you want the charm centered), but you can play around with this proportion.
Step 3: Open Jump Rings
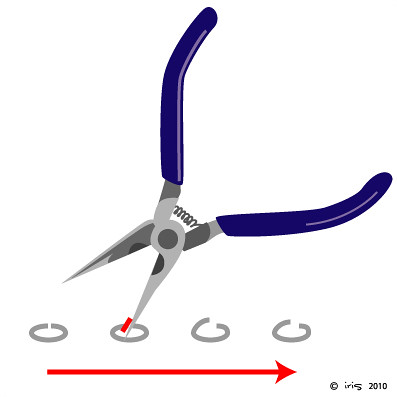
Bend open the 4 jump rings with a needle nose (or some other) pliers.
Step 4: Attach Chain+Charm with a Jump Ring

Thread the charm and first piece of chain onto an opened jump ring. Use pliers to bend the jump ring closed, as shown. Do this again, with the second piece of chain and a new jump ring, to the other side of the charm.
At this point, I like to test the chain lengths and hold the necklace around my neck, to make sure it's the correct balance and length.
Step 5: Attach Clasp to Chain with Jump Ring
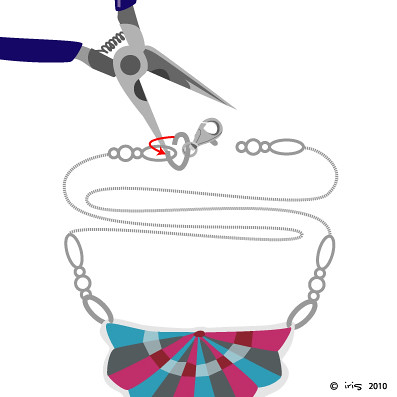
Thread one end of the chain and the clasp onto a third jump ring. Use the pliers to bend the jump ring closed.
Step 6: Attach Jump Ring to Other Chain End
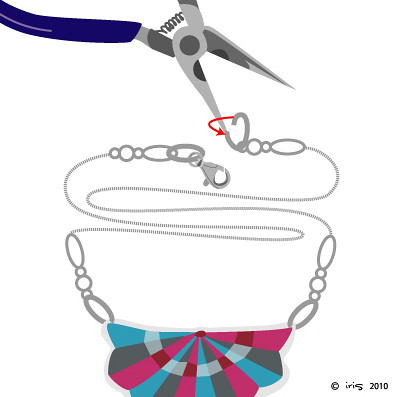
Take your last jump ring and thread it onto the other end of the chain. Use pliers to bend the jump ring closed.
Step 7: Done!
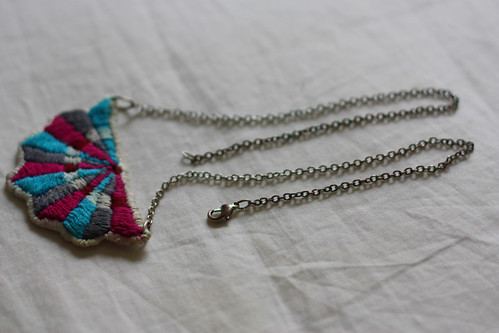
The necklace is done, with two pieces of chain at either end of the charm, closed with a clasp.


2 comments:
I feel like that took you a long time in illustrator...!
I'd say the whole series took maybe 2.5 hours to illustrate. Over the years I've become significantly quicker at tracing in illustrator. Some of my work takes a lot longer.
Post a Comment