Tuesday, August 24, 2010
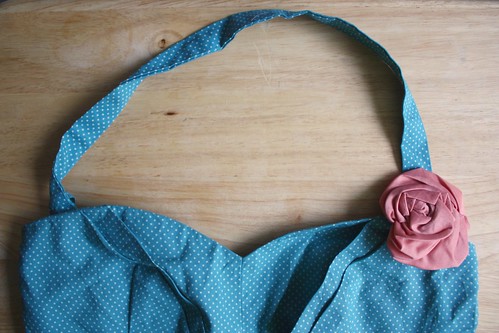
One more in a series of fabric flower tutorials. This satin rose looks fancy, but the process to get there is easy. No worries!
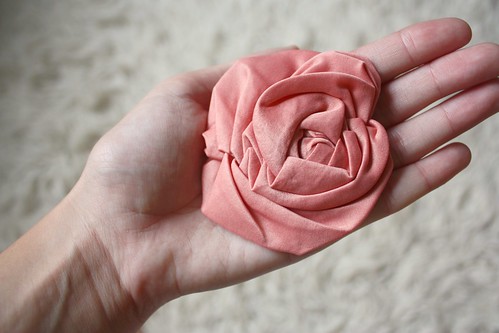
A really quick Satin Fabric Rose Tutorial inspired by couturesmith.
Step 0: Gather Materials
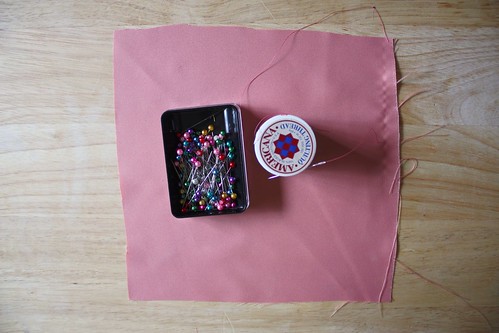
Materials: Square of Fabric (I used an 8" square of satin to get a 4" wide flower- you should use fabric more substantial than a chiffon/organza)
Strong thread + needle (I used a quilting thread, if you're using something weaker, you should double the thread)
And [optional] pins
Step 1: Place Your Fabric Square, Right-Side Up
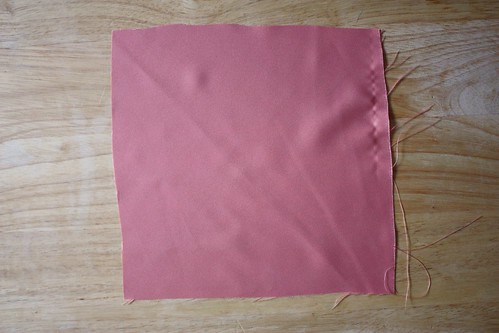
Place your fabric square on your surface, right-side up.
Step 2: Fold Fabric Square Diagonally, As Shown
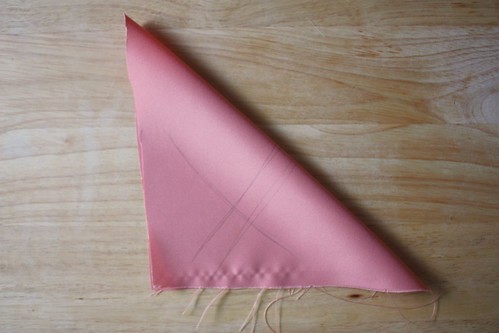
Fold your fabric square diagonally, as shown in the photo. Wrong-side should be facing up.
Step 3: (Optional) Pin One Side + Folded Edge, If Needed
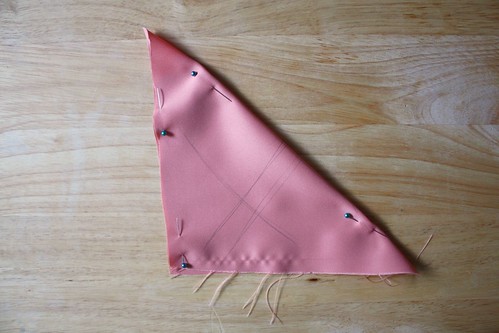
If the fabric is slippery like my satin here, you might want to pin one side AND the folded edge, as shown.
Step 4: Sew 1 Edge and Folded Edge
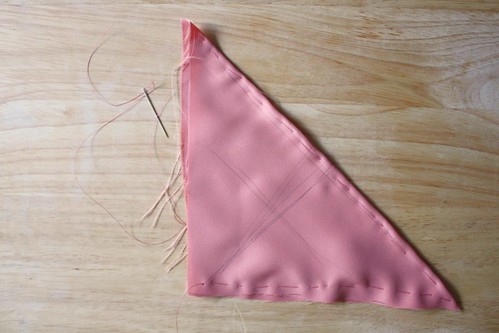
Leaving a *long* knotted end, sew the folded fabric together, along two sides: one side MUST include the folded edge, as shown. It's important that you vary the length of the stitches in order to get flower petals of various sizes. The knotted end of the thread must be long enough to grip with your fingers.
Step 5: Flip Fabric, Right-Side Out
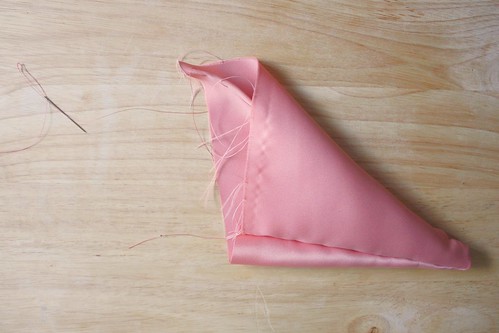
Pulling the right-side of the fabric through your one unsewn edge, flip the fabric triangle right-side out.
Step 6: Pull the Two Thread Ends, Bunching the Fabric
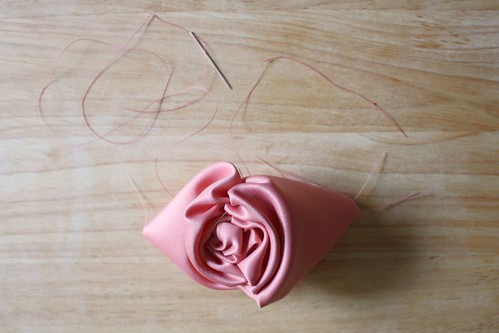
Pull the two ends of the thread (the knotted-end and the needle-end). The fabric should bunch up as shown.
Step 7: Running Stitch the Back, Raw Edges
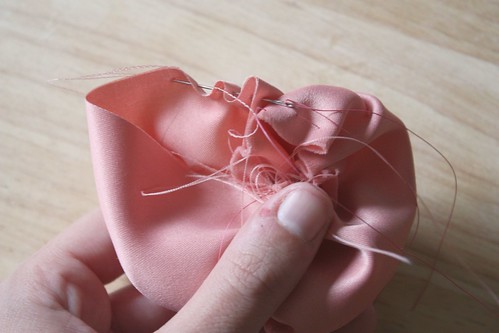
You should have one "bad side" of the flower with raw edges from the one unsewn side of the triangle. Do a loose running stitch around these raw edges.
Step 8: Pull Thread Lightly to Close
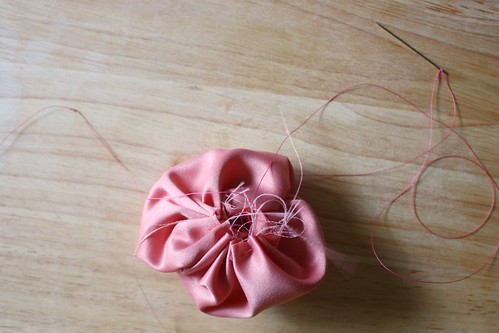
Pull the running stitch thread lightly, to close up the raw edges, as shown.
Step 9: Secure Thread Ends
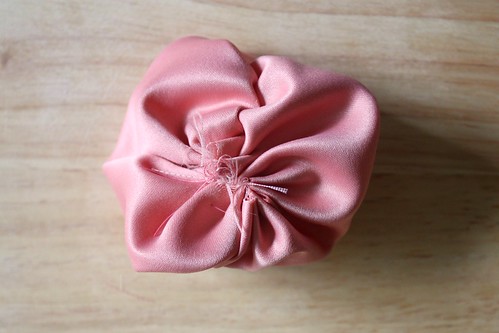
Secure *both* thread ends to the back of the flower with a knot or two, then snip.
Step 10: Arrange the Flower "Petals" as Desired
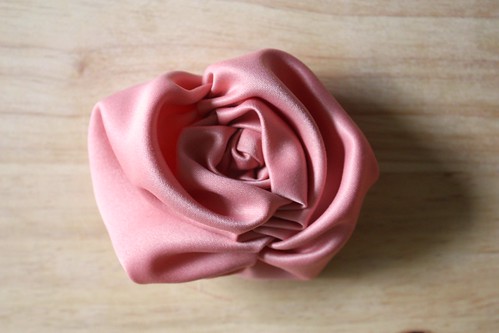
Arrange the flower petals into an aesthetically pleasing look. you might need to use a spare needle to do so.
Step 11: With a Damp Cloth, Steam-Iron the Flower Flat
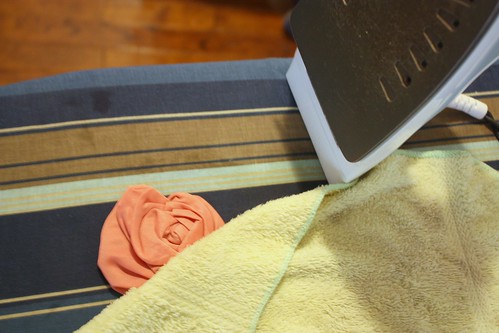
Get a damp cloth, place it over the flower on an ironing board, and then press with the iron for 10 seconds at high heat. This will steam the flower flat. You should do this for both sides of the flower.
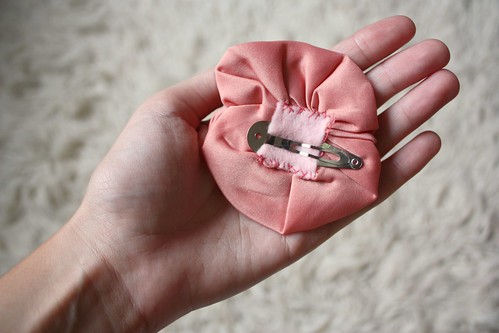
Step 12: Sew Small Piece of Felt to Back
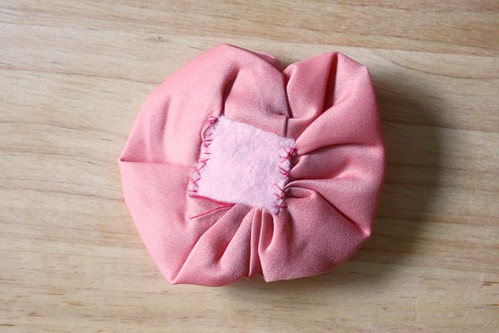
Sew a small piece of felt to the back of the flower, so you can slip a hair clip or brooch pin into the flower and interchange it as desired. Be sure to only sew two sides of the felt, as shown.
Step 13: Done!
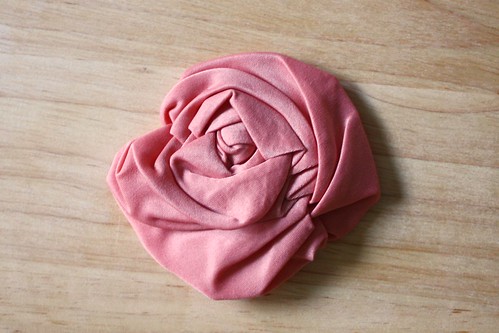
Slip a clip into the felt, and you're done!
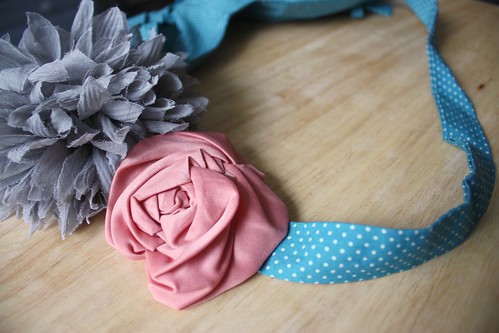
Attach it to your hair, blazer, or favorite blouse.


11 comments:
love this DIY... clever and easy to do...
I love this! Thanks for the tutorial
Thanks! I borrowed much of the tutorial from couturesmith, but added some finishing steps.
wonderful. I've just tried to make it. but I have not iron it. cause at my place it is already late at night. cant wait to see it on my niece headband :D
Awesome, after ironing it should really make a great headband accent :)
Thank you so much! I've been looking for this type of rosette for a long, long time and I'm so glad I came across your blog.
Thanks for stopping by, Jodie! I have a bunch of additional flower tutorials that you can look through!
ÇOK TEŞEKKÜR EDERİM
This is just awesome..love both the pressed & unpressed one...thanks a million for the tute
love this diy, so pretty.
xo erica
Finally a pretty rose I can make to add to my tops and so easy to make and so realistic . Thank you
Post a Comment