

Wednesday, June 19, 2013
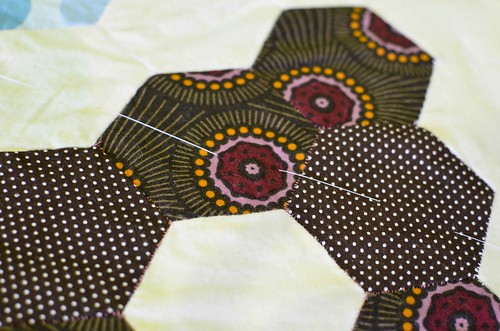
After taking nearly three years to complete step one of the hexagon quilt (hand-piecing the top), it's only fitting that it took two attempts to complete step three: basting the quilt sandwich. And I have the blisters on my fingers to show for my efforts.
It's called a "quilt sandwich" because you're loosely attaching the quilt top to the batting to the backing. Three layers = a sandwich. Oh, those clever quilters!
Lessons Learned.
Do not bother hand-basting in a space that is too small for your quilt. When basting, pick up several stitches first before pulling the whole length of the thread through. It's probably best not to pre-shrink, so that any wrinkles incorporated during the basting stage might be passed off as old-timey quilt shrinkage.
Step 1: Baste in too small space.
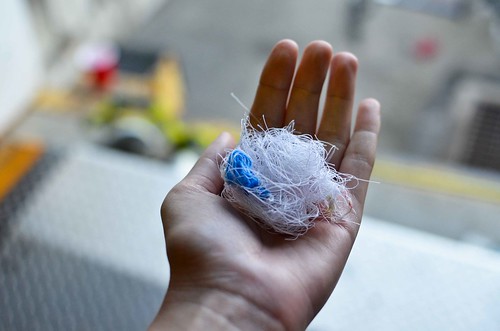
Step 2: Undo all the baste stitches because you basted in wrinkles.

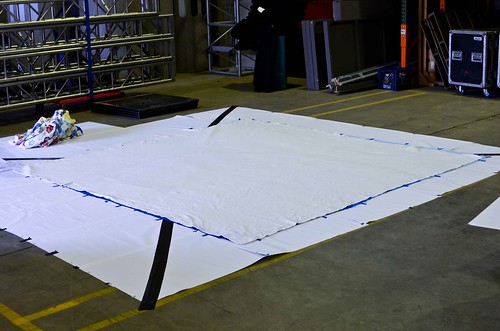
Step 3: Cover warehouse ground in paper.

Step 4: Attach safety pins to the center point of each edge of backing, batting, and top (12 pins total). Step 5: Tape quilt backing to ground.
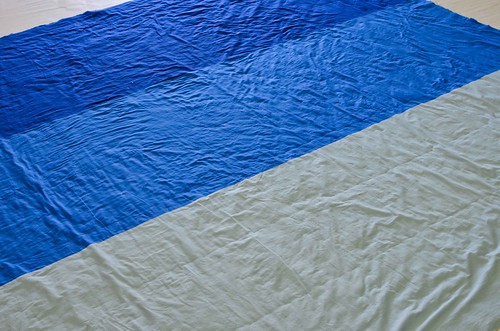
Step 6: Center batting (Warm & Natural, part cotton part polyster because) over backing, using safety pins as guide.
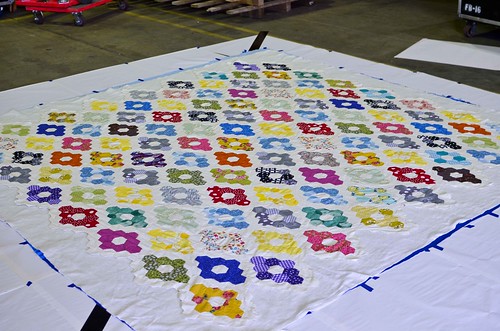
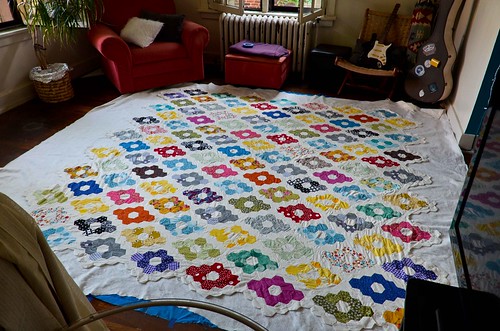
Step 7: Place quilt top centered over batting, using safety pins as guide for center points.
Step 8: Baste three layers in a 12" grid pattern, one quadrant at a time.
Step 9: Marvel at the miracle that is a nearly smooth quilt sandwich.
How To: Hexagon Quilt Top Piecing9/11/2010Progress Report12/15/2010Progress Report4/4/2012Progress Report4/18/2012Progress Report5/16/2012Step One: Hexagon Quilt Top Done5/29/2013- Step Two & Three: Backing & Quilt Sandwich 6/19/2013
- Step Four: Hand Quilting 8/28/2013
- Step Five: Non-Traditional Hexagon Quilt Binding Tutorial 9/18/13
- A Review of the Hexagon Quilt 10/2/13


0 comments:
Post a Comment