Wednesday, November 2, 2016
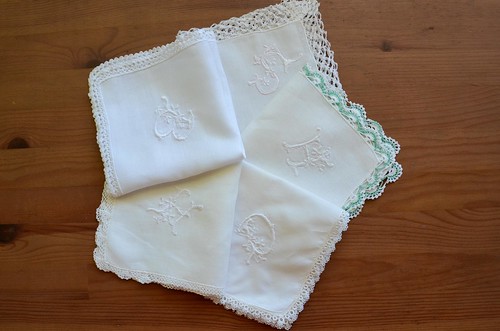
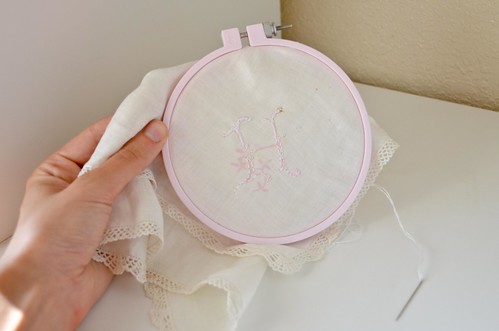
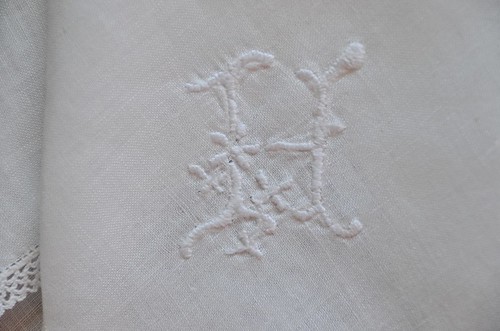
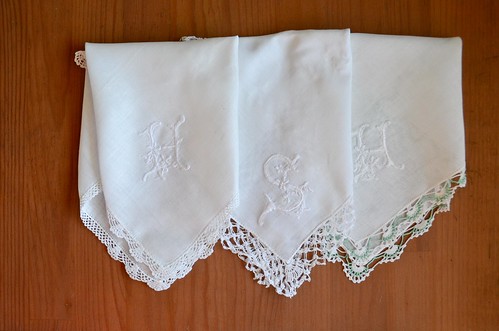
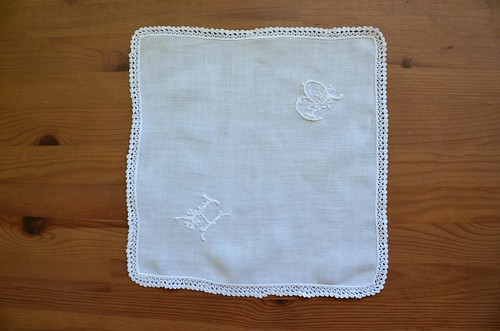
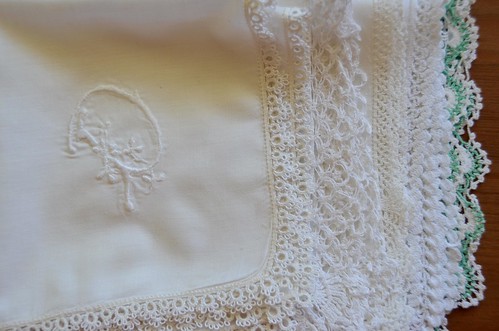
I purchased a batch of vintage crochet-edged handkerchiefs from etsy and then hand-monogrammed away for a personal touch to this item that likely no one will ever use, lol. But I like sewing on the bus and while watching television, so it all evens out.
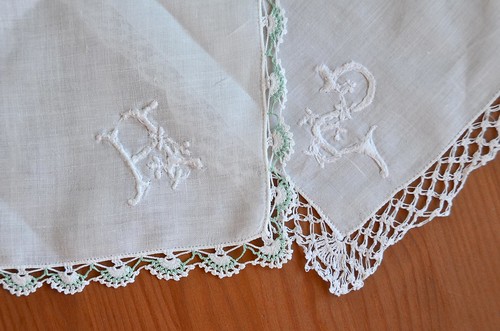
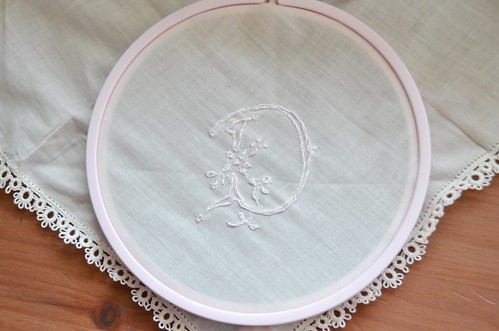
I used the flowered monograms from Needle N Thread and then generally followed this YouTube tutorial from Malina GM for hand-embroidery monograms. Yes, it's in Russian, but that doesn't seem to matter. What matters is that you get practice beforehand! After three monograms I finally started producing a consistent outcome!

Tips
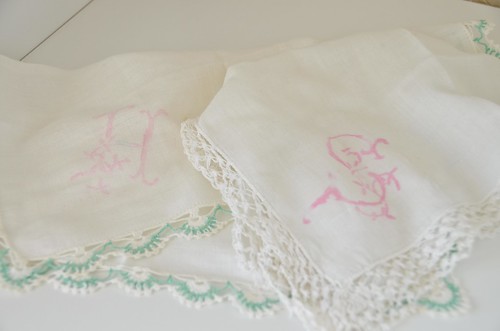
- Using already crochet-edged handkerchiefs provides visual interest from any perspective.
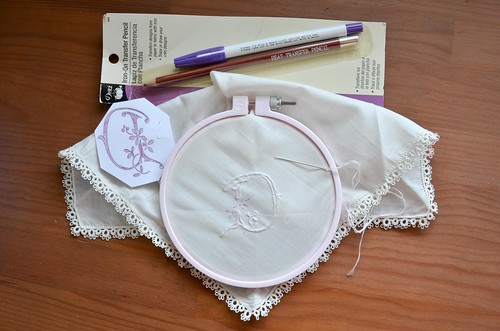
- To center placement of the iron-on transfer on fabric, it helps to cut the corners off at a 45 degree angle.
- Cover noticeable spots with the monogram. (Embellish as needed).
- Use a water soluble marker or pencil to fill in details that did not transfer via the iron-on. (Winging it does not work).
- It might be wise to use a water soluble stabilizer on the bag of the handkerchief, to keep the delicate fabric from stretching or warping too much.
- Embroidery thread is made of 6 strands, use only 2 at a time.
- When outlining the monogram, use split stitch instead of back stitch on thinner fabrics like handkerchiefs. (Avoiding using the same entry/exit multiple times).
- When outlining the monogram, use smaller split stitches when the curve is inward. (Threads tend to show otherwise. You want them hidden in the satin stitch).
- During satin stitching, I like to have the inner curve upward, and bring my needle up through that side, so as to cover the split stitches on the underside with the satin stitch.
- Fourth time's the charm. (You may need ~three practice runs, unless you embroider regularly).
- Soak finished monogram in cold water with a drop or two of bleach, for an hour+. Wash in delicates cycle. Iron while still wet.


0 comments:
Post a Comment