Wednesday, April 26, 2017
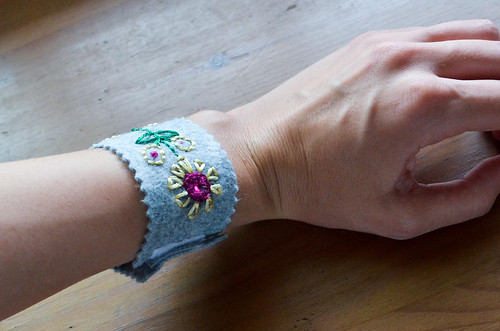
Yes! Now we make a light up wristband or light-up bracelet or whatever with one light!
If you've read through the eTextiles Tips & Tricks and know how to knot thread & thread a needle, and have your hand-sewn felt wristband, then you can begin! Even if you don't have a felt wristband, you can do this project with a random piece of fabric, or a belt, or a hat, or something. You really do, however, need to know the eTextiles Tips & Tricks and how to knot thread & thread a needle.

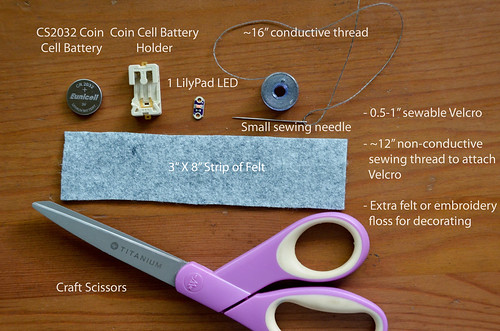
Supplies for the Light Up Wristband with One LED
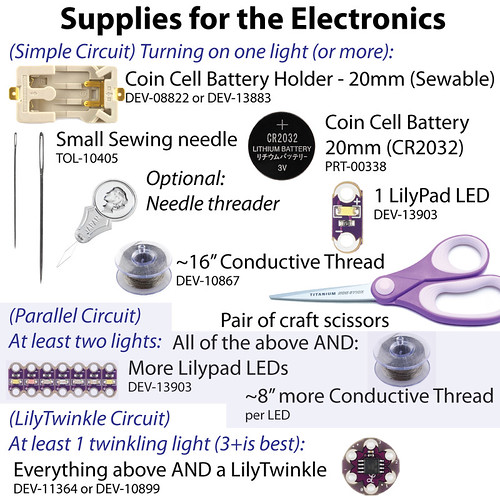
- 1 CR2032 Coin Cell Battery (PRT-00338)
- 1 sewable battery holder (DEV-08822 or DEV-13883)
- 1 Lilypad LED (DEV-13903)
- ~16"+ conductive thread (DEV-10867)
- needle (small enough to fit through the connection point/hole) (TOL-10405)
- craft scissors
- felt wristband (or textile of some sort).
Before you begin...
It's usually wise to prototype your electronic circuit design using paper first: http://byov.blogspot.com/2017/04/etextiles-paper-prototype-before-you-do.html. Just cut out the pieces you'll be using from the paper (i.e., a battery holder and one LED), tape them down onto a piece of paper that resembles the necessary circuit layout, and then draw lines connecting the positive connection points. And then a line connecting the negative connection points. These represent two separate pieces of thread, and remember, they should not intersect!
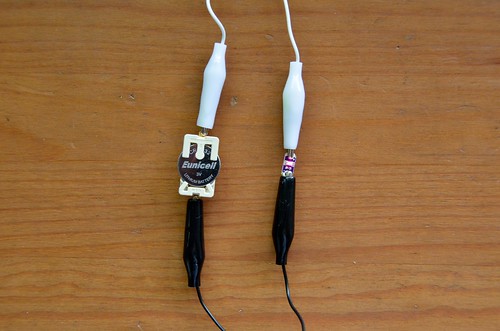
If you've got some alligator clips, it's often nice to test out your design to ensure everything works before you sew it to fabric. I've discovered dead batteries this way ;)
- If you're doing a fancier design, you may wish to mark where the LED & battery holder should be sewn.
I'm going to attach my components-felt to a fancier embroidered wristband. I'll cut a tiny hole in the main flower so that the LED can shine through. But first I have to figure out where to place the LED on my plain felt.
You can also just sew your electronic components directly to the felt wristband, too. They'll just be a bit more obvious.
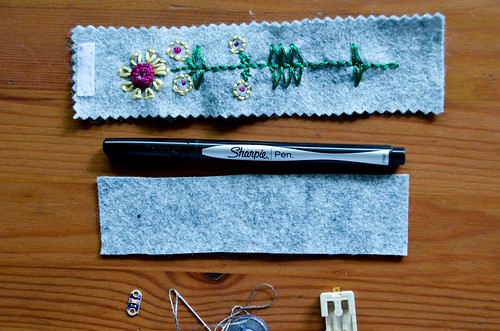
- Double pretzel knot the thread end & thread your needle
Instructions for starting your hand-sewing: How to knot thread and thread a needle.
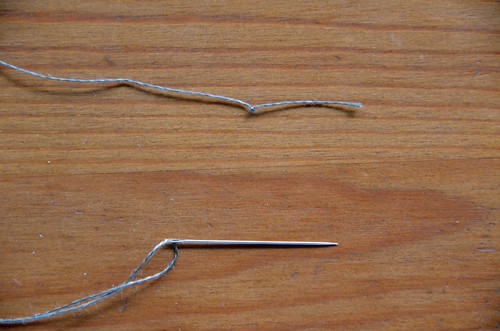
- Push needle through positive end of battery holder, back to front.
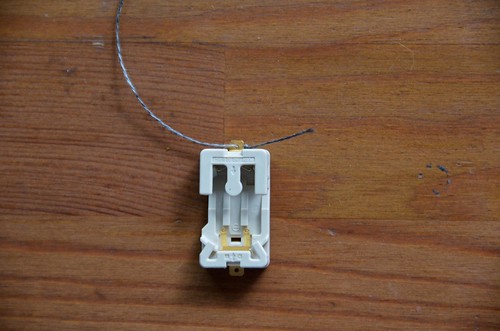
- Place battery holder in desired location, then push needle through the fabric.
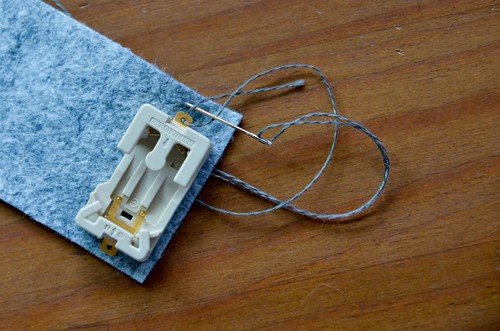
- Push needle back up through fabric, close to previous stitch. Then push needle down through the hole in the metal connection point.
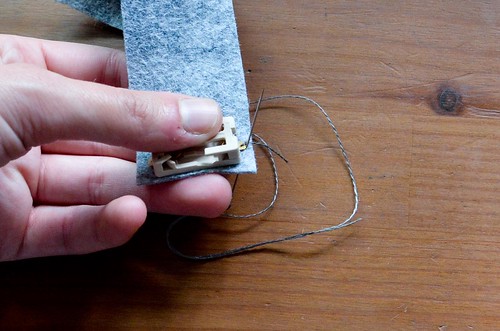
- Repeat steps 5&6 four or five times for a secure connection (i.e., this is the overcast stitch)
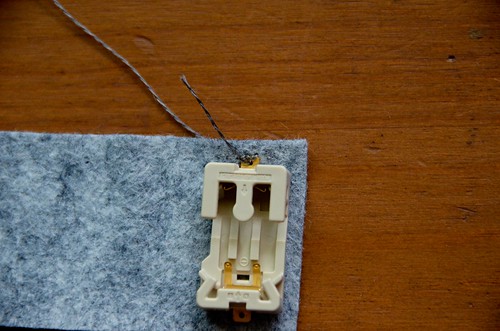
- Use a running stitch to sew to desired location of the LED
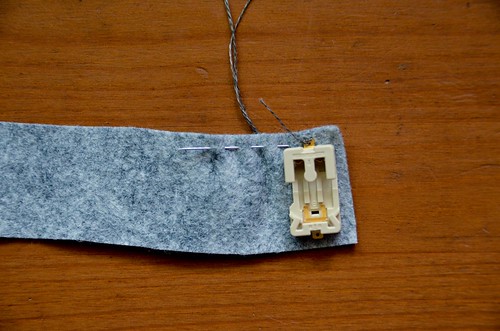
- Use the overcast stitch from steps 5 & 6 to secure the positive connection point of the LED.
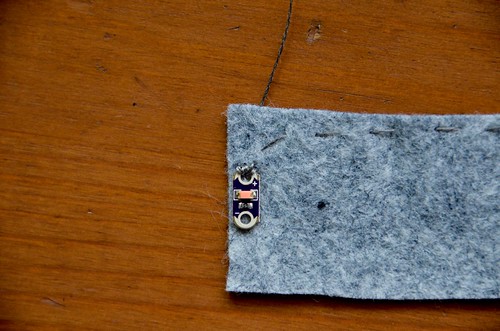
- Secure the end of the thread by pushing the needle through a few previous stitches, preferably on the back of the work.
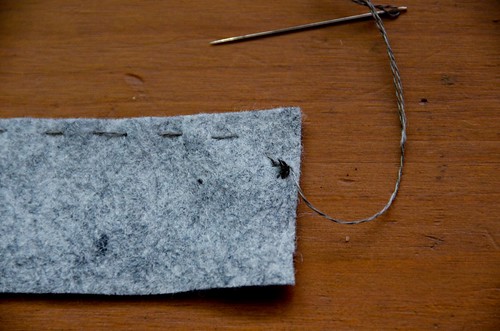
- Trim any loose thread ends.
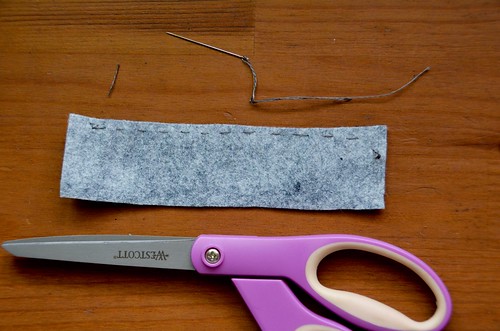
- Repeat steps 3-12 for the negative side of the battery holder and LED.
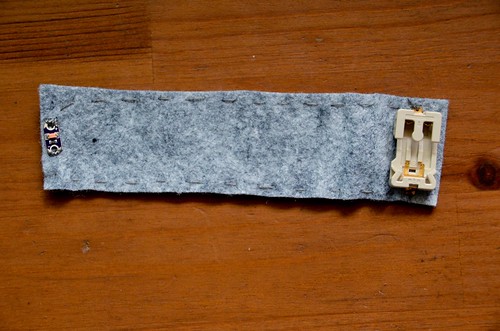
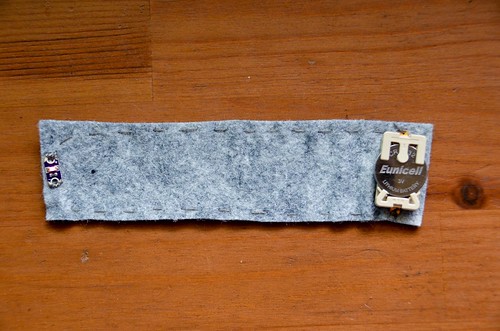
- Place the coin cell battery into the holder, matching the positive end to the positive side of the holder. The LED should turn on.
- (Optional) If you have a fancy cover for your wristband, you should cut a hole in the fancy felt where you want the LED to shine through.
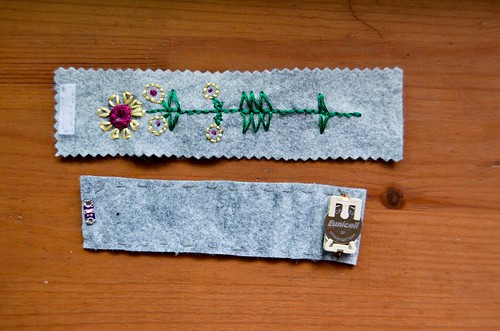
- (Optional) If you have a fancy cover for your wristband, you can attach the circuit felt to the cover felt, using non-conductive thread.
Be sure to remove the battery when sewing, so that the conductive threads don't touch as you sew with your non-conductive thread!
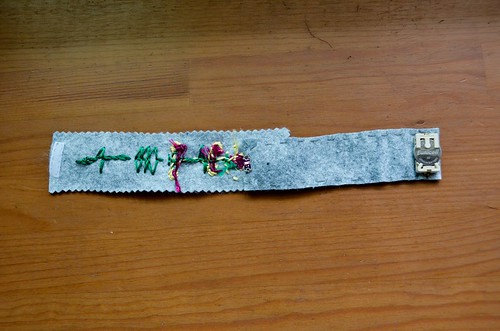
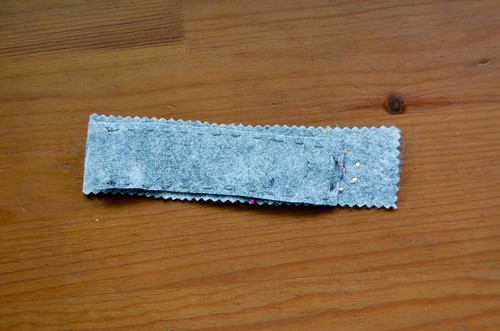
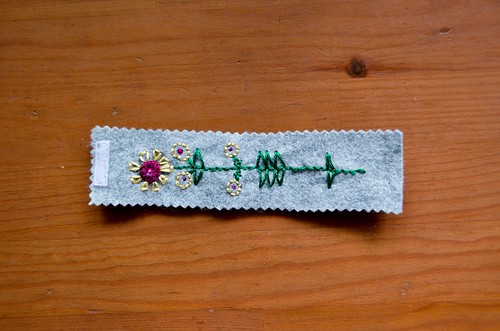
- Replace the coin cell battery and you're done!


0 comments:
Post a Comment