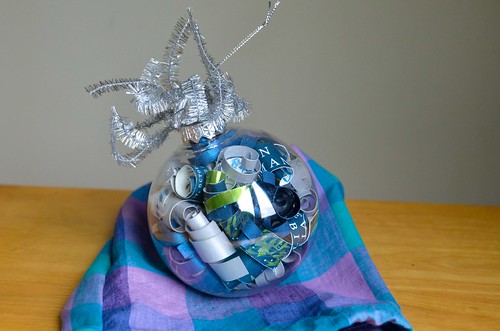
How To: Wedding Invitation Xmas Ornament

Sunday, December 24, 2017
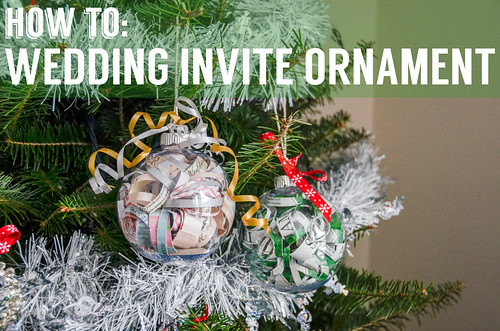
Paper Strips Christmas Ornament
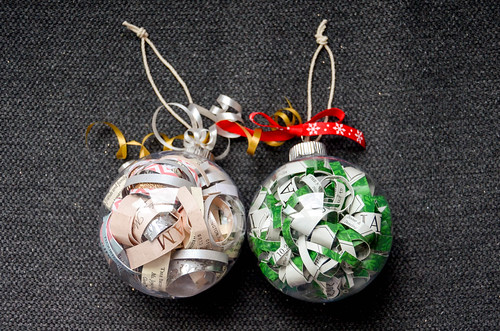
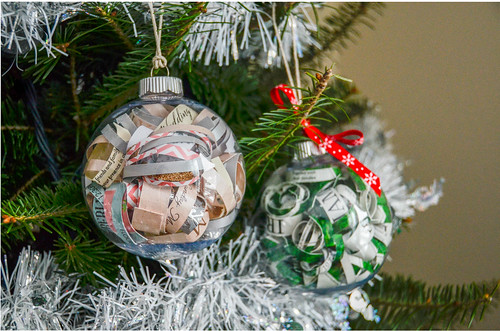
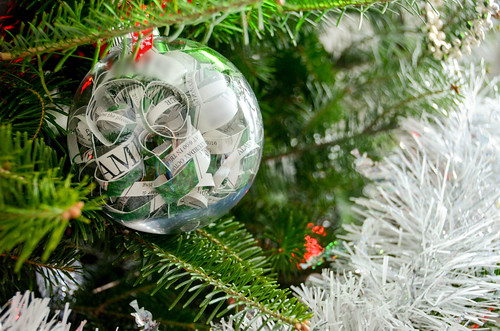
Since we're in the holiday spirit of making our own tree ornaments, here's another inspired by SomethingTurquoise's Wedding Invitation Ornament. They tend to use more embellishments (glitter, colorful papers, etc.), whereas I prefer to just stuff the plastic ornament balls with curlicues of wedding-relevant papers. The pink/silver exemplar includes the wedding invitation & envelope, rehearsal brunch invite, wedding program, and a thank you card. The green ornaments is just a pile of mis-addressed wedding postcards, fussy cut for important details. The pink/silver has lots of strips that serve only a decorative purpose, whereas I had about ~9 copies of the same green/white postcard to choosily cut-up for the other one.

You could, of course, use different papers as the medium - birthday invitations from every year of a child's life, drawings/doodles, family holiday cards, your undergraduate diploma when you've achieved a higher degree, a paper tablecloth from a particularly delicious meal,... The options are endless!
  1. Supplies: Plastic DIY ornament, Xacto knife, ruler, cutting mat, (optional embellishments: ribbon, glitter, colorful paper, veil material, ...).

    Main filler is: Wedding Papers (invites, Save The Dates, Rehearsal Invites, Envelopes, Thank you cards, Ceremony Program, etc.) - Can also be non-wedding paper (Birthday cards/invites?)
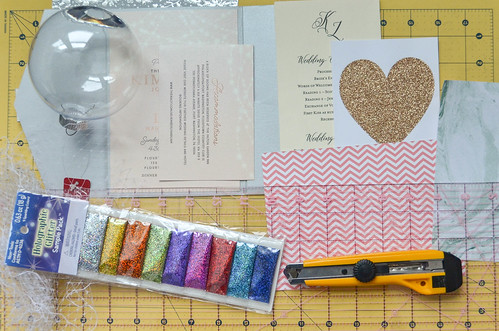
    Supplies: Can use all sorts of paper (wedding invites, birthday invites, thank you cards, wedding ceremony program, pretty envelopes, etc.)
  2. Cut papers into differently-sized strips, preserving important words.
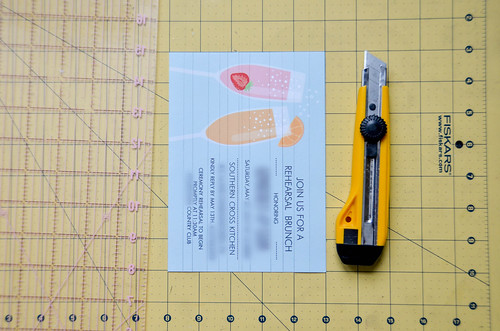
    1. Cut papers into differently-sized strips, preserving important words.
  3. If no words to preserve, cut into random sizes (I like 1/4" and 1/8", but 1/2" also works)
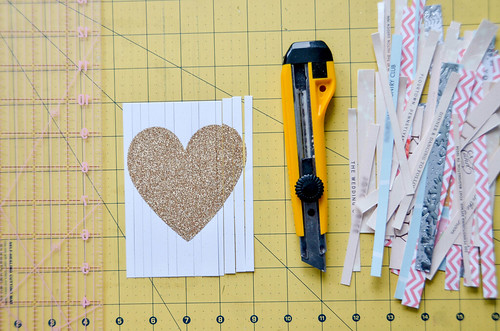
    2. If no words to preserve, cut into random sizes (I like 1/4" and 1/8", but 1/2" also works)
  4. You can even cut pretty envelopes, if you cut around the creases & glue
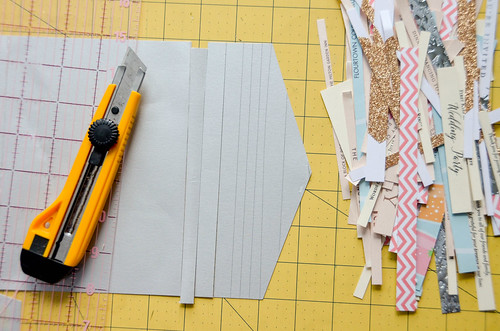
    3. You can even cut pretty envelopes, if you cut around the creases & glue
  5. I like to cut enough strips to completely fill the ornament bulb, but you could also use decorative filler (ribbons, veil, scrapbook paper, etc.). Just intermittently add embellishment in the middle of adding invite paper strips.
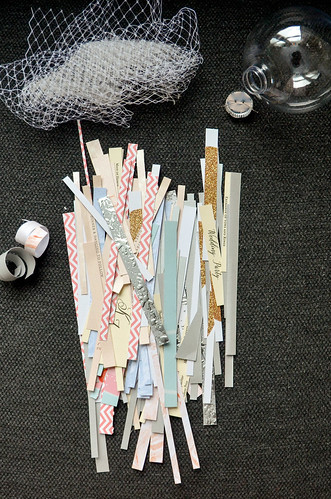
    4. I like to cut enough strips to completely fill the ornament bulb, but you could also use decorative filler (ribbons, veil, scrapbook paper, etc.)
  6. Most wedding papers are cardstock, I find it's easiest to just roll it into a spiral with my hands, and then shape a bit afterwards
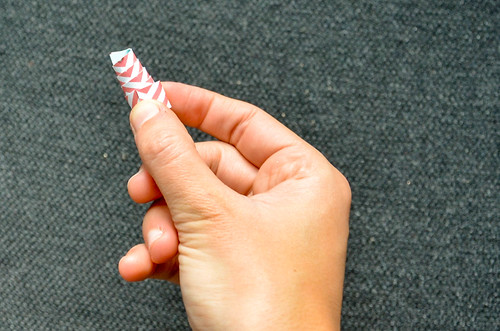
    5. Most wedding papers are cardstock, I find it's easiest to just roll it into a spiral with my hands, and then shape a bit afterwards
  7. Curlicue strips as in previous step, and place into ornament bulb.
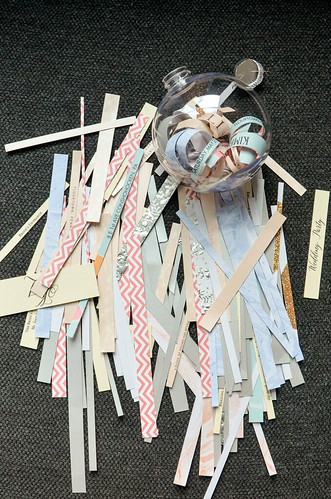
    6. Curlicue strips as in previous step, and place into ornament bulb.
  8. You may need to selectively place/move strips to show important information. A crochet hook is useful for this.
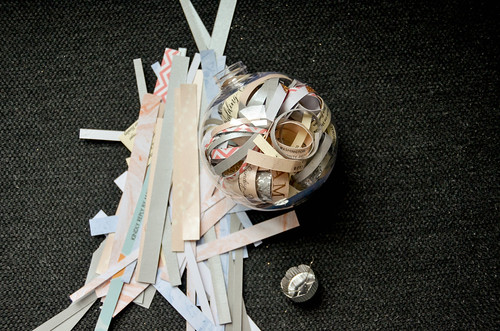
    7. You may need to selectively place/move strips to show important information. A crochet hook is useful for this.
  9. Cut some hemp cord, knot it, and pass the knot through the ornament loop & cord loop, can now hang on tree, or...
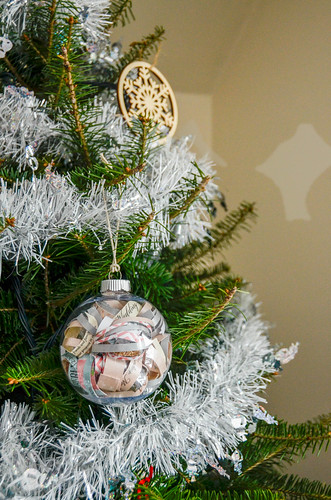
    8. Cut some hemp cord, knot it, and pass the knot through the ornament loop & cord loop, can now hang on tree, or...
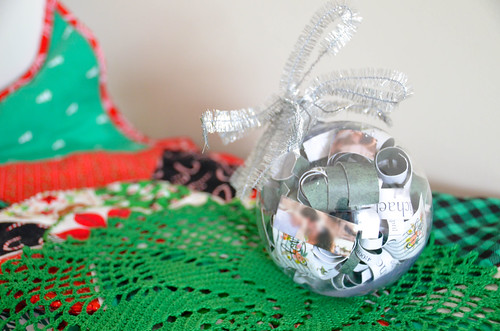
  10. Alternative: Fill an ornament bulb with copies of the same invitation (this is about ~8 postcards) - no problem showing names/important dates
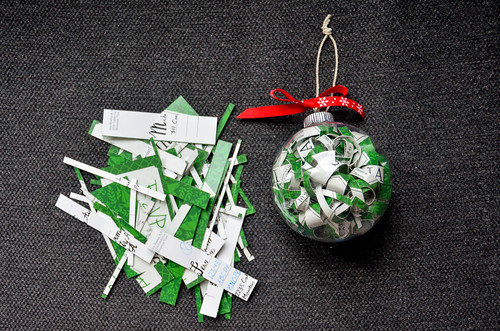
    9. Alternative: Fill an ornament bulb with copies of the same invitation (this is about ~8 postcards) - no problem showing names/important dates
  11. Tie ribbons to the cord/hanger.
    10. Tie ribbons to the cord/hanger.
Wedding Invitation Xmas Ornament
Invitation Christmas Ornament
Completed wedding invitation ornament
Another Wedding Invitation Ornament

0 comments: