

Sunday, December 17, 2017

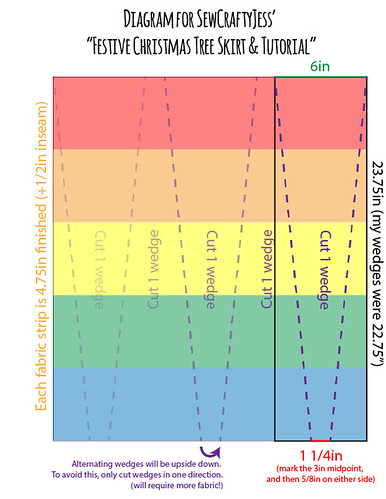
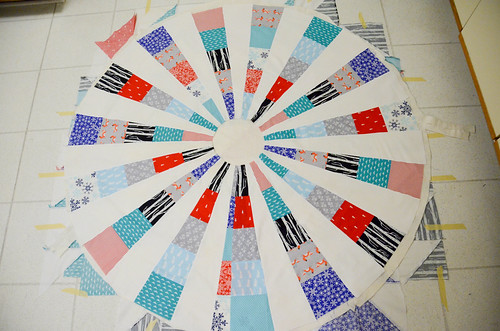
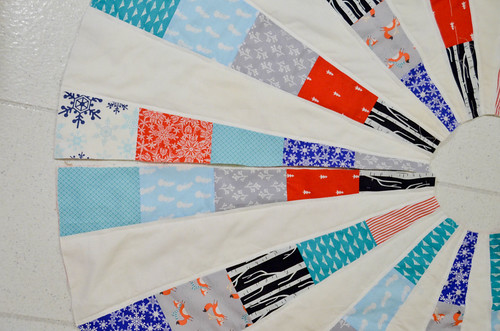
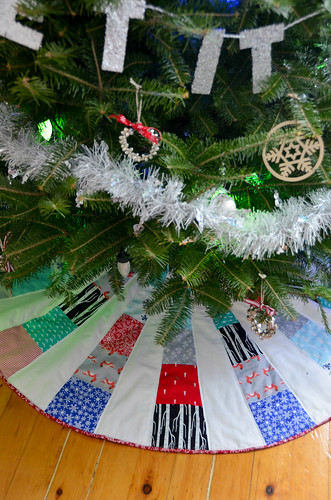
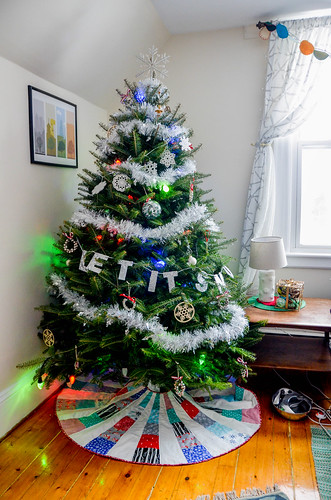
On Flickr I put together a gallery of my favorite circular wedge tree skirts, and ended up falling for Georgi's version with scrappy wedges alternated with white wedges. It's basically SewCraftyJess' Festive Christmas Tree Skirt Tutorial but done with charm squares, sewn together. With a little thought on Kai Ta Hetera's overview of the pattern (particularly steps 4-5), it occurred to me that I could sew together 5x 5" strips of fabric, and then cut wedges in alternating directions.
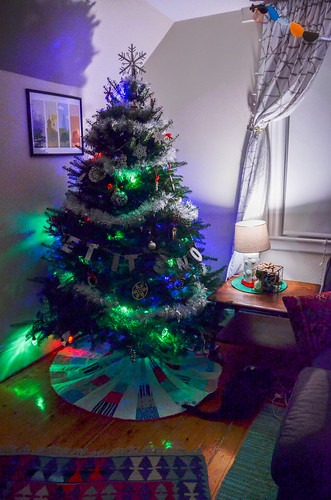
Other than using 5x 5" strips sewn together (ended up only being 22.25" tall) and cutting wedges in alternating directions, I pretty much followed SewCraftyJess' Festive Christmas Tree Skirt Tutorial to the letter. I also used my leftover binding-fabric scraps to make 4 ties, sewn into the underside's binding (basically, pinned right before the last step). I should've placed one of the ties at the inner circle of the skirt. Next time?
- Supplies: 4 yards fabric (6yds top + 3yds backing, if not cutting alternating wedges), 1 yd binding (or 2 fat quarters), 60x60" quilt batting (I sewed a bunch of scraps together), rotary cutter, scissors, cutting mat, thread, pins, sewing machine
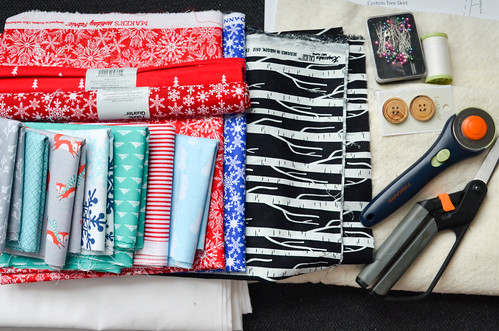
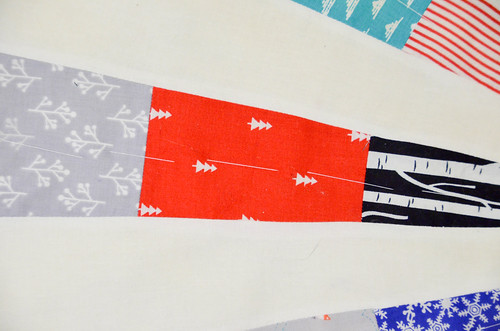
- Cut prints into 5" strips, sew together in groups of 5, cut wedges (in alternating directions). [BYOV's Cutting Rectangles]
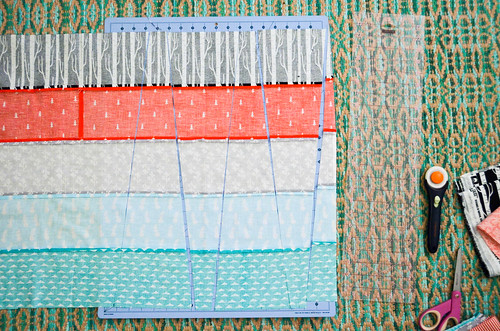
- SewCraftyJess' wedges were a little longer than mine, and Georgi's Skirt had 5" wide wedges instead of 6"...but just err on the side of making a few too many wedges!
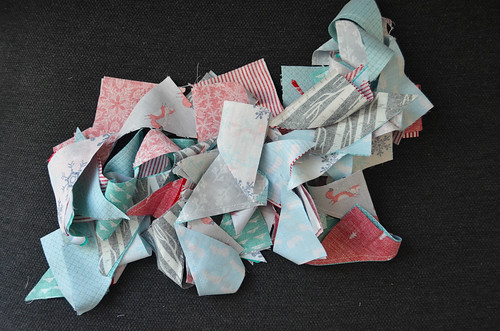
- Cut ~16 print/strip wedges, and ~16 solid wedges from white fabric (these don't need to be cut into strips and resewn)
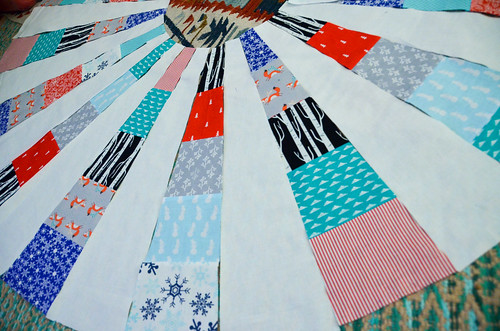
- Cut wedges until you have a full circle (about 16 print wedges, 16 white wedges)
- Sew wedges together using 1/4" inseam.
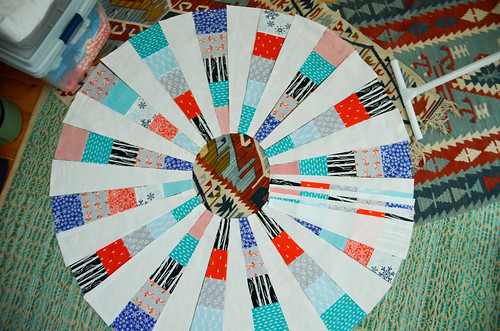
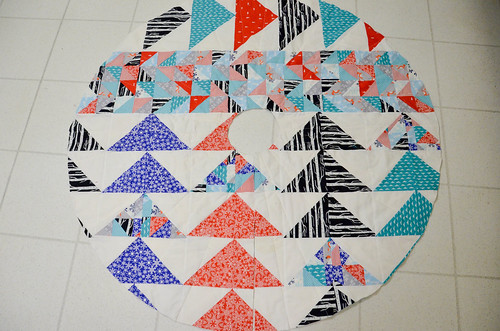
- Leave two adjacent wedges not sewn (i.e., don't make a full circle). If the end wedges overlap a bit, you can cut them so they don't overlap.
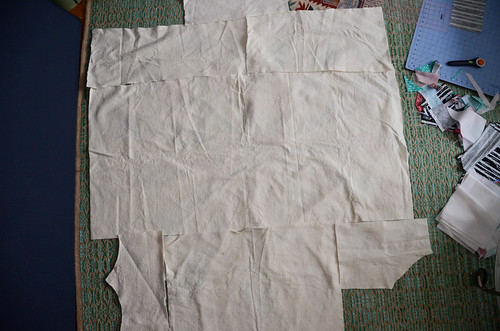
- Make the backing [BYOV's How To Assemble Half square Triangle Quilt]
- Ensure backing is large enough to cover the top (and then some!)

- Cut batting to cover top (and then some)
- Optional: you can baste scraps of batting together from a previous quilt and use that. The quilting will secure everything in place well enough. [BYOV's Tutorial on Piecing Together Batting Scraps]
- QUILT SANDWICH! Because I was low on backing/batting, I cut the batting to be slightly larger than the top. Instead of centering the batting on the backing, I could fussy-place it on top of the backing how it fits. Always make sure each layer is smooth. [BYOV's Quilt Sandwich]
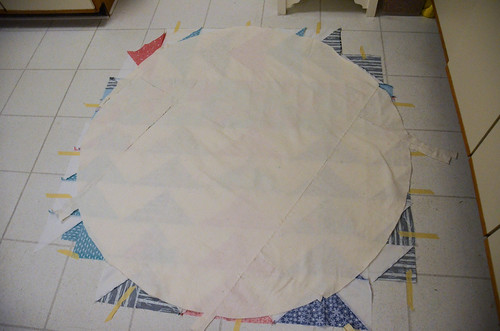
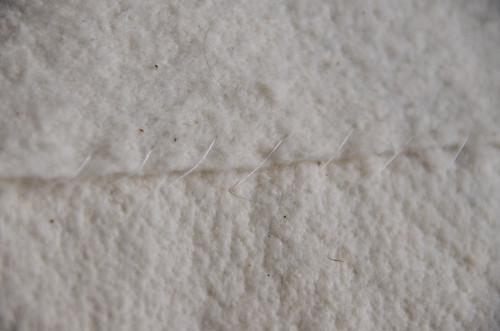
- Baste quilt sandwich together. I hand-baste, but you could also use safety pins. Check for no wrinkles on the back, when done. [BYOV's Thread Basting the Triangle Quilt]
![14. Check for [no] wrinkles on back of quilt sandwich](https://farm5.staticflickr.com/4734/38228043925_de1a1811b8.jpg)
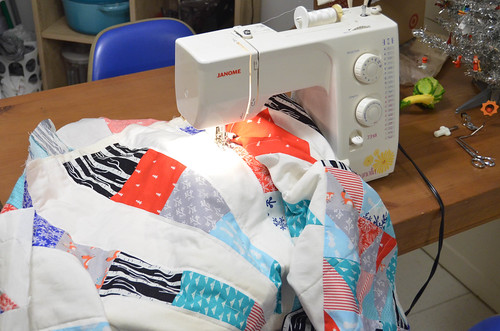
- Time to quilt! I sewed straight lines 1/4" outside both sides of the print/strip wedges. [BYOV's Beginning & Finishing Machine Quilting]


- Remove basting stitches / safety pins
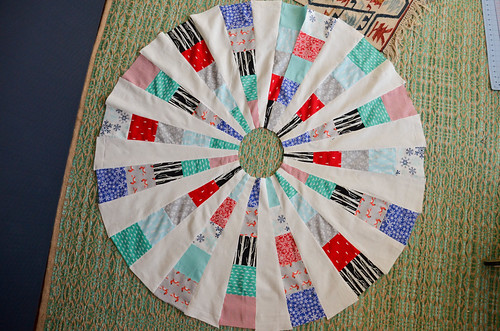
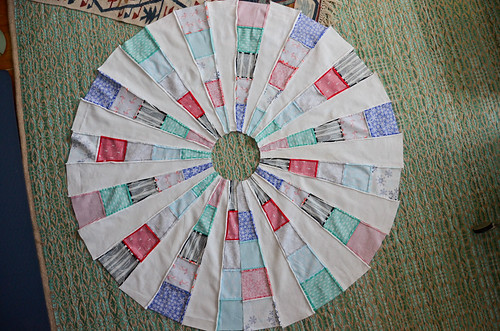
- Trim quilt. Cut line between formerly-overlapping wedges. Cut out circles in the middle of quilt top.

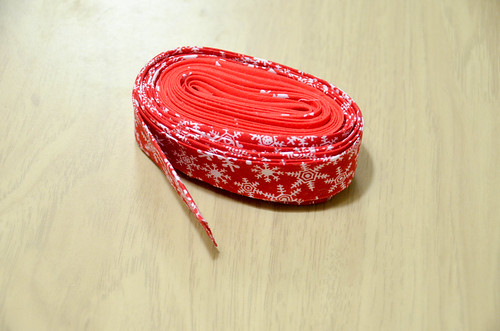
- Use 2 fat quarters to make continuous bias binding ~2.5" wide. Combine with mitered edge. [BYOV's How To Continuous Binding Bias Strips]
- Sew binding to top of quilt then pin binding around quilt edge. Now is a good time to make and pin ribbon/fabric ties for closing the skirt. [BYOV's Attaching Binding to Front of Quilt]. Because I started my binding on the curviest part of the quilt (not recommended!), I used my alternative mitered edge binding start/stop method, rather than the usual mitered binding join.
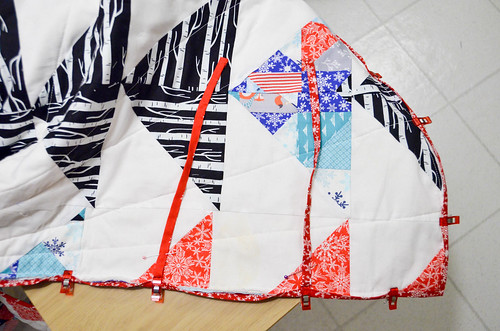
- Sew binding to back of quilt, I used red thread, since it shows on the front of the quilt, might as well be decorative. Now you're done! [BYOV's Attaching Binding to Back of Quilt]
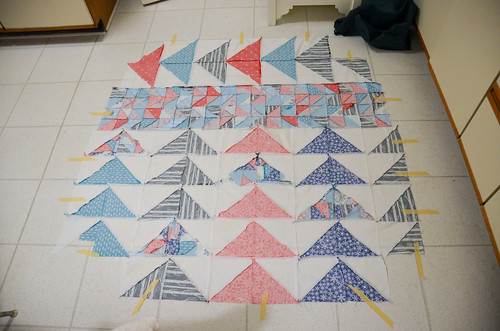
See also BYOV's tutorial on the triangle Christmas Tree Skirt Quilt for lengthier instructions on making a hexagon Xmas Tree Skirt (from triangles!). It's a wee bit smaller than this circular one, but size can be adjusted by adding/removing the outer rings of triangles:


1 comments:
thank you for doing this tutorial.
Post a Comment