

Sunday, June 24, 2018
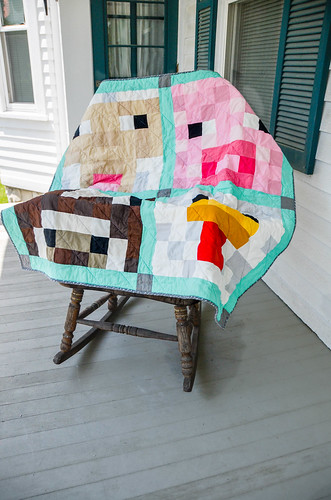
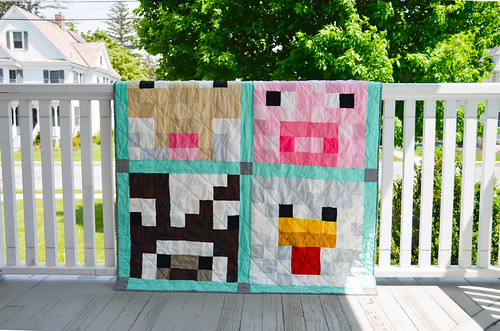
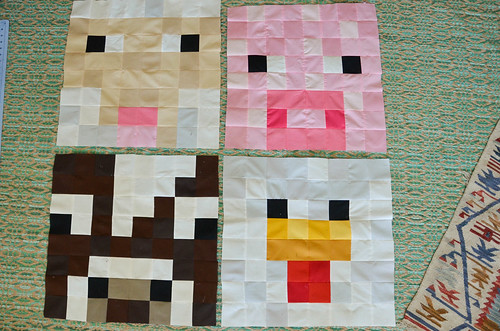
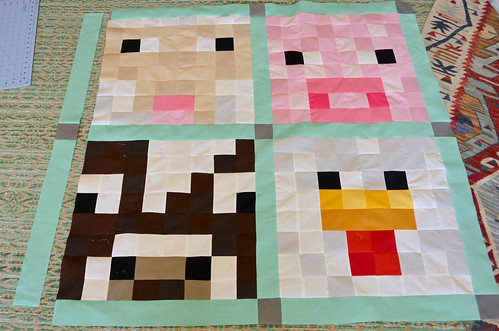
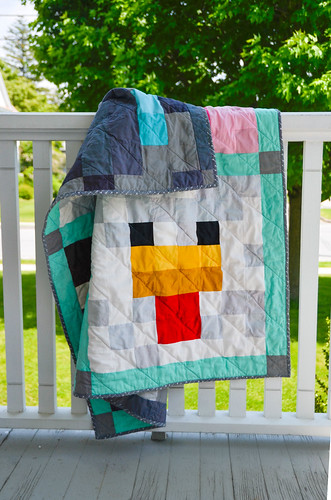
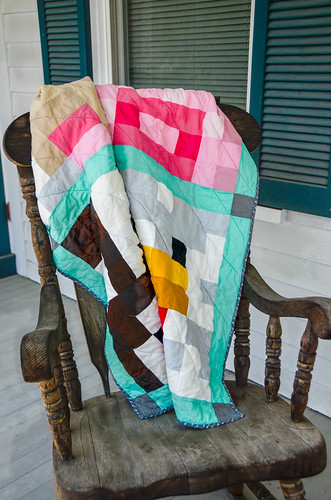
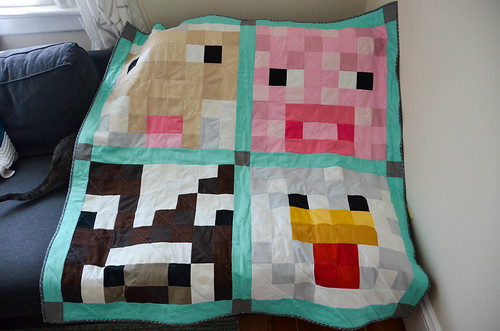
Many of the Minecraft quilts out there are rather large with 8+ characters, ending up around ~55 blocks wide. Single character quilts, such as this Creeper quilt from SewMod are one way to reduce the amount of work. For this baby quilt, I've kept it relatively simple, with four 8x8 animal blocks split by some sashing. About 19 blocks square, and just a little short of the correct width of a crib blanket (my fault for assembling the pig in a wonky way, and not buying enough sashing fabric!!). I took some inspiration from a few places, and dredged up random bits from my scrap stash, resulting in this super pixelated baby quilt. If you want a simpler, cleaner look, My Rainy Day Designs has some simplified Minecraft creatures. With a breakdown of the squares from elsewhere, you can still use the instructions on this post, or any website that describes how to assemble a square block quilt.
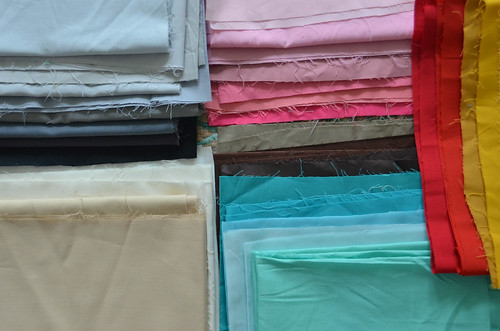
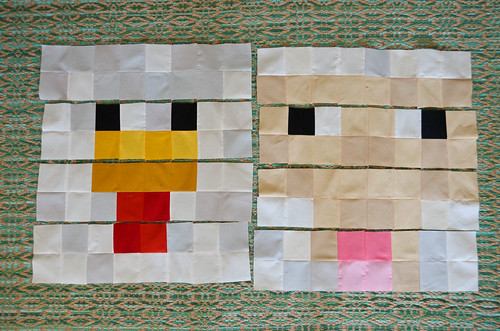
It is difficult to get exact Minecraft colors. I did my best by purchasing Solid Color Scraps by the pound from etsy/StashModernFabric. Any colors that were missing from that bundle, I filled in with Kona cottons and Symphony broadcloth from JoAnn Fabrics. In some cases, I didn't have enough of some colors, but many colors are swappable for others. For example, I used ivory instead of medium gray in the sheep, I added in a totally unnecessary shade of pink for the pig, mixed the white of the cow with ivory, used two different shades of super light gray in the chicken, used a sandy brown on the cow's muzzle instead of gray, etc. etc. Perhaps this is also enough to help us avoid copyright infringement? Perhaps?!
Some part of me suspects that a couple of these animals might even look like animals if you don't know Minecraft. But maybe not the sheep. The sheep is weird.

- Materials
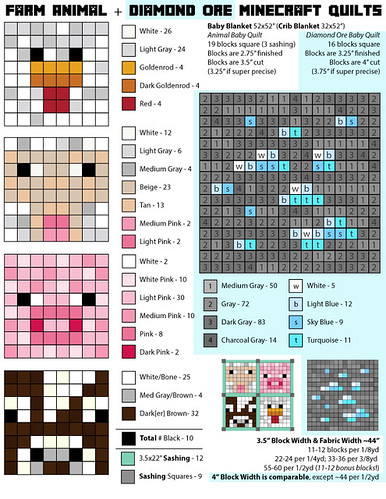
Animal Square Yardage: 1/8yd yields 11-12 squares (use for determining how much of the fabrics from the diagram needed - Note: these colors do not have to be exactly the same as the pixels in the game. You have a decent quantity of leeway, and I definitely adapted my color choices based on what scraps I had laying around.)
- White fabric: 65 squares (can use a mix of white & ivory/bone) = 5/8yd
- Light gray fabric: 30 squares = 3/8yd
- Medium gray fabric: 17 squares = 1/4yd
- Goldenrod fabric: 4 squares = -1/8yd
- Dark goldenrod fabric = 4 squares = -1/8yd
- Red fabric: 4 squares = -1/8yd
- Beige fabric: 23 squares = 1/4yd
- Tan fabric: 13 squares = 1/8yd (beige and tan are somewhat interchangeable)
- Dark brown fabric: 32 squares = 3/8yd
- Black fabric: 10 squares = 3/8yd
- White pink fabric: 10 squares = 3/8yd
- Light pink fabric: 30 squares = 3/8yd
- Medium pink fabric: 12 squares = 1/8yd
- Pink fabric: 8 squares = 1/8yd
- Dark pink fabric: 2 squares = -1/8yd
- Sashing fabric: 3/4yd
~4yd Fabric for the quilt backing
Sewing machine
60x60” low loft quilt batting
Thread, Pins, Scissors
Thread or safety pins for basting
Rotary cutter, mat, ruler
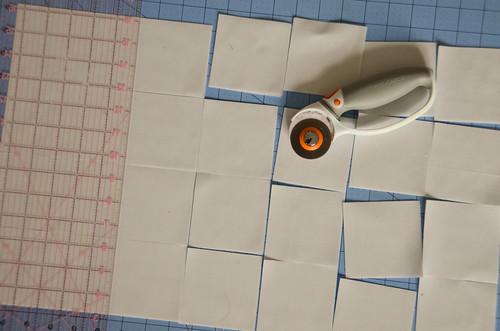
- Always starch & iron fabric before measuring & cutting!
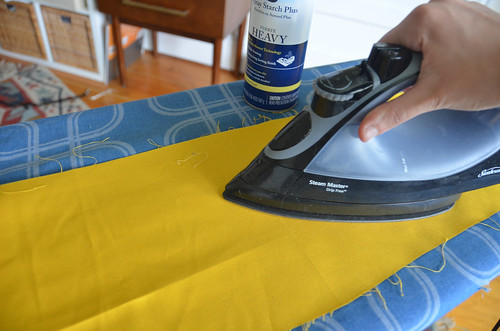
- Cut starched & ironed fabric into 3.25-3.5” squares, in colors from instructions guide at top of post.
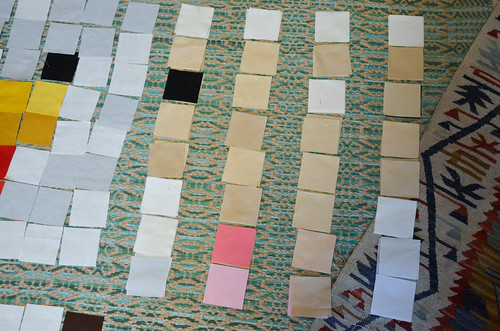
- Lay fabric squares out, according to diagram

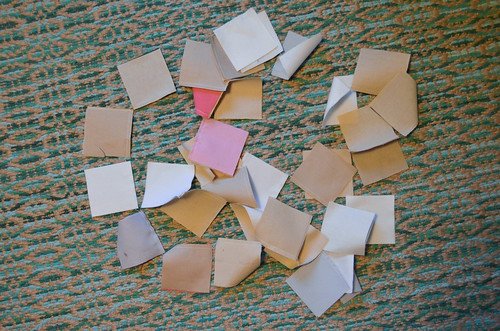
- Flip right-most column of squares onto neighboring left column.
(the guide has a good illustration of this step). I use chain piecing to keep my pieces in order and not spend too much time on backstitching ends!
Flip right-most column of squares onto neighboring left column.
You will be sewing along the right edges of the squares. I like to work
in quadrants (i.e., only 8x8 squares, or one animal, at one time).
- Stack the top pair onto the pair below, all the way to the bottom.
Stack the top pair onto the pair below, stack these 4 squares, onto
the pair below them. Continue to bottom of column, repeat for
remaining columns. You should have 8 piles.
- Sew pairs of squares together. Iron Seams open.
Sew pairs of squares together, along right edge. No need to snip thread between pairs, just keep feeding pairs of iron seams open.
- Pin & sew columns together, right sides together. Iron seams open.
At this point, it doesn't matter so much how you assemble the squares, just so long as you do it the same way for all the quadrants. If you trim blocks to be evenly/square in between sewing, you'll likely also end up with animal quadrants being different sizes. I tend not to do any trimming until the animal quadrant is completed.
- Pin & sew odd rows together, right sides together. Pin seams on one row to seams on the next, ensuring matching corners.
I don't have a photo for this step for this quilt top, but you can find a very similar tutorial and step in the previous Minecraft Inspired Diamond Ore Quilt Tutorial.
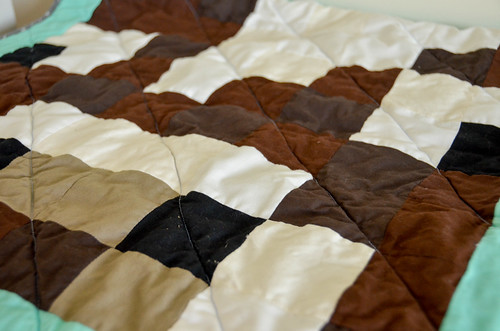
If you're like me and not 100% precise, you'll run into the occasional square that cannot be stretched out to match corners of the square it's being sewn to. In this case, I opt to sew in a pucker at the seam. If done well, the pucker crease will line up perfectly with the 4-corners, and will be nearly unnoticeable after machine washing & drying.
- Sew together remaining rows, and repeat for 3 remaining animal quadrants.
- Cut & assemble sashing
Sashing strips should be same width as a single uncut block, and should be the length of the shortest edge of an Animal Quadrant. You'll have to trim all animal blocks to this size (try to cut equal amounts from either side of the quadrant, centering the design). If you purchased 3/4yd of sashing fabric, then you can cut the long ways (up to 27" long). If you purchased 5/8yd, then you'll have to cut the short ways, and your sashing will only be 22" long. You'll have to trim your animal blocks down to the size of the sashing.
You'll need: 12 pieces of sashing and 9 sashing-squares. Assemble these sashing+square pieces as follows: 2 sashing, 3 sashing-square-sashing (these are horizontal sashing pieces), and 2 square-sashing-square-sashing-square. Sew with right sides together. Iron seams open.

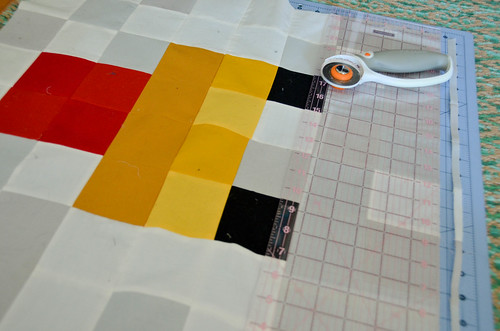
- Trim animal quadrant blocks to length of single sashing.
Longer sashing = less trimming of the animal blocks!
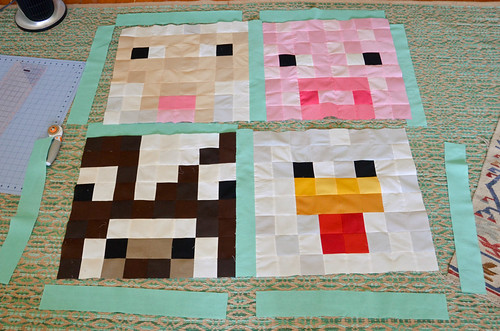
- Attach single sashing to quadrants.
Sew sashing to right side of sheep block, right sides together. Sew to left side of
pig block. Repeat with remaining animal quadrant blocks.
- Attach central sashing-square-sashing between both halves (right sides together, pin, iron seams open).
Repeat for 2 top and bottom sashing-square-sashing pieces.

- Sew square-sashing-square-sashing-square to right-most side of quilt (right sides together, pin, iron seams open, etc.)
- Repeat for left-most square-sashing-square-sashing-square piece
Always be sure to pin the square's seams to the sashing, so the seams line up in perfect corners!
- Iron seams open.
- Quilt top is complete!

- Complete the quilt.
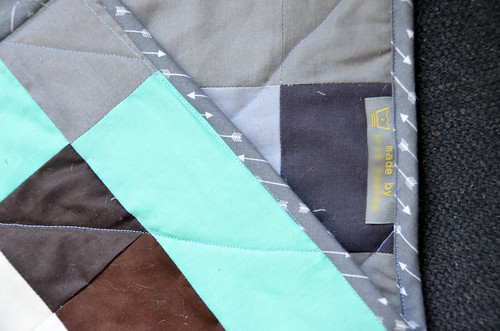
Make a quilt backing larger than the top; quilt sandwich the backing, batting, and top; quilt; make continuous bias binding and attach binding!
- Remember to include wash/dry care labels during binding phase!
- Wash & Dry the Quilt (cold delicates / low tumble)
I never pre-shrink my fabric & batting, because the shrinking that happens in the wash covers up a bunch of mistakes!
- Done!


1 comments:
I thought the quilt was amazing enough. But reading these instructions make it even better!
Post a Comment