

Sunday, June 10, 2018
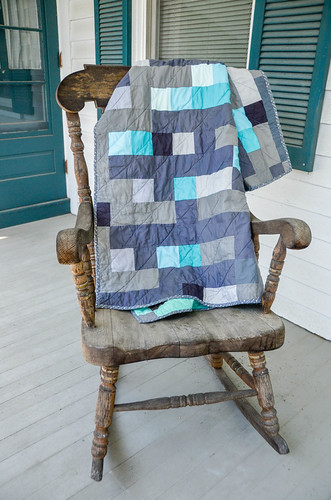
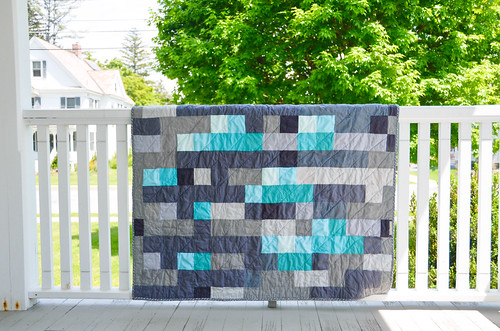
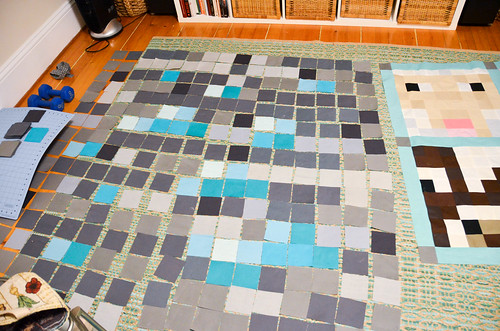
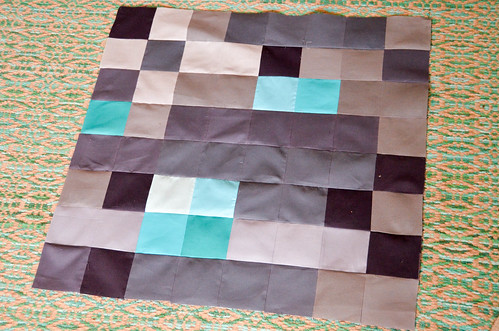
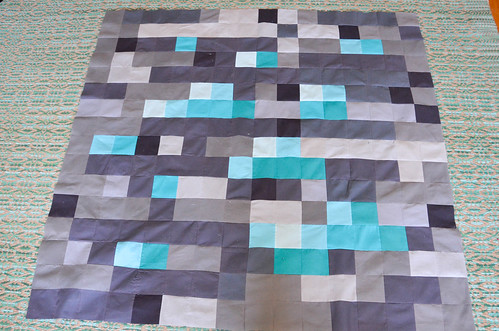
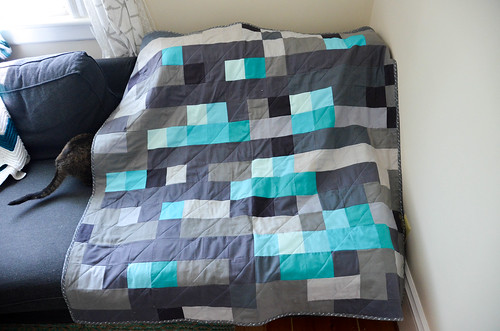
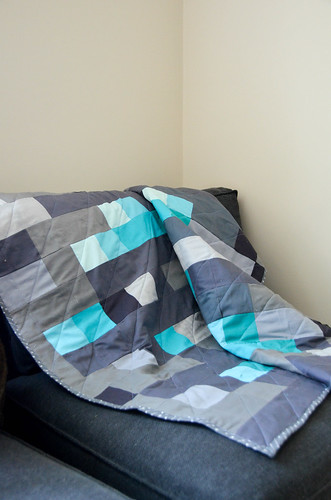
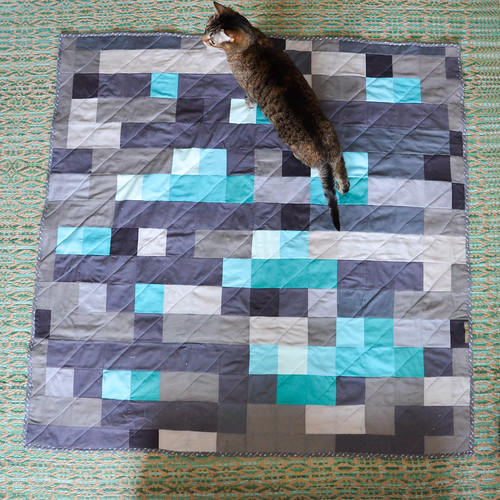
Many Minecraft quilts are large, as in 55+ blocks wide (although the exception might be this giant Creeper quilt from SewMod). Baby quilts are usually simpler with large blocks, and so is the one in this post. 16 blocks square, and just a little short of the correct width of a crib blanket (my fault for assembling a previous quadrant in a wonky way).
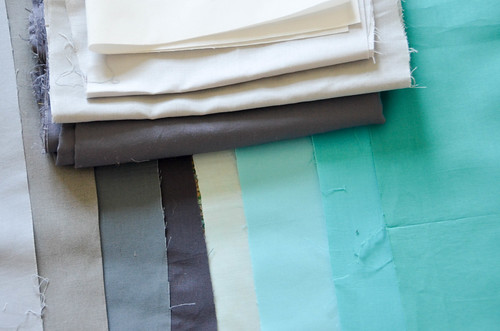
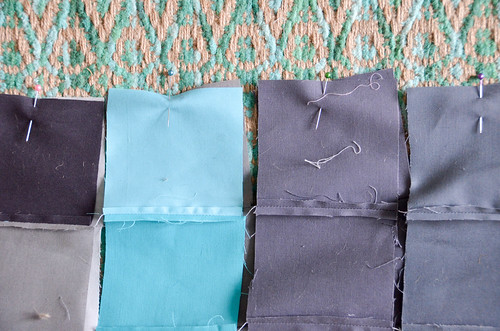
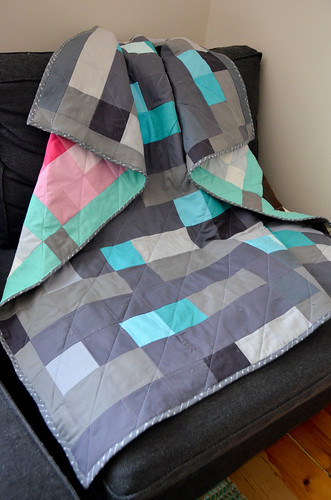
It is difficult to get exact Minecraft colors. I did my best by purchasing Solid Color Scraps by the pound from etsy/StashModernFabric. Any colors that were missing from that bundle, I filled in with Kona cottons and Symphony broadcloth from JoAnn Fabrics. I super under-bought the medium gray, and ended up filling it in with some purple-undertone Gray lying about in my stash. I also went for 4 shades of turquoise, instead of white, light blue, sky blue, and turquoise - the colors as written would probably come out more accurately. But at least this way we're somewhat sidestepping copyright issues?
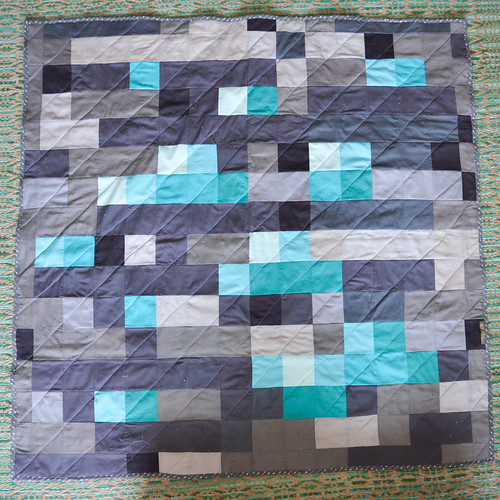
This quilt is actually two-sided. The second side is essentially another Minecraft quilt top with farm animals, so it gets its own post in a couple weeks.

- Materials
5/8yd Medium Gray Fabric
7/8yd Gray Fabric
1yd Dark Gray Fabric
1/4yd Charcoal Gray Fabric
1/8yd White Fabric
1/4yd Light Blue Fabric
1/8yd Sky Blue Fabric
1/8 yd Turquoise Fabric
1/2yd Fabric for continuous bias binding
~3yd Fabric for the quilt backing
60x60” low loft quilt batting
Sewing machine
Thread, Pins, Scissors
Thread or safety pins for basting
Rotary cutter, mat, ruler
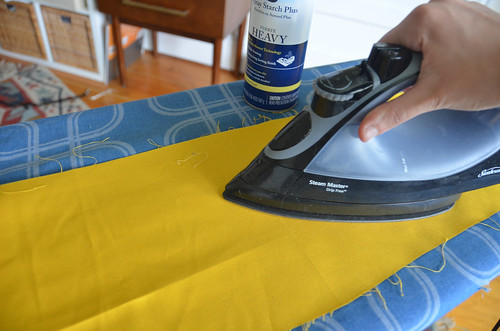
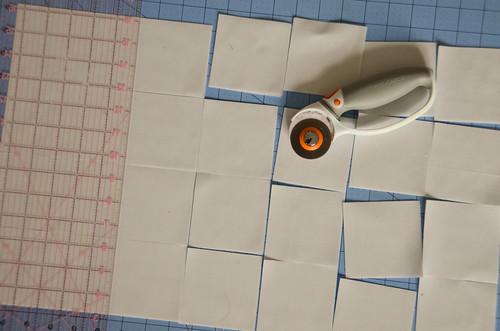
- Always starch & iron fabric before measuring & cutting!
- Cut starched & ironed fabric into 3.5-3.75” squares, in colors from guide at top.
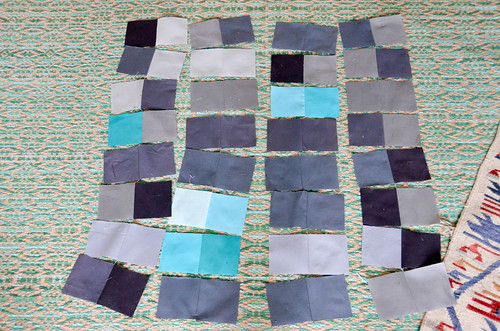
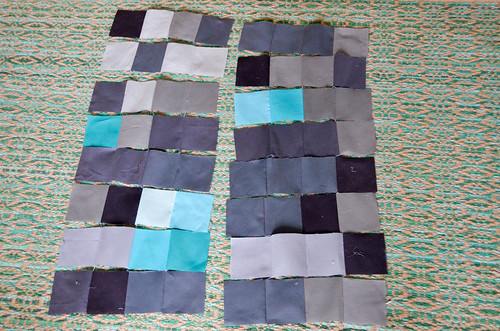
- Lay fabric squares out, according to diagram
- Flip right-most column onto neighboring column for entire quadrant, then stack top-most pair on top of underneath pair, etc.
(the guide has a good illustration of this step). I use chain piecing to keep my pieces in order and not spend too much time on backstitching ends!
Flip right-most column of squares onto neighboring left column.
You will be sewing along the right edges of the squares. I like to work
in quadrants (i.e., only 8x8 squares at one time). tack the top pair onto the pair below, stack these 4 squares, onto
the pair below them. Continue to bottom of column, repeat for
remaining columns. You should have 8 piles.

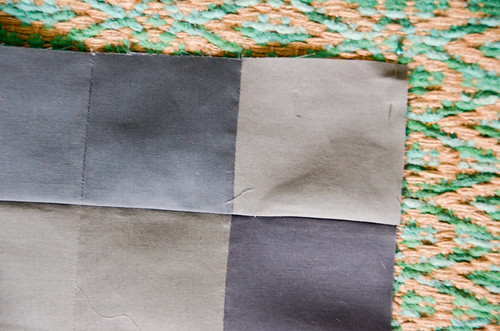
- Sew pairs of blocks together using a 1/4" inseam (pretty much always)!
Sew pairs of squares together, along right edge.
No need to snip thread between pairs, just keep feeding
pairs of squares into sewing machine. Iron seams open.
- Iron seams open, and double check that squares are in correct order.
- Pin & sew columns together, right sides together.
It's worth noting that the order you sew the squares together from here on out doesn't really matter, so long as you do all 4 quadrants in the same way, otherwise they'll end up being different sizes. Just be sure to double-check the ordering of the squares is correct.
- Iron seams open.
- Pin & sew rows together.
Pin & sew odd rows together, right sides together. Pin seams on one row to seams on the next, ensuring matching corners. Repeat for even rows.
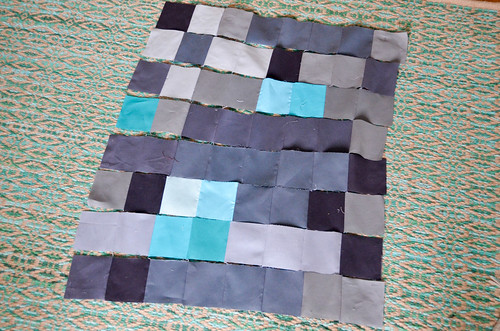
- If everything's cut perfectly and sewn with 1/4" inseam, all the squares should line up throughout this entire process.
If this is not the case, I choose to sew little carefully placed puckers into the seams. When I did this correctly, the pucker lines up perfectly with a seam and nearly disappears after the quilt is washed.
- Iron seams open.
- Use a pin to indicate the upper -right corner of the quadrant block, so you don't have tor re-figure it out later!
- Repeat for remaining three 8x8 quadrants.
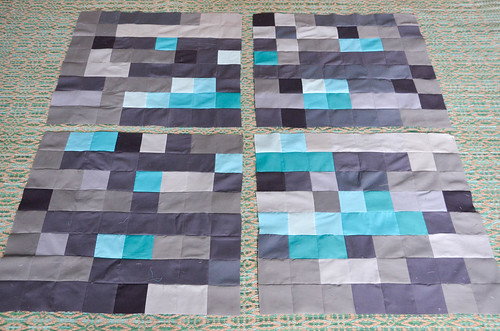
- Pin and sew two neighboring quadrants together, iron seams open.
Pin & sew top-most quadrants to bottom-most quadrants,
right sides together. Pin seams to match! Iron seams open.
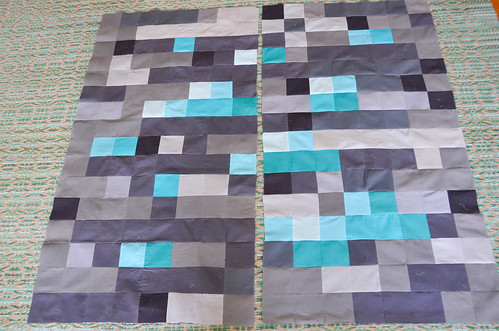
- Pin & sew remaining halves together.
Pin & sew halves together, right sides together.
Pin seams to meet, so corners match!
- Iron seams open.
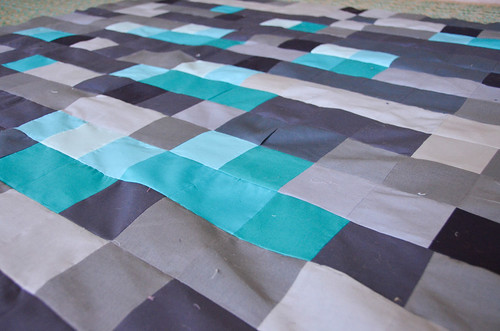
Quilt top is done!
- Complete the quilt.
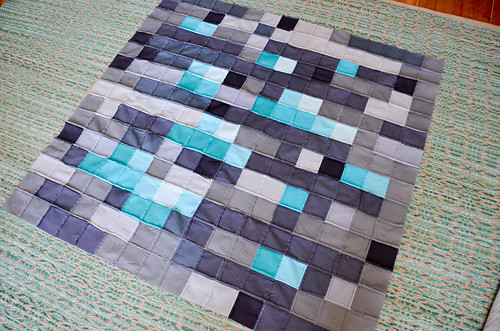
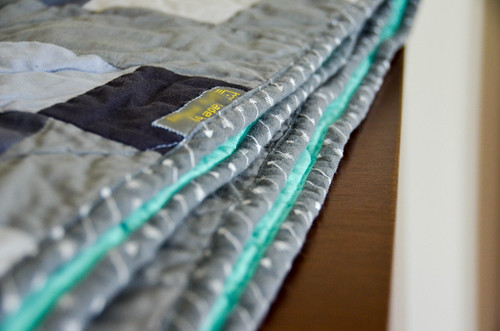
Make a quilt backing larger than the top; quilt sandwich the backing, batting, and top; quilt; make continuous bias binding and attach binding!
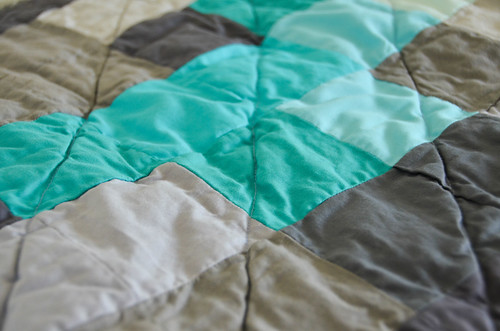
I chose to quilt diagonally, at a 45 degree angle, through the corners of the squares on the other side of the quilt. The continuous bias binding is actually leftover from the double wedding ring quilt. I think a solid color in hot pink, or something bold, would work really well, too.
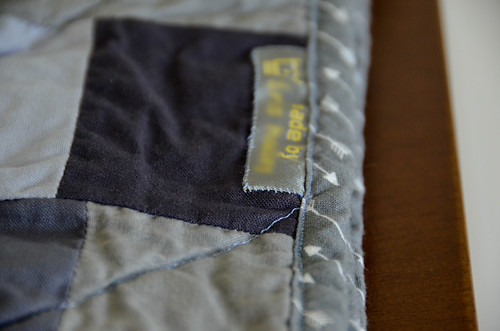
- Remember to include wash/dry care labels during binding phase!
- Wash & Dry the Quilt (cold delicates / low tumble)
I never pre-shrink my fabric & batting, because the shrinking that happens in the wash covers up a bunch of mistakes!
- Done!


2 comments:
This is incredible--I'm in awe :)
Minecraft 1.21 brings exciting new features, gameplay improvements, and performance enhancements that elevate the mobile experience for fans of the sandbox world. With new blocks, updated mechanics, and smoother performance, this version lets players explore, build, and survive with even more creativity and control. If you’re looking to experience the newest content on your Android device, using the anchor text minecraft 1.21 download apk helps users easily find the latest version from reliable and official sources, ensuring a safe installation and the best possible gameplay experience.
Post a Comment