

Friday, July 30, 2021

- Print the pattern below without scaling.
- Cut out the pieces in the quantities listed in the pattern.
- Sew decoraive seams onto the leaves (a 3-4 pronged leaf vein pattern).
- Sew the white felt circle onto the center of the pink felt circle. The closer to the edge of the white felt you get, the better.
- Cut the pink/white circle in half, along the diameter.
- Fold the pink/white felt in half, pressing the straight edges together, with the white felt side facing inwards.
- Sew along the straight edge. Turn right-side out (helps to use a pointy object to get the radish point fully pointy).
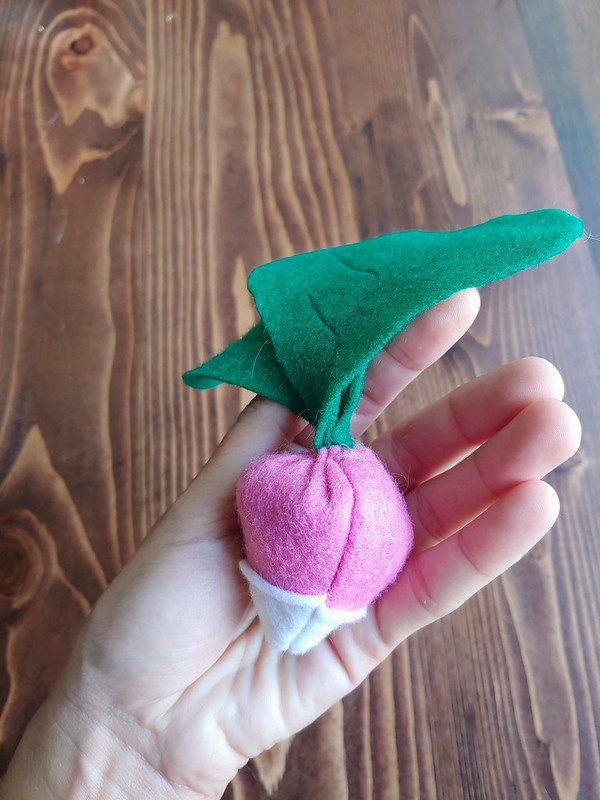
- Stuff the radish (I used fabric scraps which makes it lumpy - polyfill would be smoother).
- With a neede and thread, sew a loose running stitch along the top of the radish.
- Before pulling the running stitch to cinch the radish closed, place the radish leaves into the center.
- Secure the radish top and leaves with several more hand-sewn stitches, before tying off.

Return to the Felt Vegetables Tutorial Collection.


0 comments:
Post a Comment