Wednesday, November 6, 2013

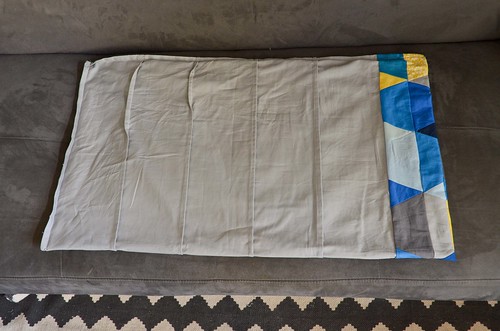
I followed this Magic Pillowcase Tutorial from Organize Your Stuff Now. But instead of using contrasting fabric, I used some leftover isosceles triangle rows cut to 9" X 45". Also, I apparently accidentally cut some of my iron-grey fabric meant for this project into 6.5" wide strips, so I put them back together using French seams. I did not trim that initial 1/4" seam for one of these pillowcases, which I definitely should have. You should, too.
So, French seams + magic pillowcase tutorial means...there are no visible frayed edges on the inside of this pillowcase. Pretty magical indeed.


How To: Cut Isosceles Triangles Without Templates10/13/2013How To: Assemble an Isosceles Triangle Quilt Top10/16/2013Step 1: Isosceles Triangle Quilt Top Completed10/18/13TARDIS Applique10/27/13- Coordinating Pillowcases for the Isosceles Triangle Quilt 11/6/13
- Step 2: Isosceles Triangle Quilt Backing Assembly 3/18/15
- Step 3: Isosceles Triangle Quilt Sandwich-ing 4/1/15
- Attaching the TARDIS Applique 4/8/15
- Step 4: Machine Quilting the Isosceles Triangle Quilt 4/15/15
- How To: Continuous Double Bias Binding Strips 4/22/15
- Step 5: Binding the Isosceles Triangle Quilt 4/29/15
- A Review of the Isosceles Triangle Quilt 5/6/15


1 comments:
That is brilliant! It looks beautiful paired with your quilt and is so unique! Lovely work lady!
Post a Comment