

Wednesday, March 18, 2015
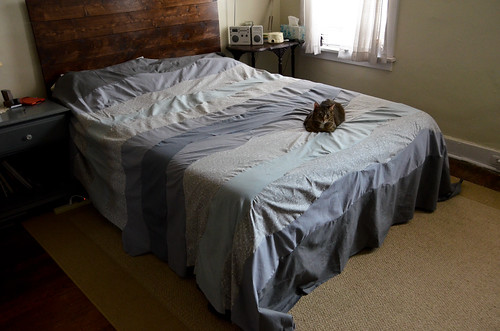
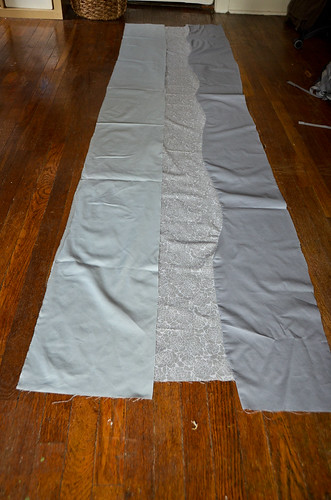
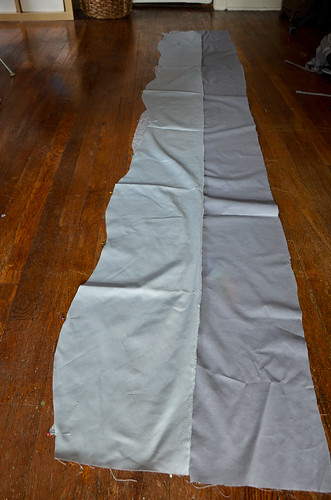
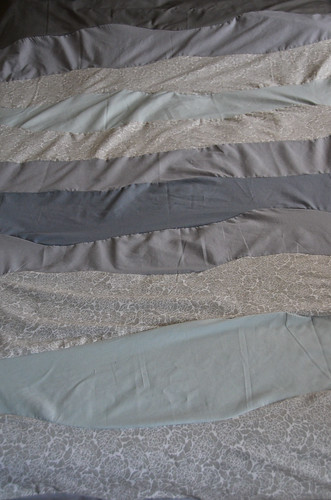
I wanted a wibbly wobbly timey wimey backdrop for my TARDIS applique for the back of the triangle quilt. And for the longest time, I was scared of digging into this rather difficult project. My fright was not misplaced as sewing freeform waves at such a large scale is really super tricky. It also didn't help that I spent months calling Jo Ann Fabrics in the area to see if they had the shades of grey that I needed. They did not. But it's just the back of a quilt, so...that's life sometimes.
Lily's Quilts tutorial does a really lovely job of explaining how to do freeform waves while sewing smaller projects. However, after ripping out my first wave seam six times I have a few lessons to share for those attempting largescale freeform waves:
- Use marks or pins to indicate where the mountains and valleys should line up.
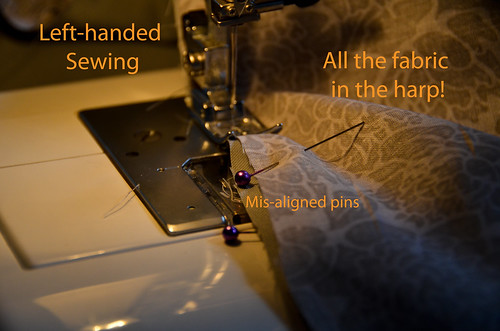
- If marks/pins get misaligned by over one inch, flip the project over and sew left-handed until it fixes itself. Misalignment is often caused by unequal tensions of the top & bottom fabrics.
- Equal tension of the fabrics while sewing is difficult - be extra forceful when guiding the bottom fabric.
- Steeper waves are more difficult to sew while shallow waves look more haphazard/sloppy. The sweet spot is a gradual slope with plenty of depth.
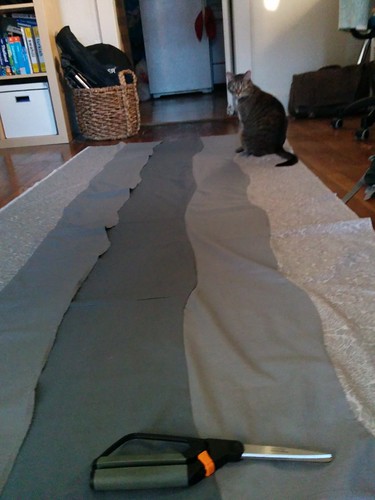
- Work on a large enough surface and don't bother with the rotary cutter.
- Let go of perfection.
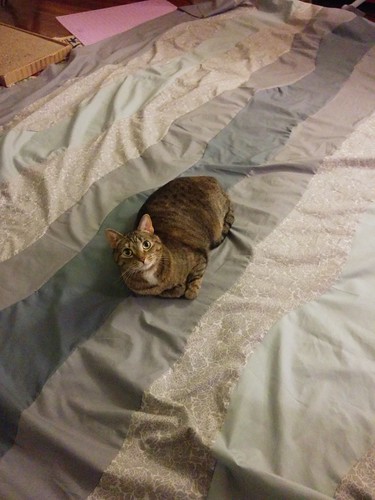
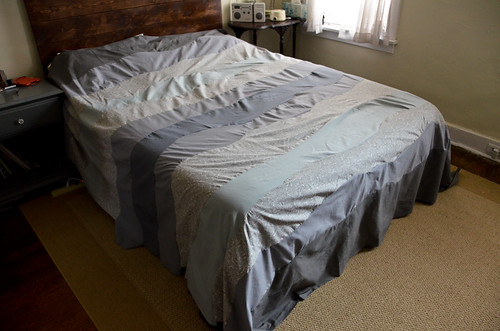
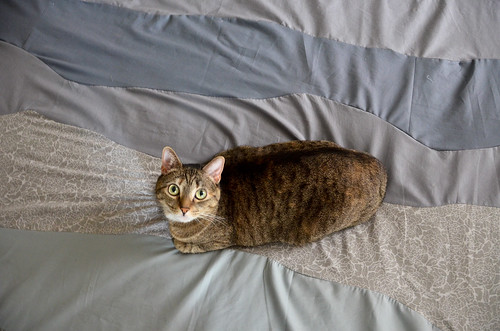
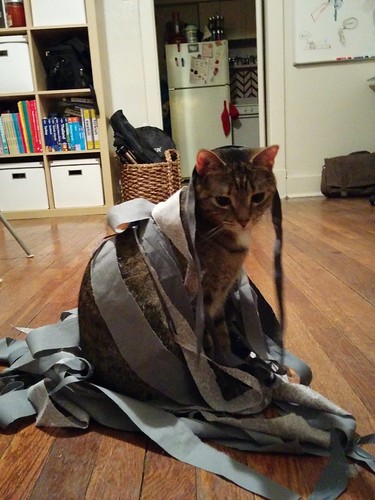
Nonetheless, I've still pretty much accepted that my quilt back will likely have wrinkles sewn into it when it's all said and done. Z doesn't seem to mind.
Step 0 - Gather Materials
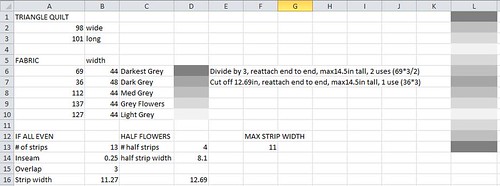
See if you have enough materials for this largescale freeform waves sewing project. I set up this Excel spreadsheet which basically showed me that if I want strips of approximately equal width, they can't be much more than 11 inches (44/4). It also helped me play with how much of an overlap I should do.
The strip width formula is as follows: (quiltLength/numStrips)+(inseamAmt*2)+(overlapAmt)
Aside from fabric and thread (and a sewing machine), you'll also need a fabric marking utensil, a ruler, pins, scissors, and an iron.
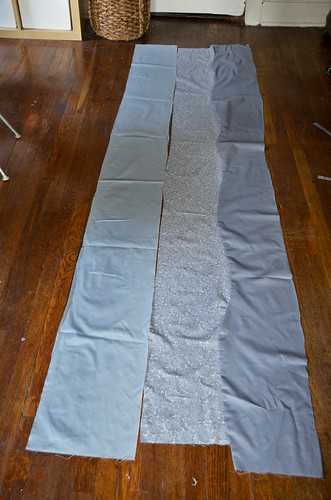
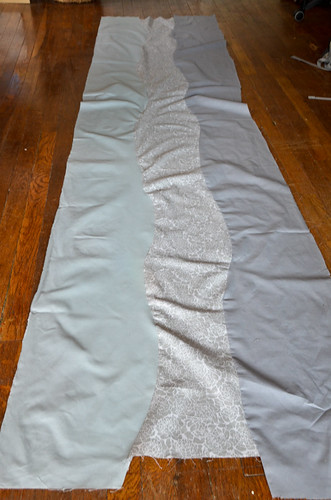
Step 1 - Line Up and Center the Fabric Strips, Right Sides Up
Life is easier if you iron your strips before lining them up with each other, right sides up.
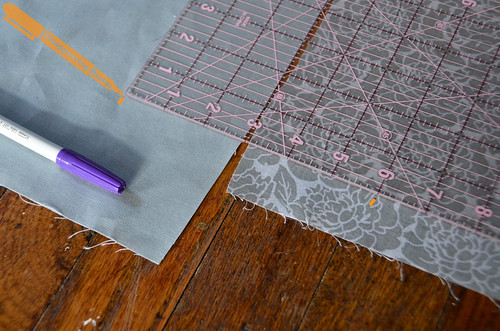
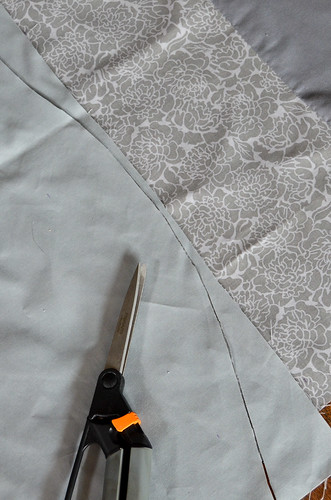
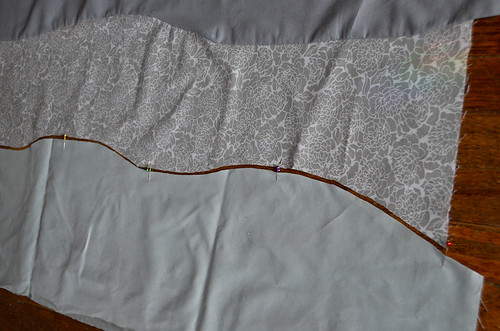
Step 2 - Mark Overlap Length from Edges of Both Strips
Here you can see I'm using a 3 inch overlap, and marking three inches from the edge on both fabrics. The overlap determines how deep/high your waves can be.
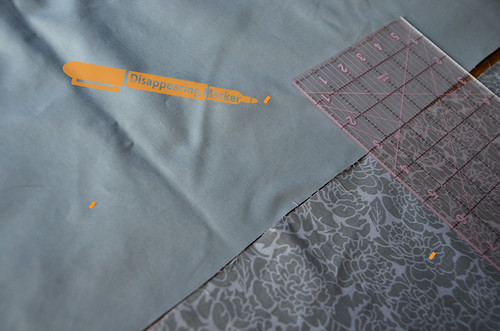
Continue to mark from the edge of each fabric the entire length of the strips. No need to measure more than every 6 inches or so. Instead of a disappearing ink fabric marker you can use a white fabric pencil or whatever else you typically use to mark fabric (non-permanently!!)
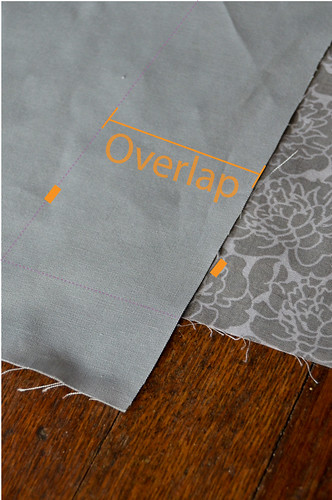
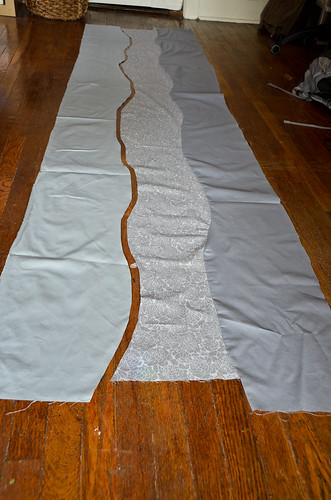
Step 3 - Pull One Strip On Top of Other, Lining Up On Previous Marks
Pull the fabrics on top of each other, based on aligning the top fabric with the overlap marks on the bottom fabric. This will give you the measured overlap (in my case, 3 inches).
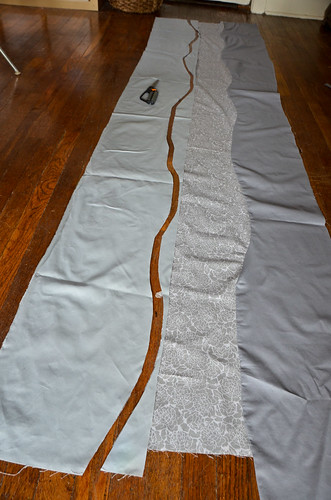
Step 4 - Cut Freeform Wavy Lines Between Overlap Marks
Using the edge of the top fabric, and the overlap marks (3 inches from the edge) also on the top fabric, cut a wavy line with maximum height/depth of your overlap measurement (here: 3 inches). The gentler the wave, the easier it will be to sew. The shallower the wave, the sloppier it will look.
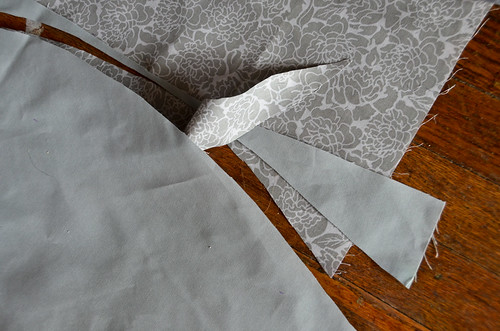
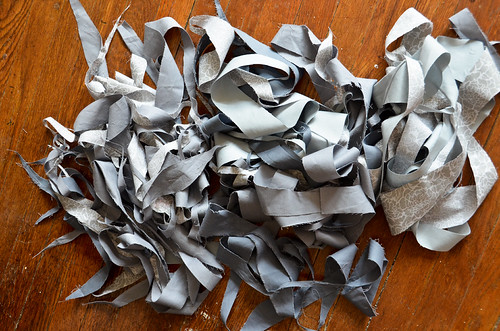
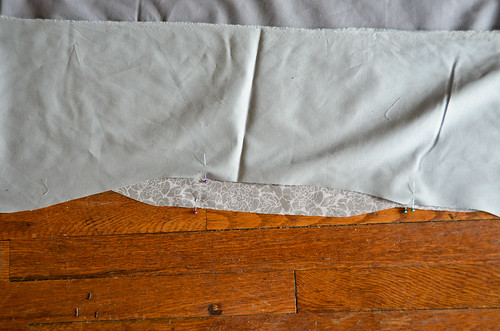
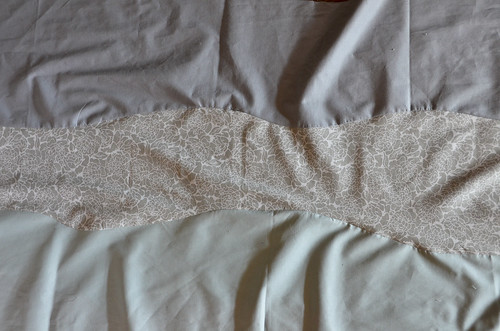
Step 5 - Remove Cut Scraps from on Top and Underneath
There should be curvy cut pieces on top of the bottom strip and underneath the top strip, as shown. Remove them!
Step 6 - Pull Strips Away from Each Other Slightly
Step 7 - Pin to Mark Where Edge Starts
If your strips are the exact same length, then the edges should line up perfectly and you don't need to do this step!

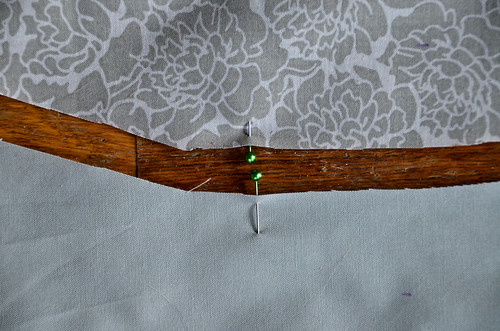
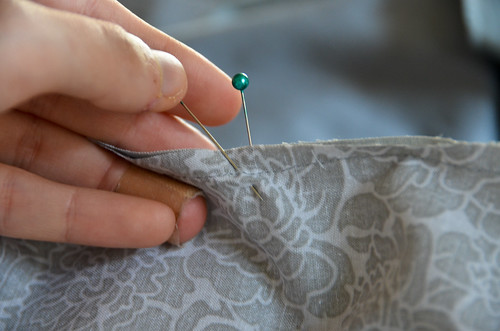
Step 8 - Pin Either Side of Strips at Humps
The pins in this case work as markers to indicate to you how the fabric should be aligning as you sew, and if you're going off course. I like to put my pins on the wrong-sides (currently: underside), but this is optional. One pin for each strip, lining up perfectly. Do not pin the strips together!
Other tutorials for sewing freeform waves in smaller projects do not mark or pin where the fabric aligns. You will regret it if you skip this step for larger projects. Longer fabric = more space for imperfections that build on each other!
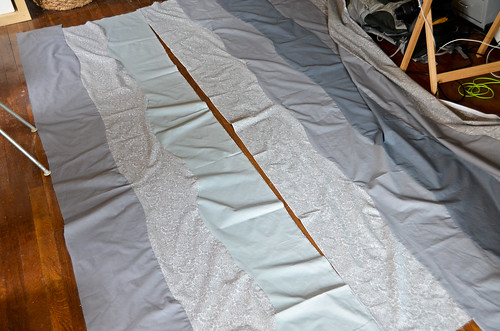
Step 9 - Flip One Strip Over So Right Sides Face Each Other
Flip one strip over so that the right sides of the strips face each other. You'll notice that the mountains of one strip peek over the valleys of another strip. This is why sewing flat curves is so tricky!
Do not worry about aligning the edges of both strips. Just line up the first inch or so that you'll be sewing.
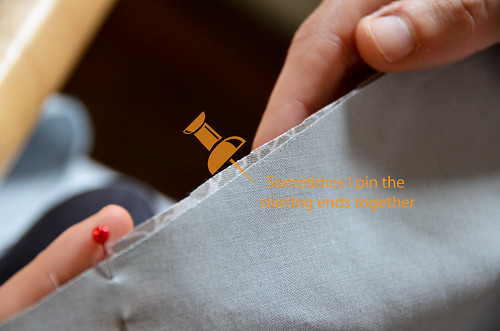
Step 10 - Line Up First Inch (at beginning of strips)
Line up the first inch or so of the strips that you'll be sewing together. Don't worry too much about what the rest of the fabric does, just so long as your edges meet.
Sometimes I pin the two strips together at this step...but this is the only time I pin both fabrics together.
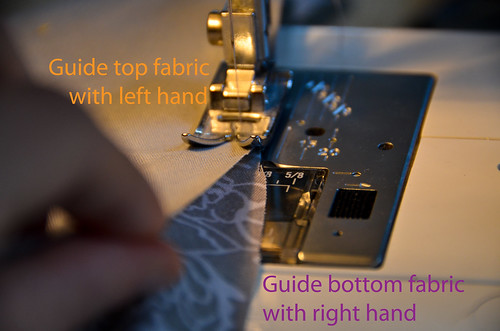
Step 11 - Sew Together
Use your right hand to guide the bottom fabric under the sewing foot, and your left hand to guide the top fabric. Try to keep the bottom fabric parallel with the sewing foot as you go, and make sure the tension on either strip is about equal. Line the top strip up with the bottom strip only a few inches away from the sewing foot. If you need to stop, move the needle into the fabric, release the foot, and fix what you can. Try to avoid sewing in pleats and puckers.
Other tutorials give some more in-depth explanation of this process (with photos) for smaller projects: Lily's Quilts, Red Pepper Quilts, and a video from FromBlankPages.
If all else fails, flip the strips to the right side into your sewing machine harp and sew left-handed until the pins align again. This sewing part takes *a lot* of practice.
Step 12 - As You Remove Pins, Check for 1/4" Inseam
If you spot an inseam that is smaller than 1/4", it is often best to hand-sew in an 1/4" inseam (if you use a machine, the fabric has a tendency to bunch and cause serious problems). Alternatively, you could just douse the short seams with a bit of Fray Check.
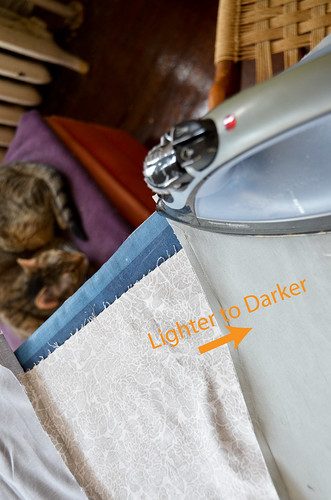
Step 13 - Iron Wrong Sides of Strips
Iron the seam on the wrong sides, ironing the lighter fabric in the direction of the darker fabric.
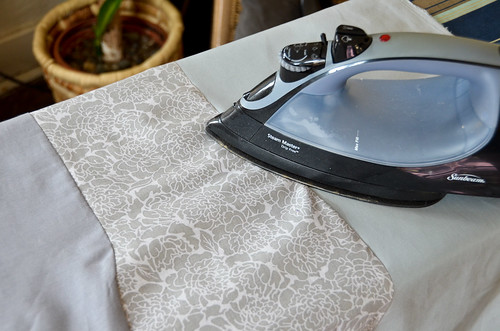
Step 14 - Iron the Right Sides Flat
I also like to iron the right sides of the fabric, being careful not to iron any puckers or pleats. It can get tricky, so sometimes I iron the seams at a perpendicular angle.
Step 15 - One Strip Sewn to Another Strip, Completed!
Step 16 - Sew More Strips Together
Keep sewing strips together! They get a little unwieldy after four strips or so (depending on their width), so I like to sew them together in chunks. And then sew the chunks together at the end.
Step 17 - Done!
How To: Cut Isosceles Triangles Without Templates10/13/2013How To: Assemble an Isosceles Triangle Quilt Top10/16/2013Step 1: Isosceles Triangle Quilt Top Completed10/18/13TARDIS Applique10/27/13Coordinating Pillowcases for the Isosceles Triangle Quilt11/6/13- Step 2: Isosceles Triangle Quilt Backing Assembly 3/18/15
- Step 3: Isosceles Triangle Quilt Sandwich-ing 4/1/15
- Attaching the TARDIS Applique 4/8/15
- Step 4: Machine Quilting the Isosceles Triangle Quilt 4/15/15
- How To: Continuous Double Bias Binding Strips 4/22/15
- Step 5: Binding the Isosceles Triangle Quilt 4/29/15
- A Review of the Isosceles Triangle Quilt 5/6/15


0 comments:
Post a Comment