Wednesday, April 22, 2015
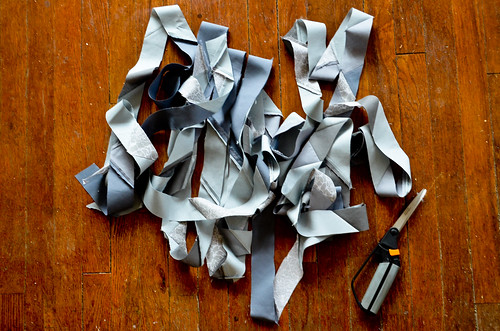
Alrighty, now that I've got you psyched about bias binding, you can find a difficult-to-navigate series of comprehensive tutorials at JaybirdQuilt's Quilt Binding Basics Part 2 (Method 2). I've redone them below with my own commentary/navigation, because there's a learning curve to figuring out JaybirdQuilts' navigation.
Tips and tricks:
- If you tend to not be accurate with cutting and 1/4" seams, then by all means, cut your binding to be 3" wide. It'll save you tons of torture.
- Always do continuous bias cut binding. It's not too tricky once you get the hang of it.
- Spray starch.
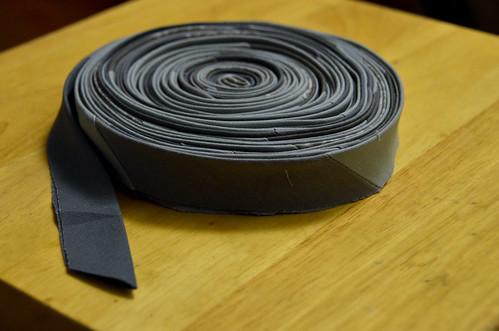
- Store the binding rolled up.
| Related Posts BYOV's Continuous Bias Binding | MyRainBootsAreRed's Fat Quarter Continuous Bias Binding |
1. Determine How Much Binding You Need
First you need to determine how much binding you'll need to produce. To figure out how much binding you'll need, you essentially add 10" to the perimeter length of the quilt:| length of binding = 2*quiltLength + 2*quiltWidth + 10" ex: My quilt is 98" x 101": 196" + 202" + 10" = 408" binding is needed |
2. Determine How Large a Square is Necessary
To make continuous bias binding, you'll need a square of fabric (I've used a rectangle, but then I end up with the last part of my binding being too thin). To determine how large a square you'll need to make to produce enough binding, use the following formula:| square size necessary = roundup (sqrt ( bindingWidth * bindingLength) ) ex: I need 408" of binding that is 2.5" wide: sqrt ( 1020) = 31.9 = 32" square necessary for continuous bias binding |
I made my binding with leftovers from the Triangle Quilt Back (freeform waves). With the scraps from trimming, I made a square and then also a light grey square, so I just had to punch in the numbers for two squares (one 22" and one 28") and ensure that the resulting amount of bias binding was enough by doing the math in reverse. I overshot by ~100" simply because I didn't do the math in advance. This meant I could cut out the bits of binding that were a bit wonky. I don't exactly recommend using the continuous bias binding method for a square of strips. Try the 'Making Scrappy Bias Binding' section down below.
3. Make Continuous Bias Binding
- Cut square of fabric
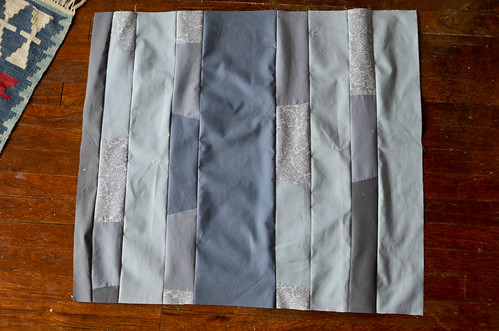
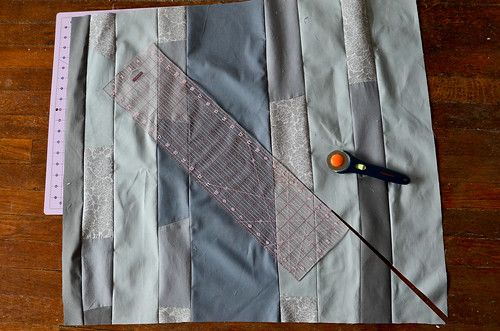
- Cut 45 degree angle
- Move top triangle to the left, and bottom to the right
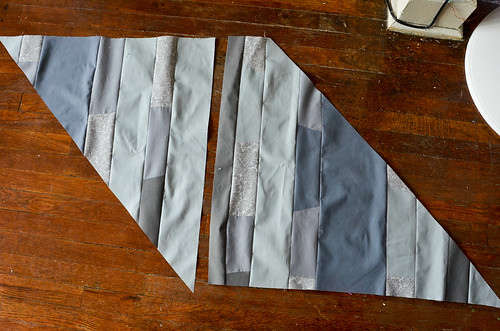
- Sew triangles together
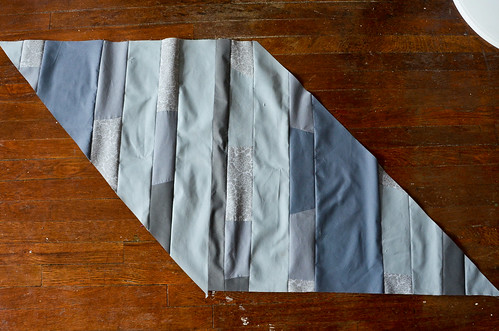
- Mark every 3 inches on one horizontal edge, on wrong side (this seems to produce binding 2.5" wide). Repeat the same for the other horizontal edge, but start from the same side of the parallelogram. (If you started marking the first edge at the corner, start marking the second edge at the seam)
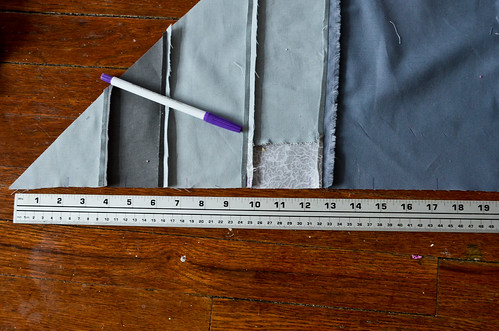
- Connect marks on either horizontal edge (45 degree angle), using a marking pen
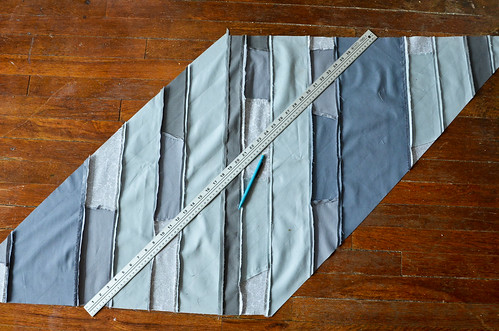
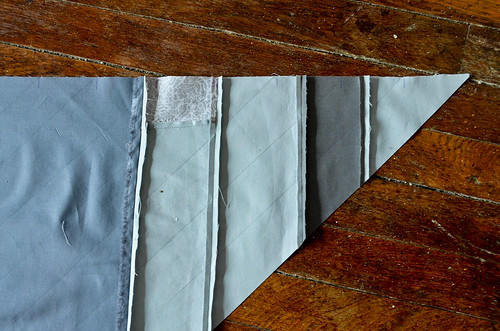
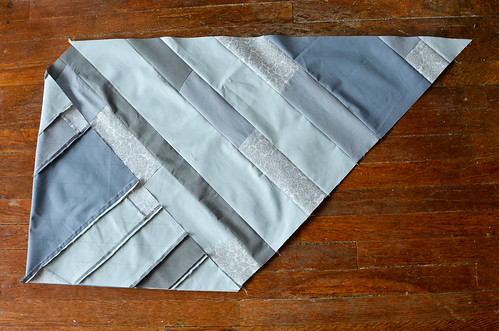
- Flip parallelogram so right side is up. Fold up one corner such that the cutting/pencil lines are horizontal
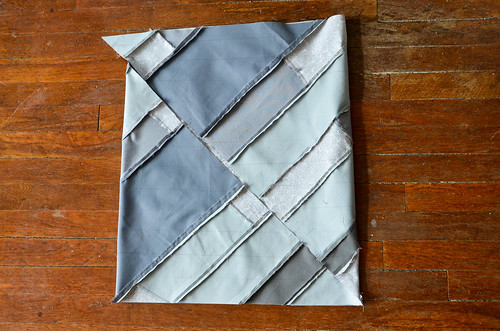
- Fold other corner over such that cutting/pencil lines match up
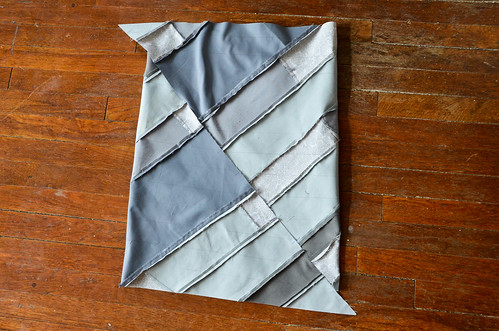
- Shift top fabric left & up one lines, and bottom fabric right & down to match. You essentially want two 3" strips unmatched at the top, and one strip unmatched at the bottom. One of the two unmatched top strips is actually being matched to the seam corner, but it has to be finagled a bit to make that happen.
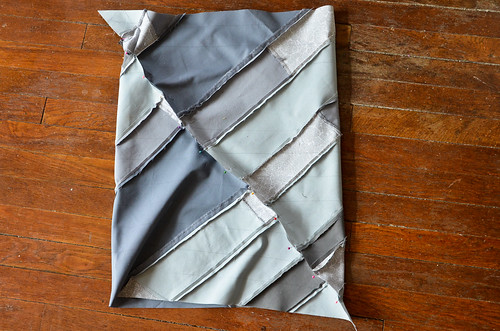
- Pin lined up pencil/cutting lines and sew. Iron seams open.
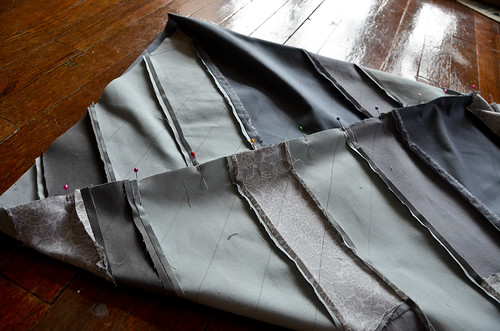
- Starting at one end, cut along pencilled/cutting lines (these should spiral around all the way to the end)
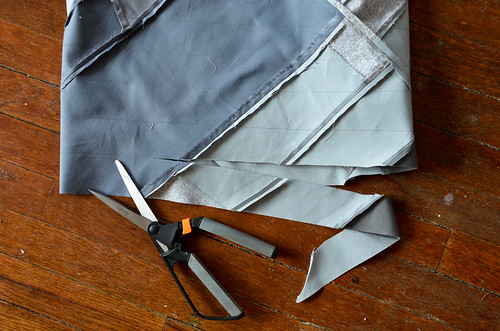
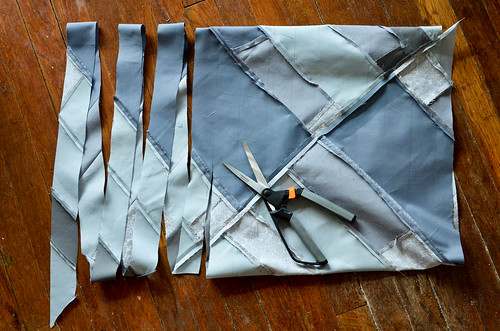
- Iron binding in half
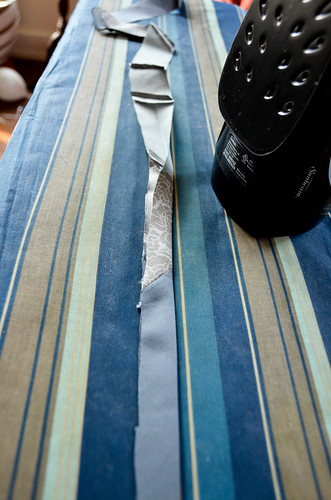
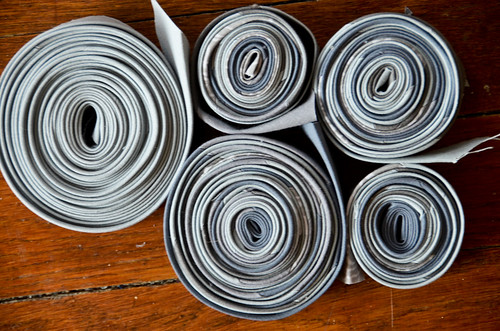
3a. Making Scrappy Bias Binding
(Optional) If you want to make scrappy binding, you could follow the continuous bias binding method above to make scrappy bias binding, as I did with a square of strips. But you'll notice there are plenty of bits that came out rather wonky! A more proper way to make scrappy bias binding is detailed at JaybirdQuilts' Quilt Binding Basics Part 3.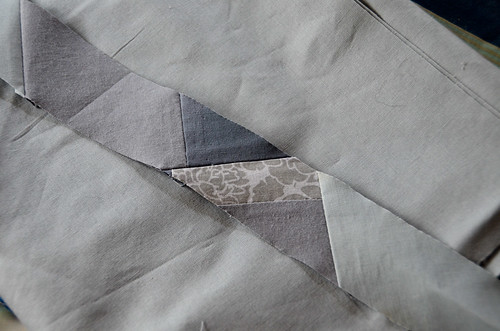
3b. Joining Bias Strips
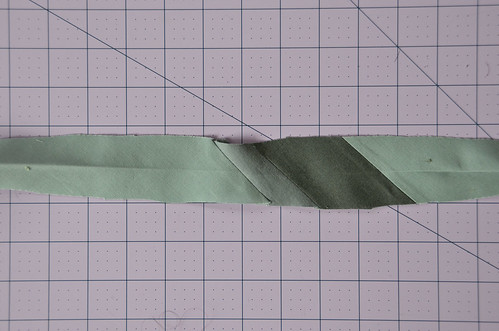
(Optional) If you're making your bias strips with just one continuous square, then you don't need to know how to join up the strips. That's already done for you! However, I made 2+ squares so that I could interleave scrappy binding with plain binding, so it was necessary to join the pieces at some point. More information on this process can be found at JaybirdQuilts' Quilt Binding Basics Part 1 ('How To Piece Straight of Grain Binding' and 'How to Piece Bias Cut Binding').- Bottom binding horizontal & right side up, Top binding vertical & wrong side up
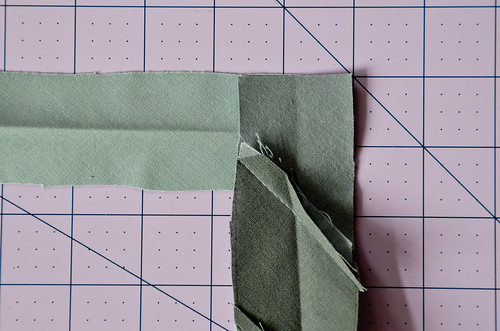
- Sew 45 degree angle, trim
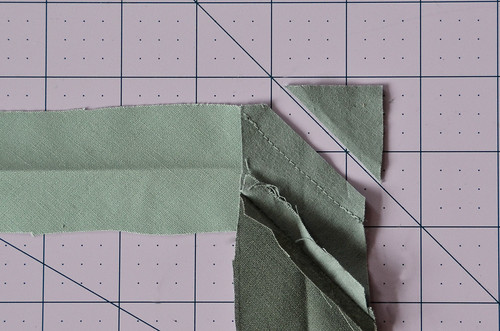
- Iron.
How To: Cut Isosceles Triangles Without Templates10/13/2013How To: Assemble an Isosceles Triangle Quilt Top10/16/2013Step 1: Isosceles Triangle Quilt Top Completed10/18/13TARDIS Applique10/27/13Coordinating Pillowcases for the Isosceles Triangle Quilt11/6/13Step 2: Isosceles Triangle Quilt Backing Assembly3/18/15Step 3: Isosceles Triangle Quilt Sandwich-ing4/1/15Attaching the TARDIS Applique4/8/15Step 4: Machine Quilting the Isosceles Triangle Quilt4/15/15- How To: Continuous Double Bias Binding Strips 4/22/15
- Step 5: Binding the Isosceles Triangle Quilt 4/29/15
- A Review of the Isosceles Triangle Quilt 5/6/15


2 comments:
Goodness friend! What don't you make!! I could so learn so much from you!! Wishing you a wonderful Thursday! Nicole
So inspiring. I just finished my first couple of yards. It feels so good to know I am not the only one making scrappy bias. Thank you for sharing this on you blog. Greetings from CA.
Post a Comment