Wednesday, June 14, 2017
Follow along as I make Free Spirit Fabric's Double Wedding Ring Quilt.
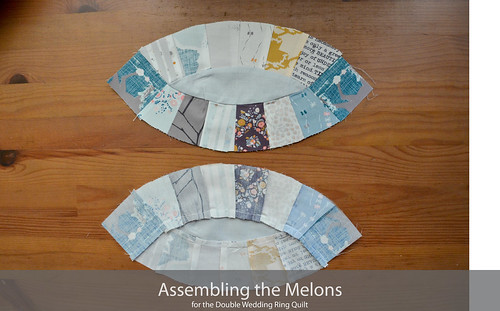
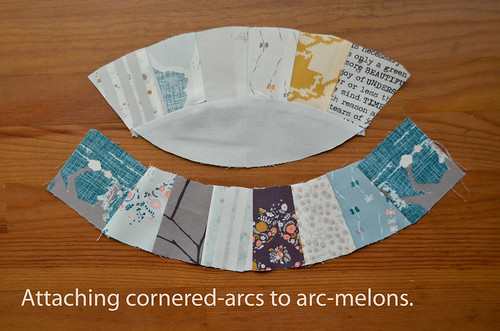
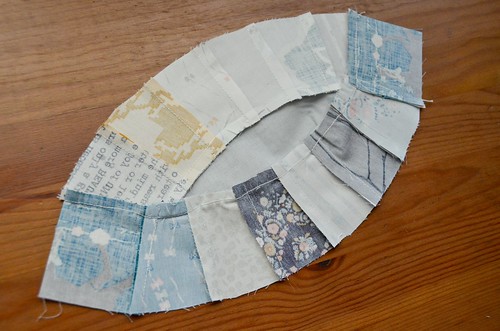
Now we sew the 40 arcs with corner squares to the 40 arcs without them, making 40 melons! This nonsense gets tricky. You have to do some easing, like you always have to when sewing curves that are supposed to lay flat. I've had to undo some seams and redo the sewing a few times when the center lines don't match up when I get to them. It's okay.
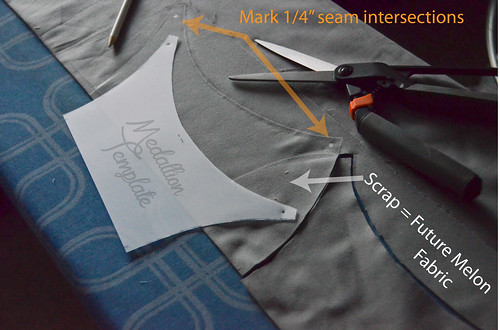
- Trace & cut medallion templates along fold fabric. Mark the 1/4" inseam dots on each of the 4 corners. The scraps of this cutting can be used to make the melons (if not using a contrasting color).
If using more than 13 or so fabrics for the arcs, I would recommend *not* using contrasting fabric for the melons. Just use the same fabric as the medallions.
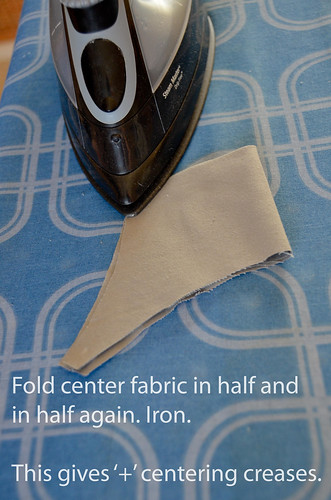
- Fold medallions into quarters, and iron to form plus-sign center creases
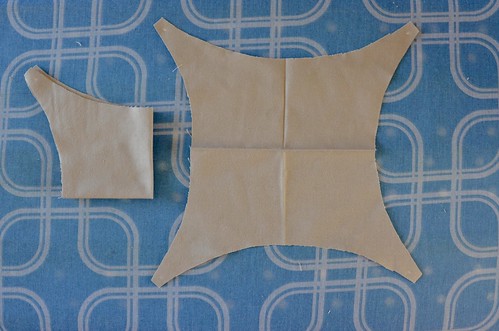
See the plus sign creases? They're useful for finding the center
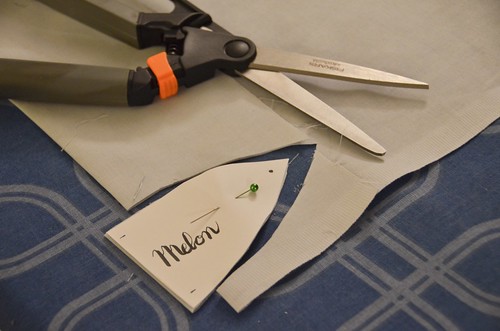
- Pin half melon template to folded edge of melon fabric
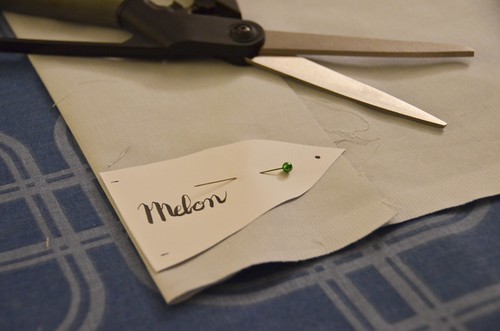
- Cut melon from fabric
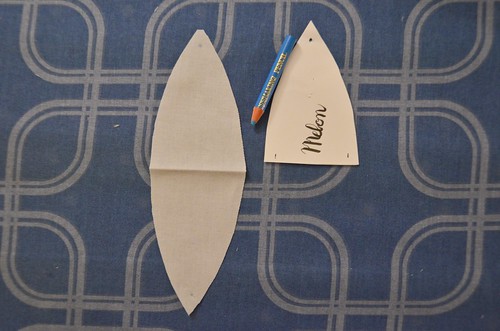
When unfolded, you should have full melon.
- Center melon with arc
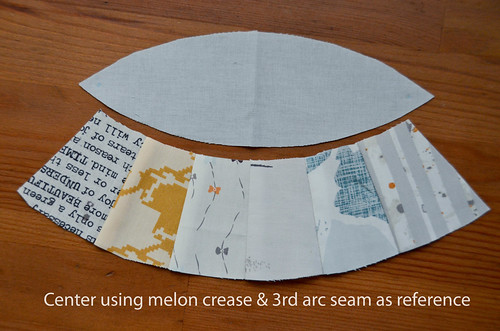
- Pin centers together.
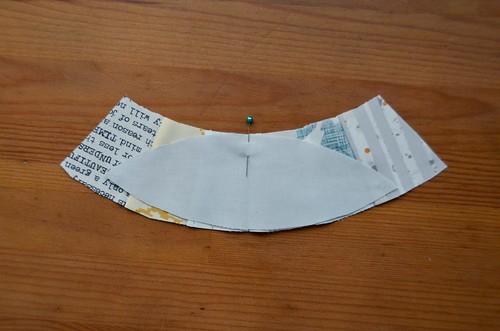
- Pin left side of melon to arc with melon having a 1/8" overhang
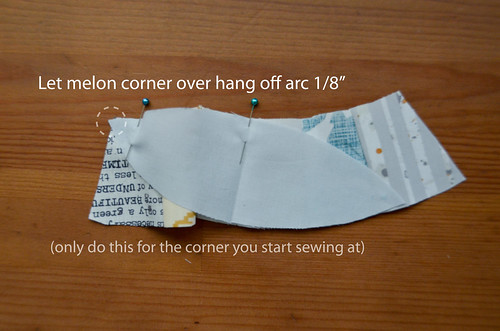
- Pin right side of melon to fabric arc.
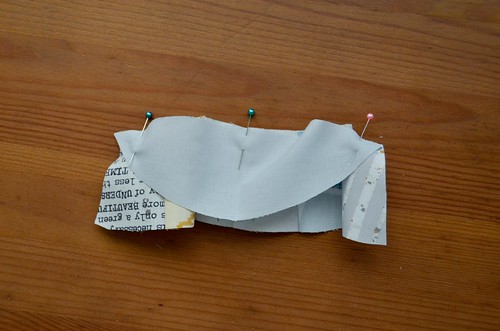
- Sew, easing fabric in. SLOWLY.
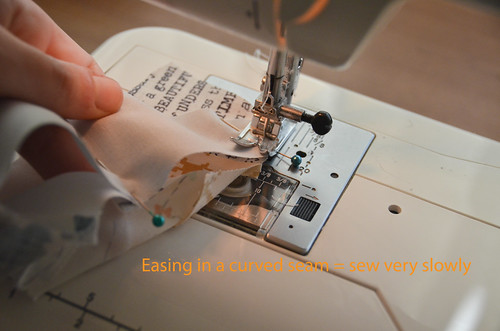
- Center points must match up. If not, redo pinning & sewing!

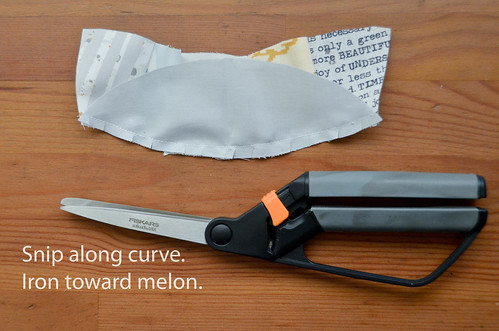
- Scant snips along seam to make ironing easier. Iron toward melon.
- Center melon with an arc-with-corner-quares
- Pin centers, right-sides together, then pin left edge of melon to align with corner square seam. Pin the arc to the center square edge.
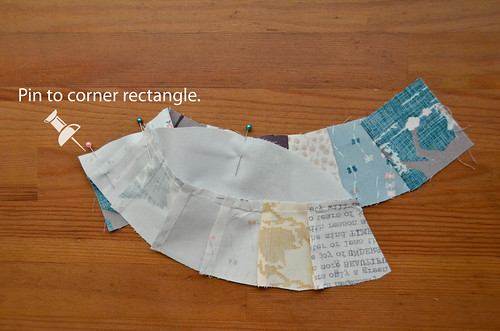
- Repeat for right side.
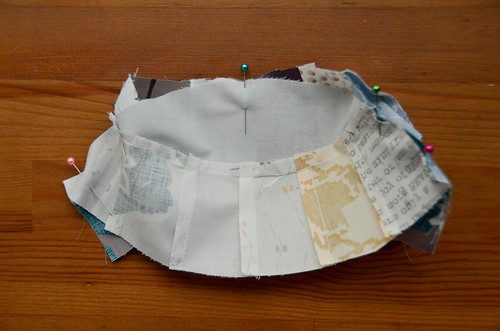
- Sew.
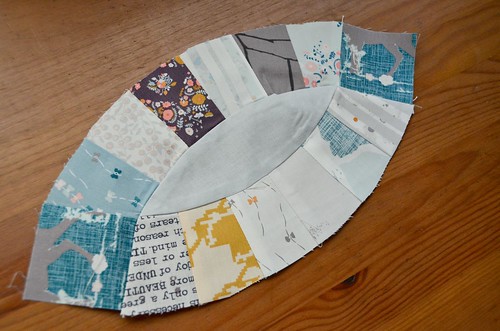
- Snip & iron seam allowance toward melon.


0 comments:
Post a Comment