

Sunday, March 24, 2019
Follow at your own risk!
Be sure to wear appropriate respirators/breathing masks through all this. Old houses + lead paint is no joke. Also, eye protection when sanding and working with chemicals.
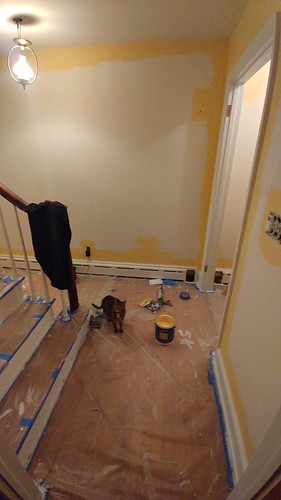
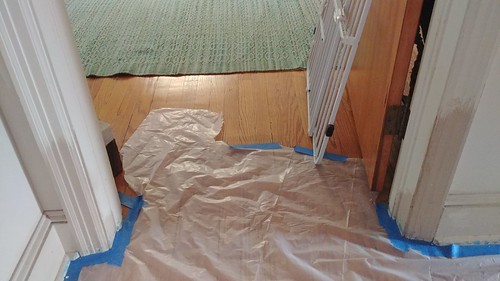
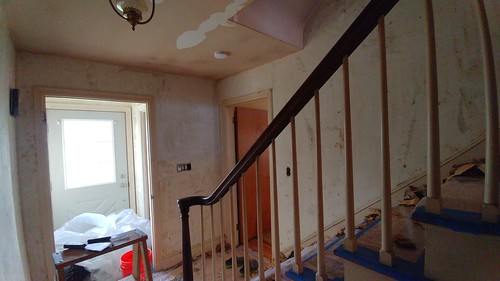
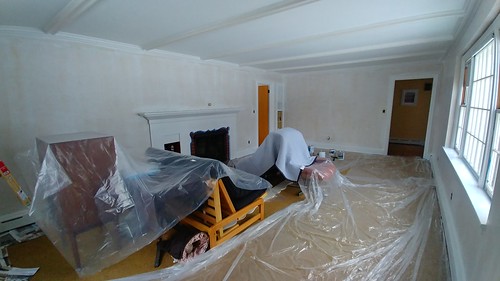
- Plastic Drop Cloth Everything.
Blue painter's tape and cheapo plastic drop cloths work well for 'quick' low traffic areas. For places like hallways that you and the dog will be repeatedly walking over for a weeks-long wallpaper removal process, the thicker plastic drop cloth is recommended. You can cut it to fit hallways stairwells, etc.
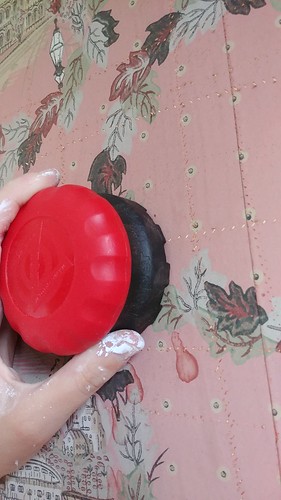
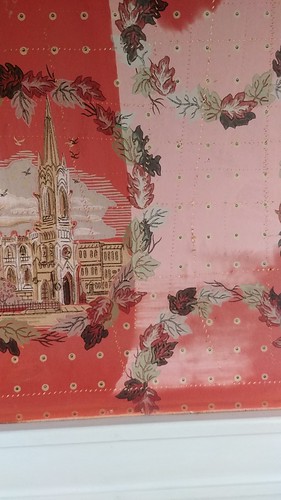
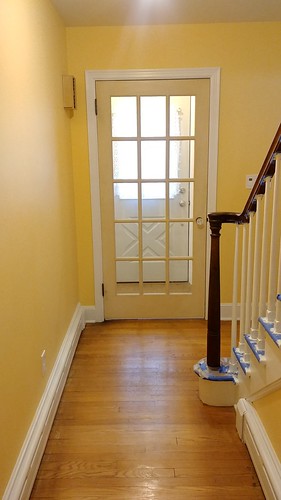
- Wallpaper Removal.
Alas, our wallpaper is rarely as easy to remove as in YoungHouseLove's posts. It's a really very painful process. Case in point: every time I attempted to remove the wallpaper in the dining room I ended up crying.
So here's my process: Score with a 'wallpaper tiger', and while you do that, boil some water. Pour water into bucket, add some random quantity of fabric softener, vinegar, and dish soap, and then using a giant sponge, soak one segment of the wallpaper for 15 minutes. This only works if you have plaster walls, if you have drywall you'll likely want to get a steamer. Sharpen your metal putty knives, and then scrape at the wallpaper while it comes off in disappointing 4x6" pieces. Go back over the glue residue with more hot water mixture and the scraper, to get the glue off.
- Clean Walls with TSP. Rinse.
Mix up some toxic-as-heck TSP into some hot water. Wearing gloves, sponge-scrub the walls and trim with the mixture. TSP will lightly "etch" the paint. Rinse out the bucket, grab a clean rag/sponge, and rinse the TSP mixture off the walls. There's some horror stories related to leaving it on and peeling paint. Don't do that. Rinse it off.
If you're feeling really ambitious, wait for the walls to dry and then sand them. Wipe them down with a damp rag to get rid of the dust.
- Loosen Light Fixtures.
Unscrew the room's light fixtures from the ceiling, and cover with a garbage bag so you can paint around it. For wall sconces attached to the wall, I'd probably remove them completely.
- Resolve Chipping/Peeling Paint.
Take that sharp metal scraper and chip/hammer at the peeling spots until they no longer willingly fall off. Sand with power sander. Spackle with no-flashing spackle. Wait overnight and sand again. Another round of spackling + sanding. Wipe off with damp cloth.
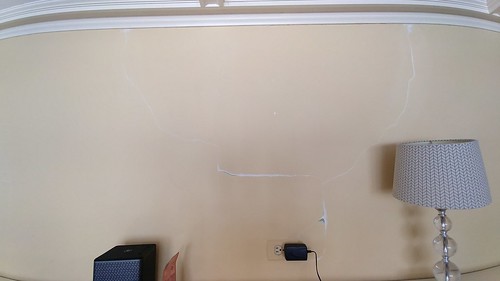
- Meanwhile, Resolve Cracks in the Wall.
Similar to handling chipping/peeling paint, but you need to jab the putty knife into the crack a bit to widen it. I use a "Crackshot" spackle intended for filling in cracks (it's a little thinner than standard spackle), but you could also do the whole mesh/mudding thing the Internet recommends. If you don't widen the crack first, it's fairly likely all the filling will get sanded out when you sand it later. So, widen the crack first!
- Prep & Prime the Radiators.
We've mostly dealt with baseboard heaters on the ground floor. The upstairs has radiators. We'll worry about that later. We essentially follow Apartment Therapy's guide to painting baseboard heater covers except we don't remove them, as we're not sure we can. Sand them, chip off paint, scrub with a write brush, rinse off, then prime with Rustoleum Clean Metal Primer (twice, letting dry in-between). This doesn't really hide the chipped paint, but it does help prevent it from continuing to chip.

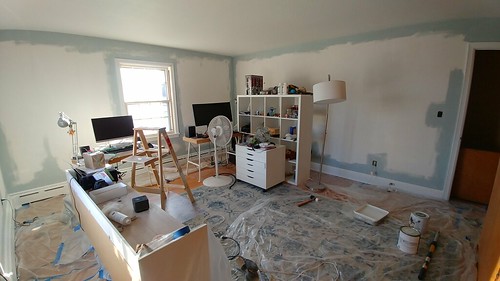
- Prime Prime Prime.
The Internet seems to think this is unnecessary, but we're dealing with super old paint that doesn't really want to stick to its shiny plaster walls. So, we water-base prime the walls, trim, and ceiling. If there's water damage or staining of some sort, an oil-based primer would be best. We pretty much only use Zinsser Bullseye for this step. If you have really bad peeling paint, there's a special anti-peeling primer for that. I typically only use one coat of primer on the walls.
One could sand the walls again at this point, if desiring an extra smooth finish.
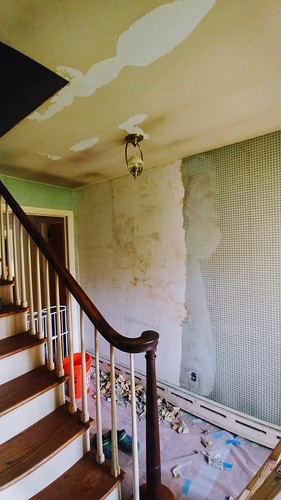
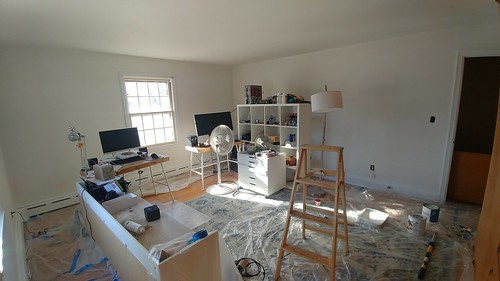
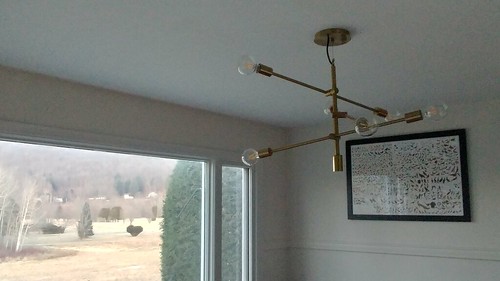
- Paint the Ceiling x2.
We use a color-changing ceiling paint. Zinsser Stainblock Ceiling Paint in flat bright white (straight out of the can). 'Needs at least two coats, would be happiest with three - this is an indicator that I should purchase better quality ceiling paint. I use a telescoping extension handle for my roller for this step, leaving an ~8" gap around the outside. Then I go in with a high quality synthetic brush and paint the edges/corners by hand, twice.
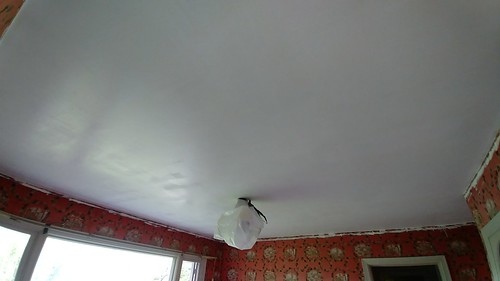
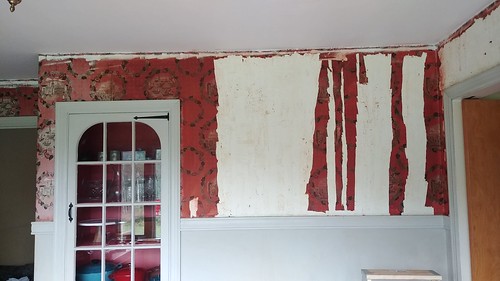
REMOVE WALLPAPER BEFORE PAINTING THE CEILING. Do not do what's happening in this photo!!
- Paint the Trim x2.
Using a semi-gloss paint, paint all the trim, drying before doing a second coat. No need for painter's tape yet, unless you're doing window sashing & muntins. You'll cover most sloppiness with the wall paint in the next step.
When using Benjamin Moore Advance paint for this step, it's very important to let each coat dry overnight, and then sand before adding another coat. VERY IMPORTANT. It gives a super smooth, hardened finish but the cost is this extra effort. If you don't, the paint will flake off when touched. Because I use TSP, I feel like sanding trim before the first coat of primer is likely not 100% necessary, but with BM Advance, sanding after the first coat definitely is!
Definitely let horizontal trim (i.e., window sills, mantles, etc.) dry ~30 days before setting objects on them. Don't want divots in the new paint job!
- Paint the Edges x2.
Grab a short brush and cut-in the edges by hand. No need for painter's tape to do the edges near the ceiling and trim, if you have the patience to cut-in by hand a la YoungHouseLove. I like to interleave the edge-painting with the next step of wall-painting.
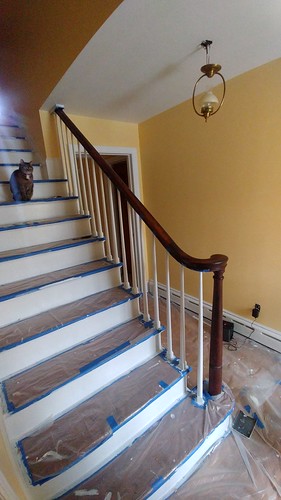
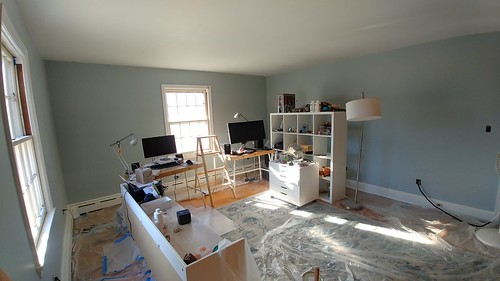
- Paint the Walls x2.
I typically use the telescoping extension handle to roll paint onto the walls as well, leaving an ~8" gap around the edges of the ceiling and trim. Since we use high quality paint (i.e., Benjamin Moore Regal Select in eggshell) we only need ~2 coats of paint at this stage.
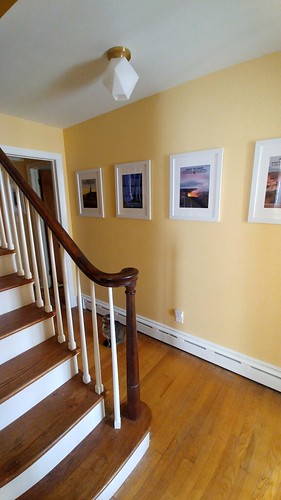
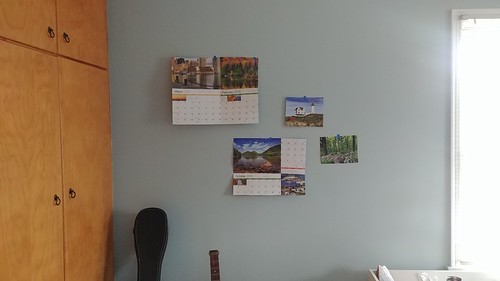
- Wait 48 Hours to Hang Artwork.
Best practices would say to wait 30 days for the paint to fully cure before doing anything else, but if you can wait 48 hours before hanging artwork, that's a good first step.
Replacing outlets covers can happen after 48 hours, but don't fully tighten the screws until 30 days later (or else the outlet covers and switchplates might get stuck in the paint when you remove them next).
It's also a good idea to wait 30 days before replacing light fixtures, but 48 hours will do in a pinch.
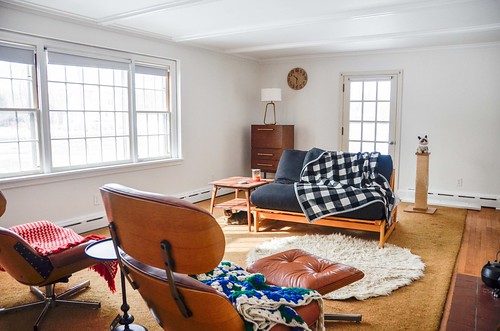
- Furnish.
Slowly, because you spent all your money purchasing the house and craigslist in rural New England is sad.
- Prime & Paint Window Sashings & Muntins, Doors on a Warm Day.
Because the windows/doors will need to be open to properly prep and paint, it's best to save the interior parts of the window for seasons when these can actually be open.


1 comments:
Ugh - removing wallpaper is my least favourite thing!
Post a Comment