

Wednesday, July 5, 2017
Follow along as I make Free Spirit Fabric's Double Wedding Ring Quilt.
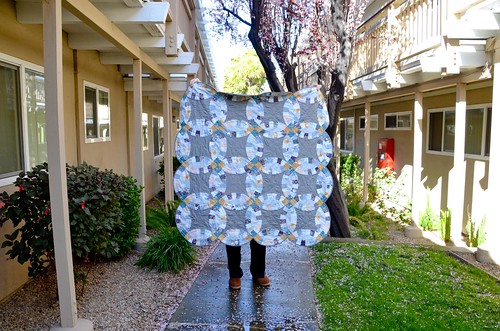
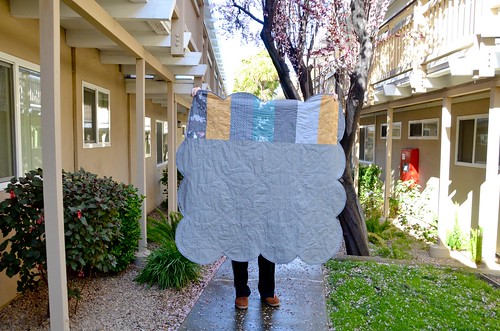
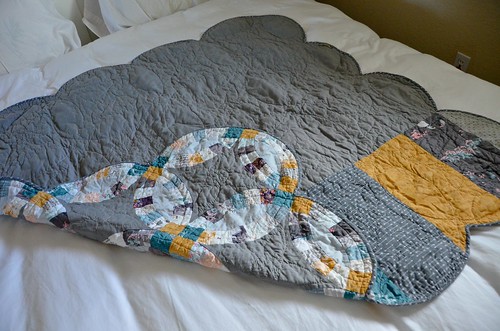
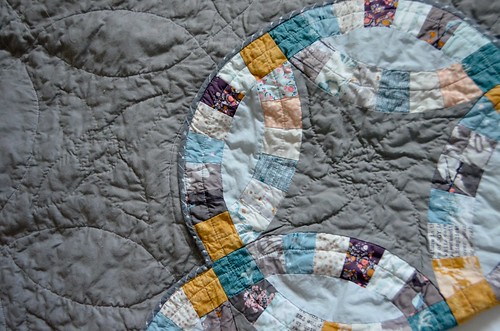
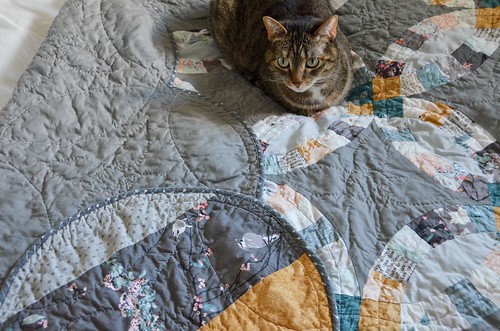
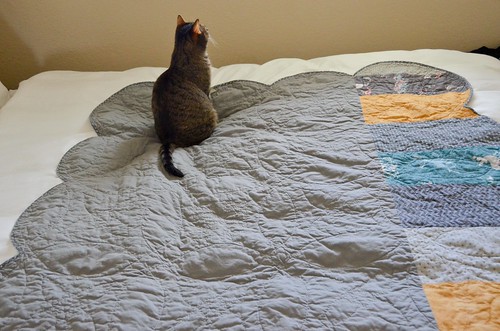
After a month of step-by-step blogging this double wedding ring quilt, it's finally done! I think it came out pretty lovely.
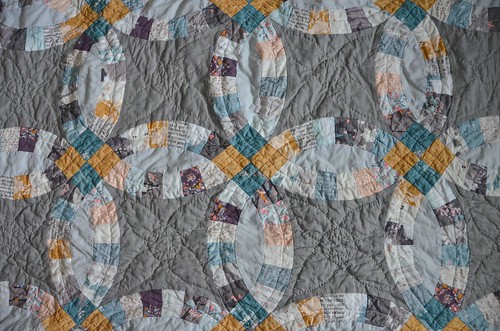
In the future, I would maybe do the melons and medallions all in the same color (i.e., drop the light gray, use all medium gray). I think that would give the arcs a bit more pop. I'd also be a little more careful of my fabric choices, and try to avoid prints with larger motifs that would be obscured if chopped into tiny rectangles. In this case, I attempted to use the scrappy back to show off some of the larger motifs, but better fabric choices could improve that going forward.
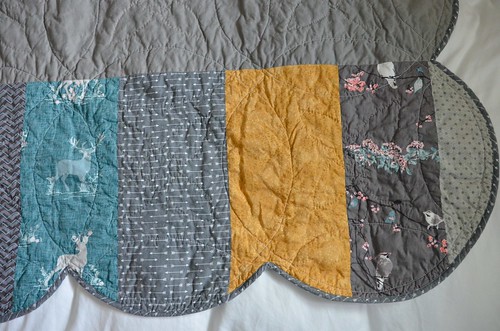
For the binding, I'd make less of it. You do not need to start with a square yard! It's way too much. I'd also make my continuous bias binding wider than I say to make it, because it never comes out wide enough.
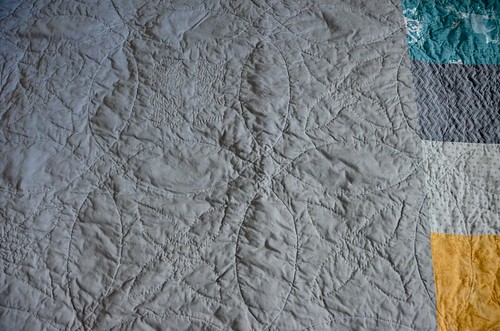
You could also consider adding in some hand-quilting to the melons. With the machine quilting through the arcs, it's not 100% necessary, but it could look nice. Something like two leaves connecting in the center could look nice, like in Carrie Strine's Double Wedding Ring Quilt.
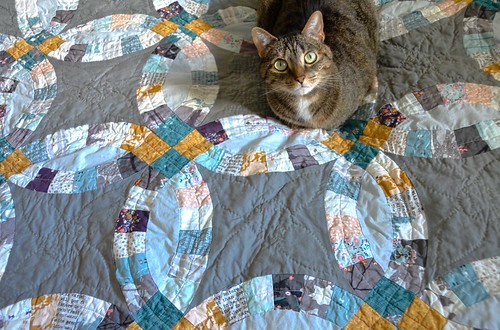
The cat very graciously agreed to model the quilt for me.
- Start of the Double Wedding Ring Quilt! Materials!
- Step 1: Cutting the Rectangles
- Step 2: Sewing the Arcs
- Step 3: Removing the Paper Templates & Sewing Corner Squares
- Step 4: Assembling the Melons
- Step 5: Assembling the Circle Units & Rows
- Step 6: Attaching Circle Unit Rows
- Step 7: Quilt Back & Quilt Sandwich
- Step 8: Beginning Machine Quilting - Avoiding Bottom Threads & Backstitching
- Step 9: Hand Quilting
- Step 10: Attaching Binding to Front of Quilt
- Step 11: Mitered Join for the Binding
- Step 12: Attaching Binding to Back of Quilt
- Completed Double Wedding Ring Quilt Throw!


0 comments:
Post a Comment