

Wednesday, February 10, 2016
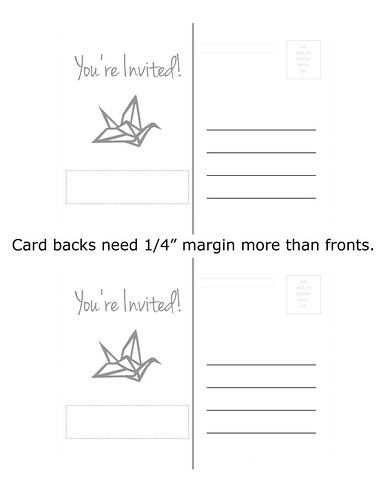
At-home printing was actually somewhat out of necessity. The square front of the postcard needs to be exact, and so the back of the postcard needs 1/4" bleed margin with nothing in it. You print the fronts first, feed back through the printer, and it prints at a slightly wonky location. If you want any chance of the fronts and backs lining up, you need to have the bleed margin. Also, the USPS has some pretty specific requirements for size & weight of postcards, and we would recommend printing on 80-95lb cardstock, if you can find it. We did these in 67lb, and it's okay but they tend to get a tiny bit shredded in the mail.
Also, if you're planning on printing your own invitations, might I recommend A Practical Wedding's 'How To Print Your Own Wedding Invitations'? We ignored much of the advice and it ended up costing us a bit. Basically, try not to print something with too much color, because the cost of ink will greatly drive up the cost of this process. Although, it still won't be nearly as expensive as printing as FedEx/Kinko's ($2.50 per sheet!). If you are going to go heavy on the ink, might I recommend using a lighter shade of grey? Black ink is cheaper than the color inks.
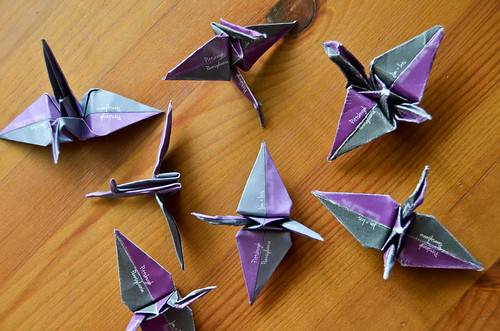
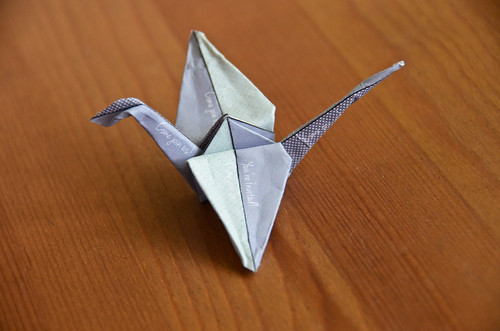
Just for fun, I've drawn up a basic paper crane postcard invitation, and shared instructions for making these beasts below. Just in case you too were feeling a bit nutty (only a bit) and wanted to do this yourselves. The bright side of printing them yourselves - you can adjust the color schemes as your printer runs out of the varying color inks!
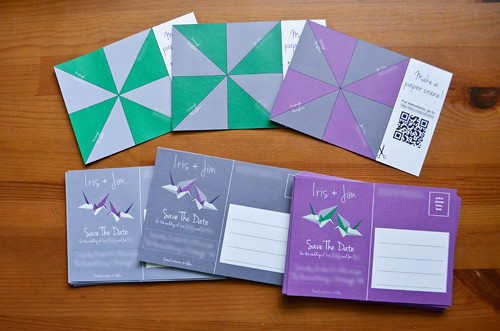
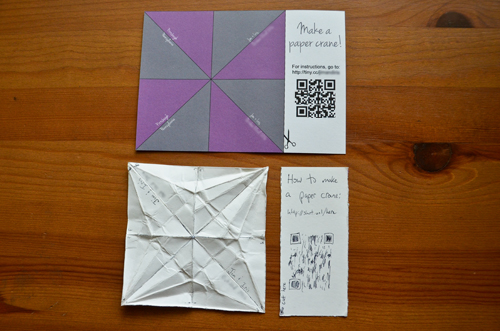
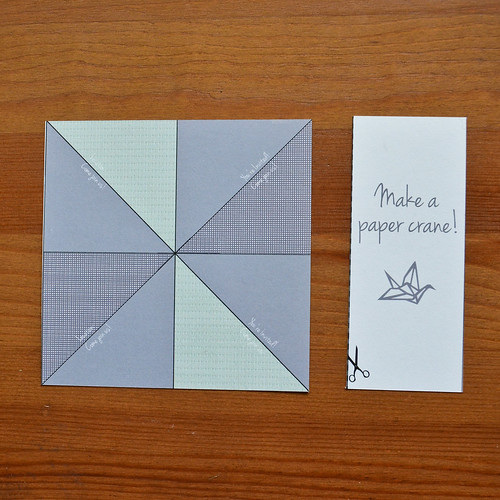
- Print off postcards on 70-100lb cardstock, flip over and print on the other side of paper. The printables are below (full resolution available on flickr if you click through).
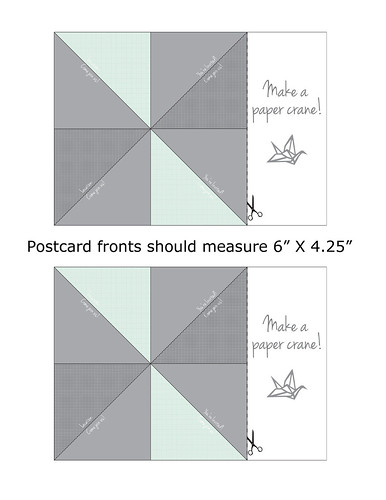
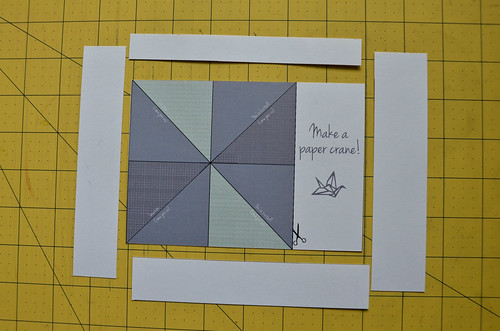
- Cut postcard out of cardstock. We used an X-acto knife, but whatever works.
- Step 4. Address, stamp, and mail to whoever! You're good to go!
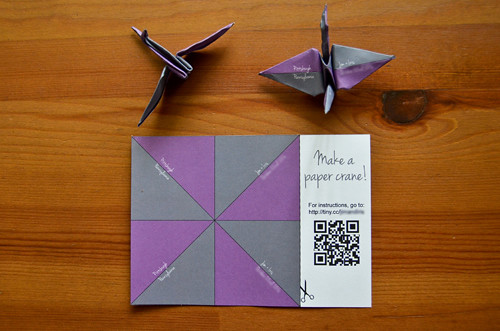
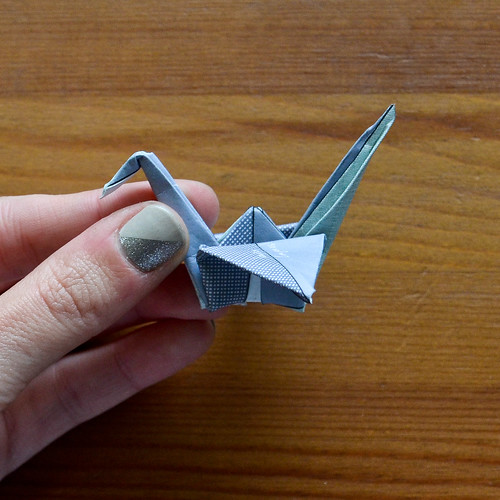
How To Fold Origami Paper Crane
These directions are mediocre. We like this video instructional tutorial for making a paper crane: www.youtube.com/watch?v=KfnyopxdJXQ- Cut off square along scissor line
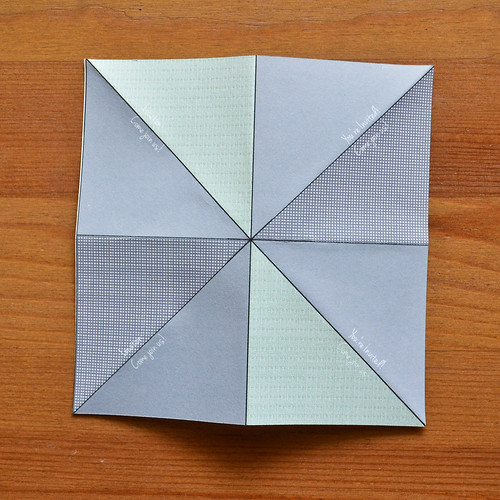
- Pre-fold along all 4 lines (2 diagonal, 2 perpendicular)
- Fold along diagonal line, then fold left and right corners inwards. The pre-fold lines should help you here.
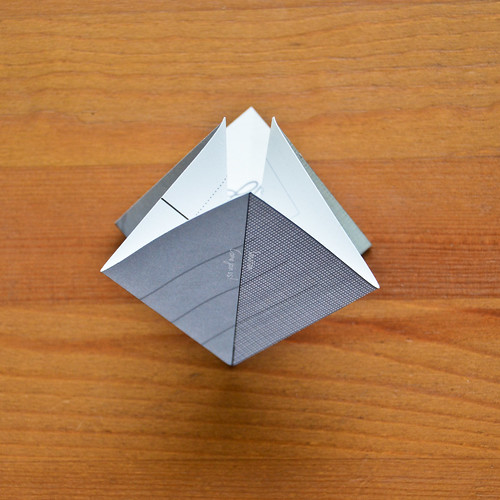
- Turn 180 degrees and do some more pre-fold lines (bring side corners to center line).
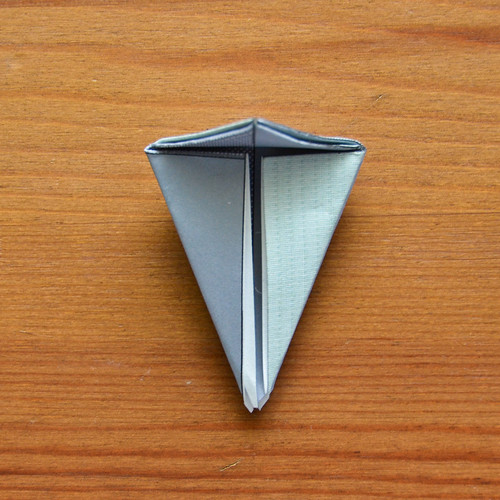
- Pull bottom corner upward, folding along pre-fold lines. Repeat for other side.
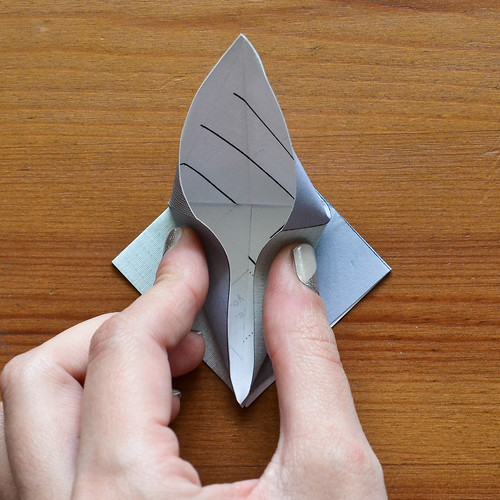
- Fold corners inward to center lines, these will become the neck and tail
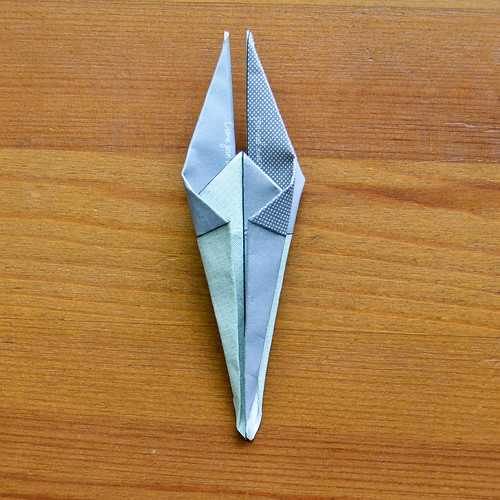
- Close neck and tail, then bring inward and upward.
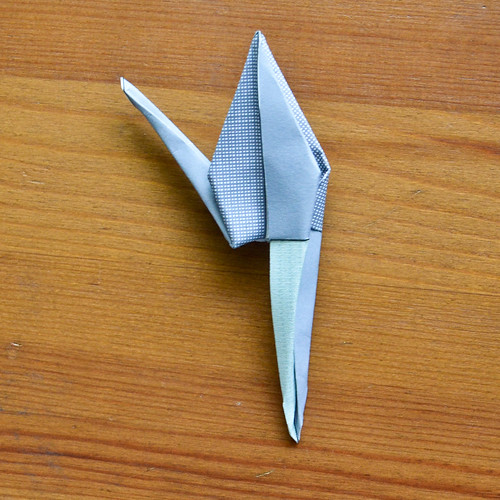
- Fold head downward and you're done!
Typefaces used: Jenna Sue, available from FontSquirrel.com. Details were probably described in 'Verdana'.


2 comments:
And for extra flair, there's always the video. Making paper cranes with Iris and Jim (with special guest star Dizzy).
Nice nails -- very on-theme =p.
What an adorable and clever idea
Post a Comment