

Wednesday, September 28, 2016
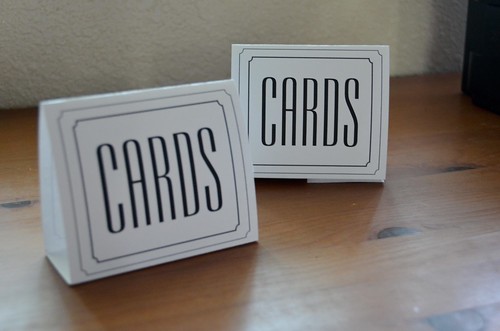
- Print off your table tent design (onto cardstock, preferably). Below I've included a sample design for a 'Cards' and 'Gifts' table tent and also a blank template that has all the folding and cutting guides you need. For a table tent made on letter paper, the ideal length is 11" with 1.75" on either end being dedicated to the base. The paper is first cut in half, yielding a table tent that is 4.25" wide.


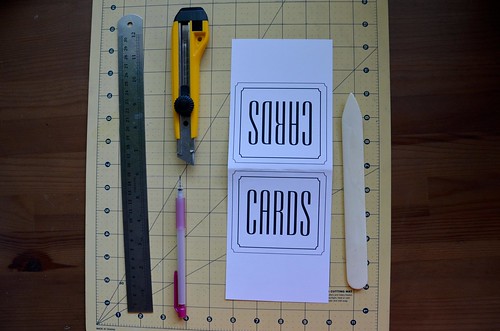
- Gather up your supplies, which in this case should include: your printed design, an Xacto knife, cutting mat, Xacto guide (metal ruler), pencil, and a bone folder
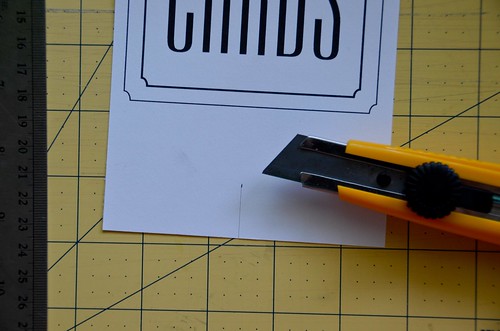
- Cut your design in half, along the cutting guide and then cut the notch along the provided guide (there are two notches on either end)
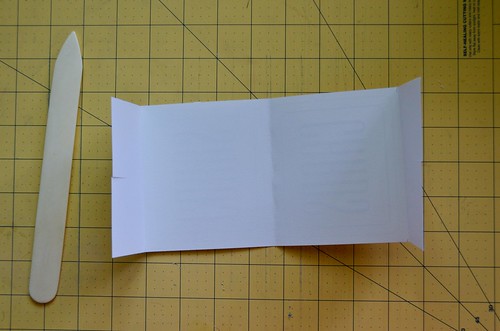
- Use a pencil to transfer the three folding marks to the back of the cardstock, and then use the bone folder to score along those three sets of pencil marks
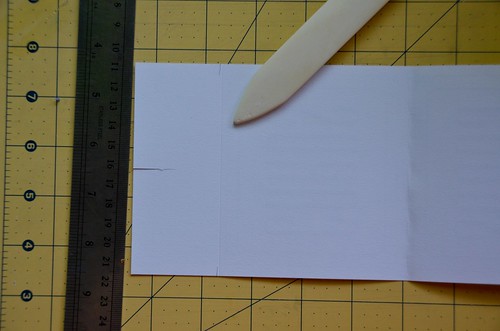
- Fold along the three score marks
- Form the base of the tent by interlacing the two notches
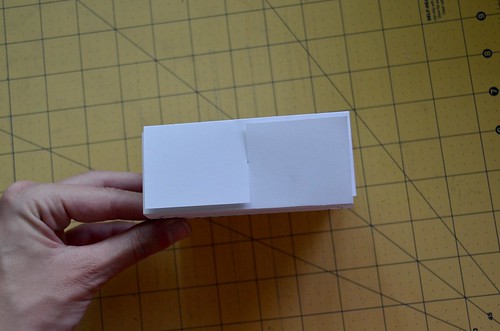
- Done!


For the actual wedding I ended up hand-tracing some nice calligraphy from etsy/WellingtonCoveDesign.


0 comments:
Post a Comment