

Wednesday, May 24, 2017
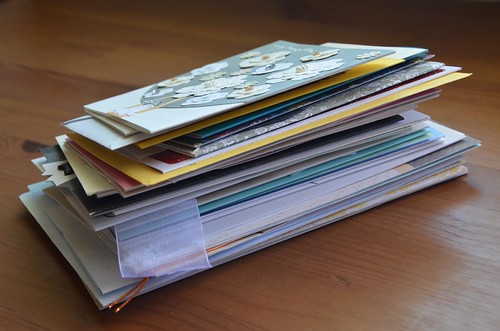
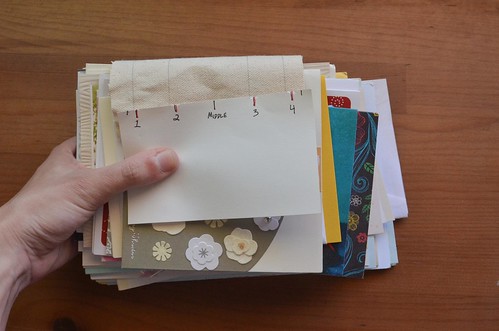
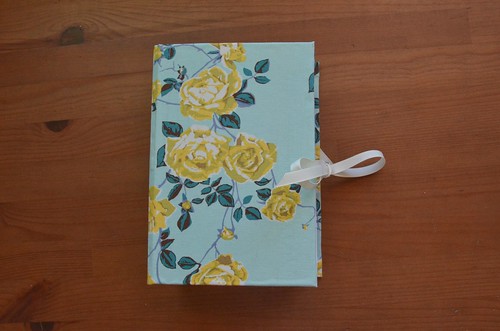
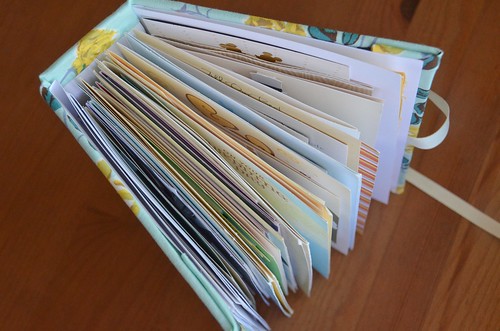
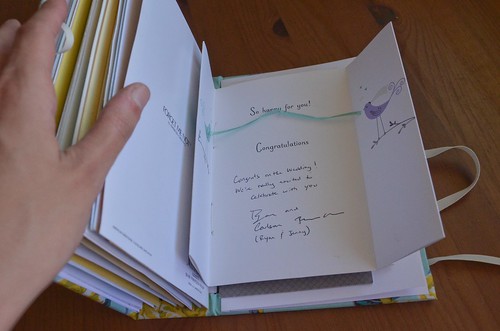
So many wedding cards, and nothing to do with them! I decided to try my hand at dreamyelk's Turn Wedding Cards Into a Book Tutorial and this is what we got:
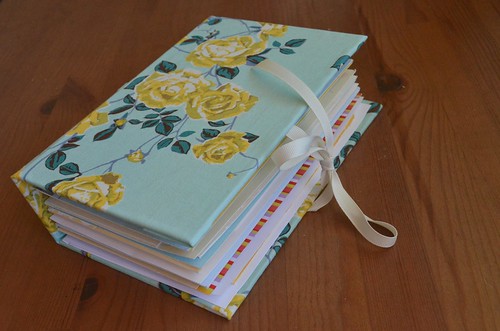
I went a little off script by using sewing fabric (Anna Maria Horner's Social Climber). This is not the greatest idea, unless you're very careful about spreading out the glue on the book board with a paintbrush, and maybe even using a bone folder to smooth out all the bubbles afterward. Alternatively, you can make your own paper-backed book cloth with either {pH neutral glue or Heat'n'Bond or homemade paste}, less than 50 gsm Japanese/kozo paper (or tissue paper), a glass board, a paintbrush, and a rubber hand brayer. Alternatively, you can buy book cloth or a nice, solid scrapbooking paper for the cover. Pretty much all the supplies can be found at Paper Source or elsewhere about the Internet.
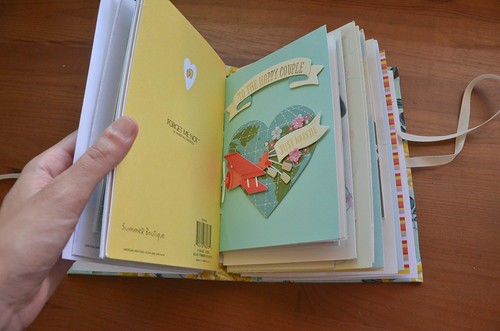
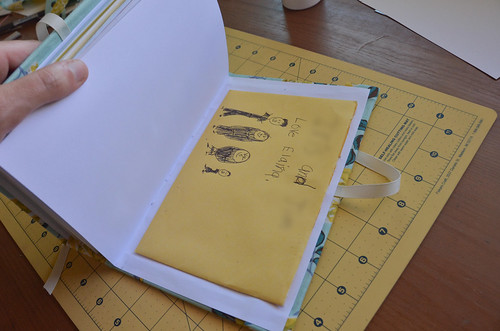
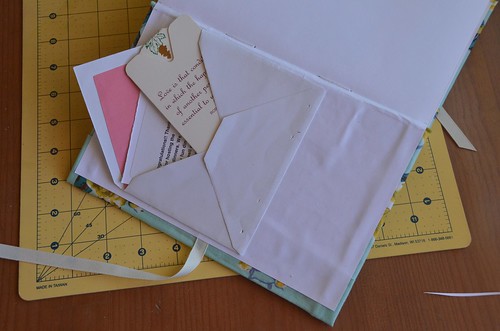
I also used my pH neutral glue to attach a pretty little envelope to the front endpaper, to hold the little notes that came with Amazon and Crate & Barrel packages. So don't worry, people, we've even got your two-line gift notes from merchants archived forever. And on the back endpaper is a masterpiece of a larger envelope, for holding a letter from my grandmother and other larger notes.
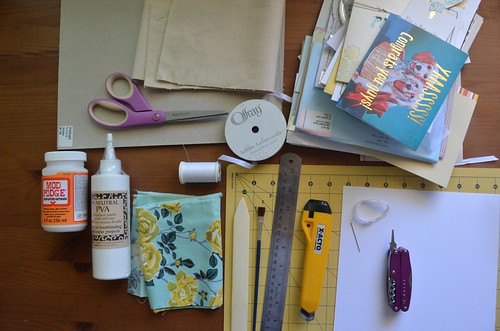
- Gather Supplies.
- book boards (8.5X11 *2) - Paper Source
- book cloth - Paper Source (preferably not sewing fabric) OR large decorative cardstock for book exterior
- PVA glue (pH Neutral)
- canvas (~6X6")
- ribbon (~1.5 yards)
- embroidery floss (or strong thread - linen thread is the bookbinding gold standard)
- sewing needle
- scissors
- 3 sheets card stock (for endpapers, can be decorative)
- ruler
- bone folder
- paint brush (for glue)
- Xacto knife
- cutting mat (for Xacto knife)
- awl (i.e. pointy metal object)
- stack 'o greeting or wedding cards (no more than ~40 cards/book. The tutorial shows an album of 36 cards)
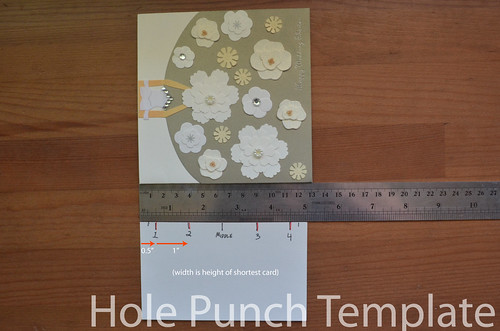
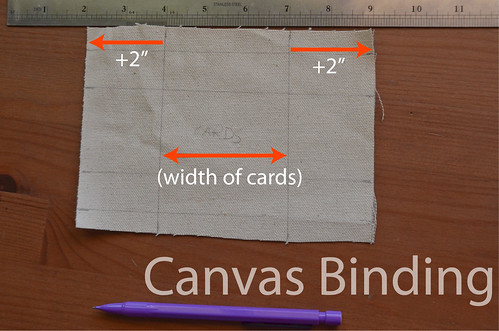
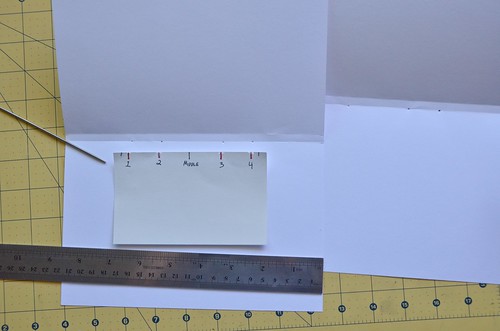
- Make a hole punch template.
Make a hole punch template so you place holes in the cards in the exact same spot each time. The width is the height of the smallest card. Mark the middle of the card & label, then mark 1/2" from either edge. Then mark 1" toward the center from that 1/2" mark. Number these 4 lines 1-4, as in the photo.
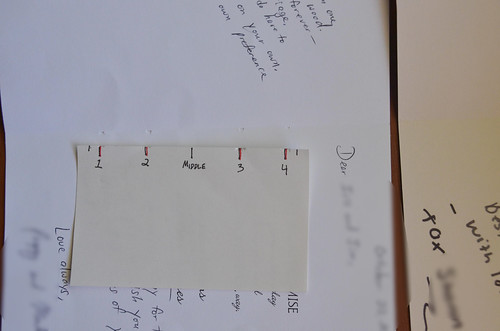
- Start punching 4 holes into every card, using the template.
I used an awl, but a tiny screwdriver or metal knitting needle (or similar) may also work. Use the template to ensure the holes are in the same position for each card.

- Non-Standard Cards Require a Different Approach.
Sometimes, you'll encounter a non-vertical fold card or accordion card, or some other specialty card. You'll need to do something different for those (see dreamyelk's suggestions). For the accordion cards, you just cut off 1/8" from the top layer, so it doesn't get in the way of the binding and then punch in the 4 holes, as usual.
I still have no idea what to do with flat cards.

- Use the 'Middle' label to ensure the holes are centered.
Most of the time, I just eyeball the middle of the card. That's usually good enough.
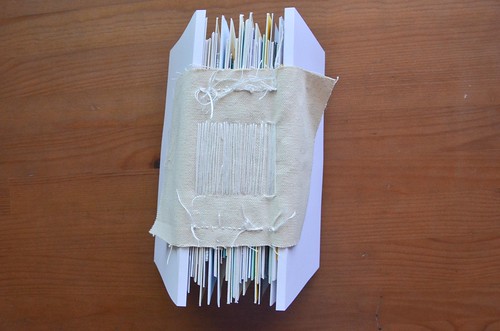
- Measure the height of your card stack.
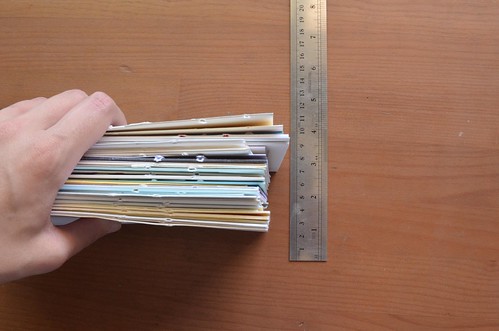
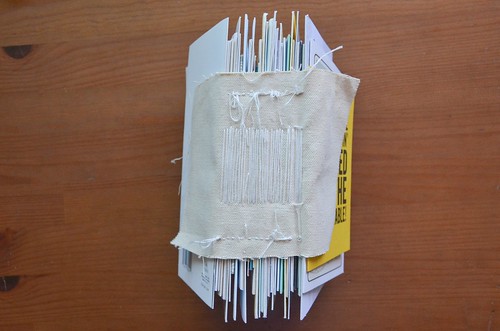
- Cut a piece of canvas: (height-of-card-stack + 4") X height-of-smallest-card.
Also, use the hole punch template and draw 4 lines that align with the 4 numbered hole lines.

- Mark line 2" from both edges of canvas.
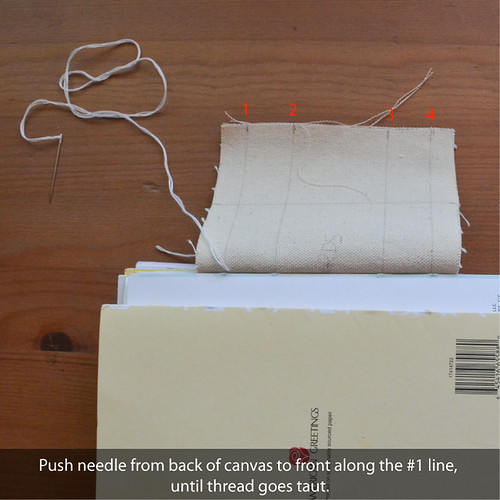
- Starting on one of these 2" lines, push a needle & thread from back of canvas to front, starting at the #1 line.
I cut my floss about 6-9 ft and split my embroidery floss into 2 strands at a time, similar to how I prep for handkerchief embroidery.
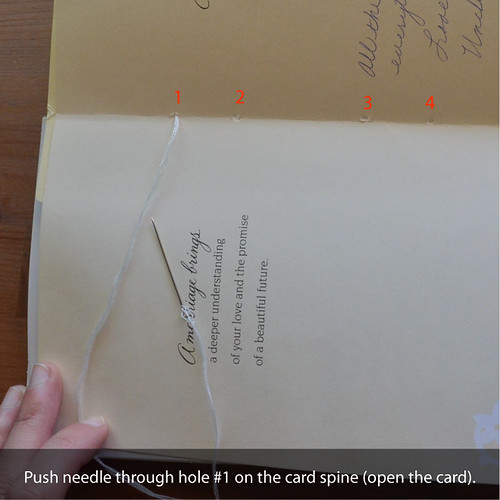
- Push needle & thread through hole #1 of the first card spine (you'll need to open the card).
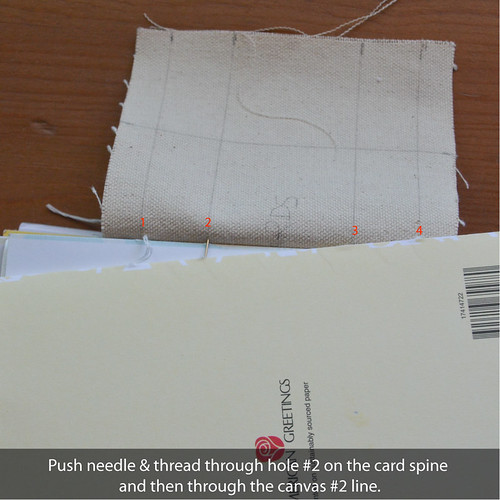
- Push needle & thread through hole #2 of card spine, and then through the canvas at line #2.
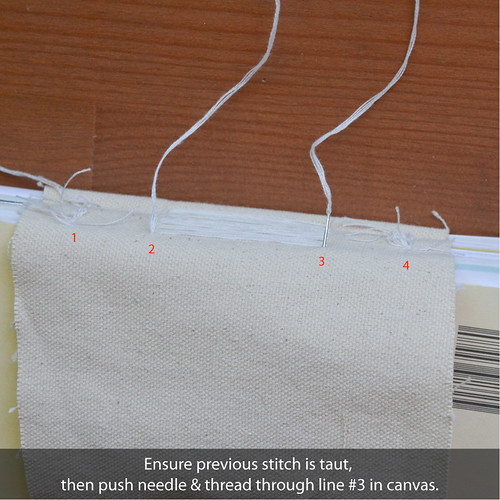
- Ensure previous stitch is taut. Then push needle & thread through line #3 in the canvas.
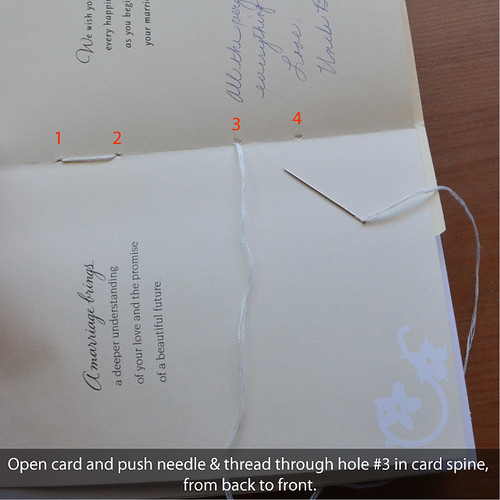
- Open card and push needle & thread through hole #3 in the card spine, from the outside of the card through to the inside.
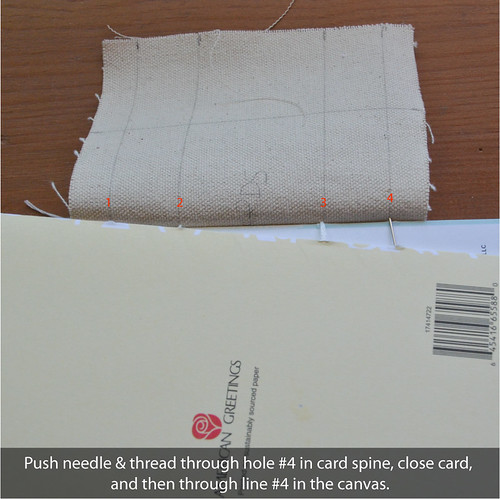
- Push needle & thread through hole #4 in card spine, then through line #4 in the canvas.
- Pull stitches taut. Then add the next card on top of the previous, and repeat the process in the other direction. Start with canvas line #4, and work back down toward #1 as before.

- Repeat from Step 9 until all cards are sewn to the canvas.
Hopefully, all your cards fit between the 2" marked lines, because you'll need about that much leftover canvas to glue to the book boards.
This won't work with flat cards! I haven't figured out what to do with those yet.
When finishing a strand, be sure to secure the end of the thread with a knot. I like to go back through a previous stitch, and then pass my needle twice through the loop that's formed (just before pulling thread taut).

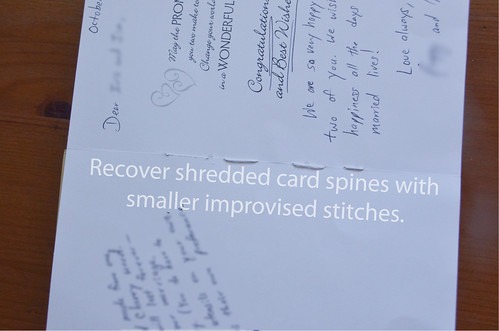
- If the spine of the card shreds, use smaller stitches (i.e., make new holes).
It's best to be careful when pulling the stitches through the cards, some of the spines are a bit finicky.
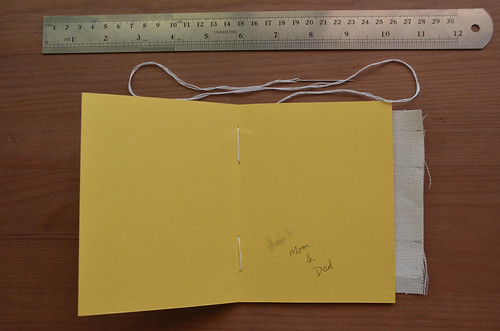
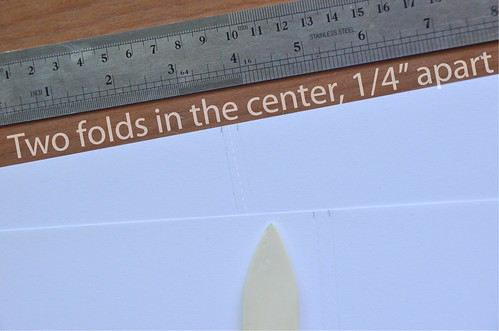
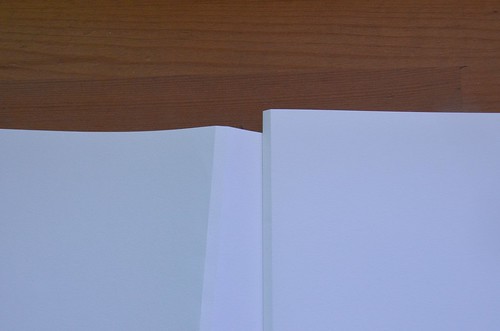
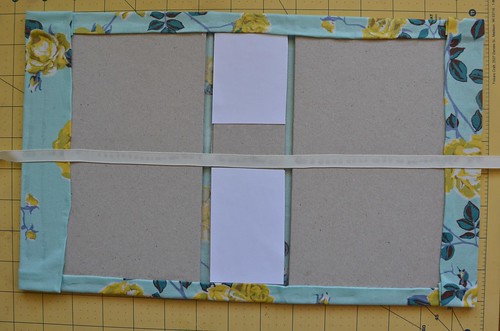
- Use Bone Folder to Press 2 Centered Lines, 1/4" from each other.
Card stock needs to be approximate size of largest card when the cardstock is folded in half.
I wish I'd used a prettier cardstock. C'est la vie!
- Repeat for second piece of cardstock.
Another set of 2 bone folder lines, pressed into the center, 1/4" apart.
- Use hole punch guide to punch holes into folded card stock.
- Sew cardstock to canvas & card stack as before, making sure untouched fold is on the outside.

- Attach second folded card stock to other side of cards as before.
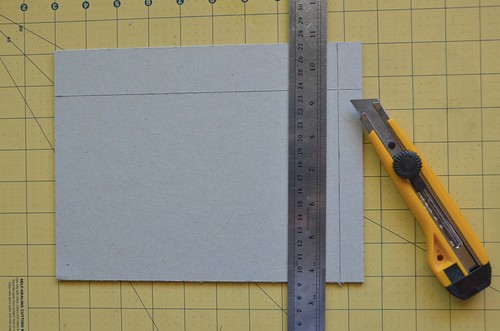
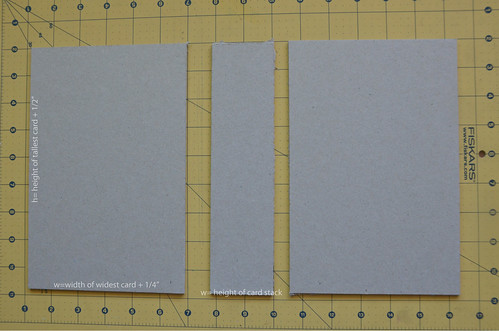
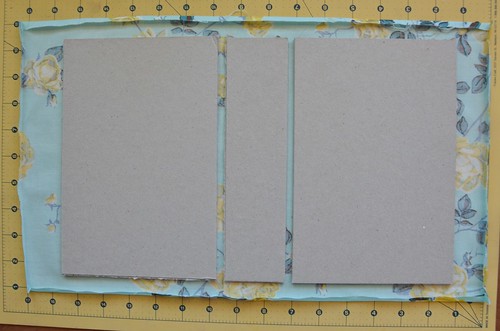
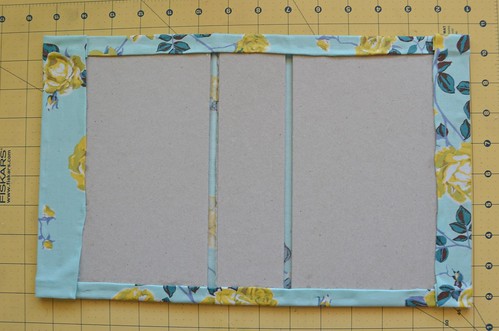
- Use Xacto knife or box cutter to cut book board into 3 pieces.
It may require repeated slicing with an Xacto knife.
2 boards: height = height of the tallest card + 0.5" || width = width of widest card + 0.25"
1 board: height = height of the tallest card + 0.5" || width = height of the sewn card stack
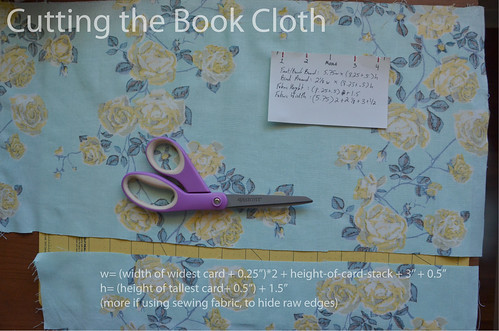
- Cut Book Cloth / Paper to Size.
width = (width of widest card + 0.25")*2 + height-of-card-stack + 3" + 0.5"
height = height of the tallest card + 0.5" + 1.5"
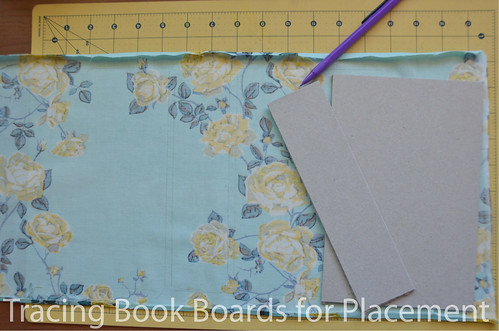
- Trace the book board piece placement onto book cloth.
Spine is centered. 1/4" space on either side, then each of the front/back pieces on either side of spine piece.
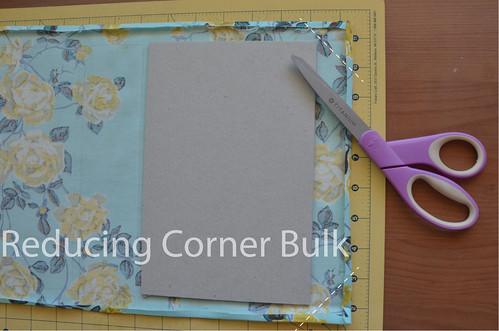
- Trim 4 corners off book cloth at 45 degree angle, 1/16" away from the book board.
I didn't do this step with the sewing fabric, as I was afraid the cut would fray. Instead, I ironed 1/4" fold all around the fabric, so that the ends would be glued under.
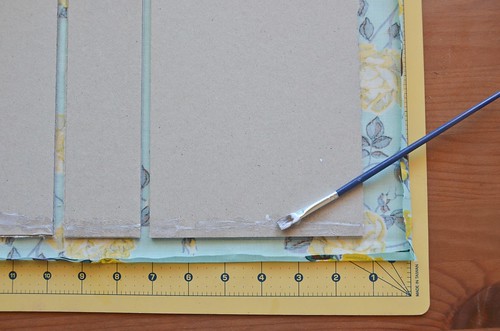
- Use PVA glue applied to the book boards to glue book boards to the book cloth.
Edit: You may wish to cover the spine piece in card stock before gluing the book cloth down, leaving the book board exposed in the middle for the ribbon. This way the card stock ends will be hidden by the fold of the book paper/cloth. Although it may also make the spine less secure, so, who knows!
Note: Spread the glue out with a paintbrush! Do not attach with globs! It may show through.
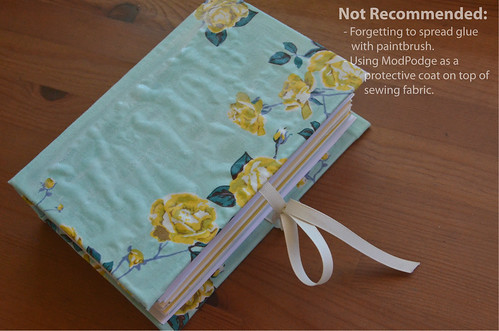
- Probably should avoid Mod Podge...
I did some experimentation with the back of the book. It may not look pretty, but at least it's sealed from the elements!
- Use PVA glue to secure top of book cloth to the book boards.
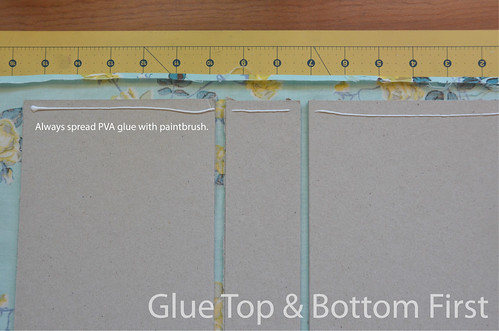
- Repeat for the bottom of book boards.
- Glue the sides of the book cloth to the book boards.
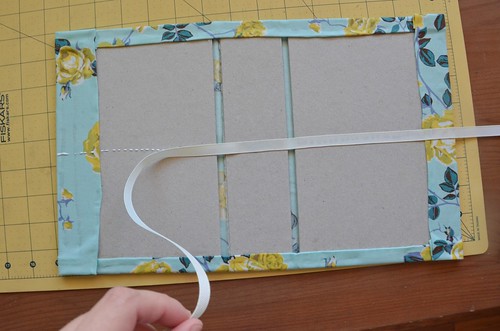
- Center ribbon, and glue across book boards and cloth.
Ribbon needs to be long enough to wrap around the card stack and tie into a bow.
- Glue card stock scraps to top & bottom of spine.
( If not done at Step 23)
- Spread out glue on binding canvas.
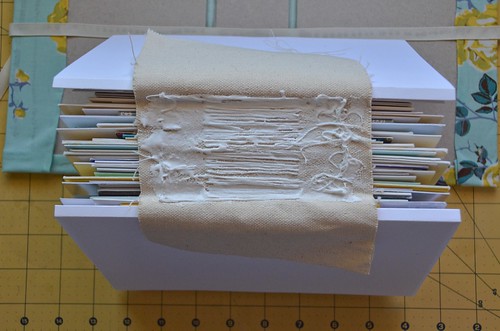
- Press binding canvas with wet glue to book board spine (centered).
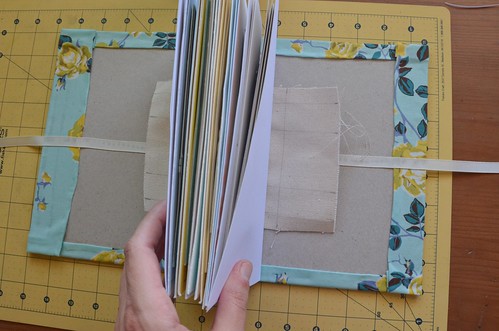
- Glue canvas strip to book board.
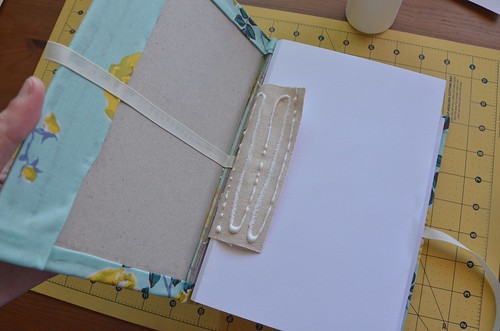
- Glue card stock endpaper over canvas strip and onto book board and cloth.
!!! Be sure to spread glue to very edges of cardstock so it doesn't come up! !!!
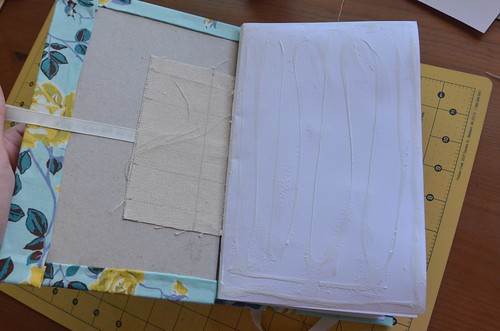
- Press out bubbles in cardstock endpaper as best you can.
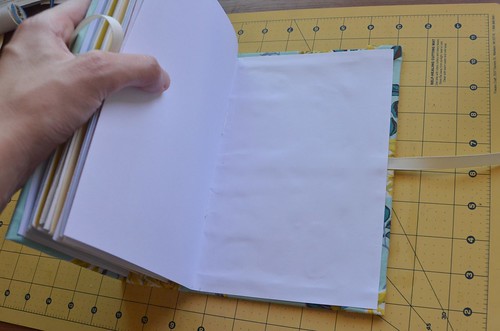
- Repeat for other endpaper. Close book and let endpapers settle for a bit (may require some wiggling).
Mine didn't settle quite right this time. I think next time I'd pay more attention to getting the endpaper folds to align with with 1/4" space between the bookboards.

- Glue envelopes to endpapers, if desired.
Envelopes can hold smaller notes and cards that are too small to fit with the rest.
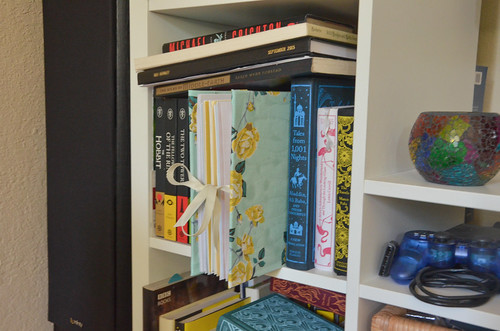
- The book needs to be press closed somehow and allowed to dry (I placed the spine in my bookshelf).
- Done!

Maybe I'll bind our advice cards next, although that'll require a different approach as they're single card, not folded. This method looks promising for binding single pages.


1 comments:
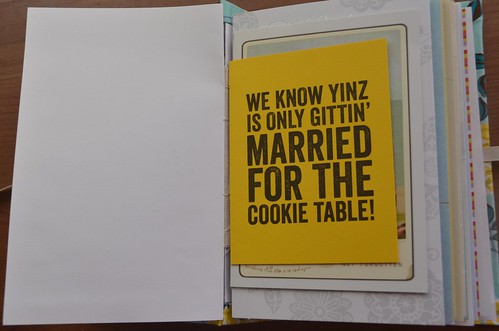
Firstly, I love that you did this. I keep all of the greeting cards I receive (but in an ugly shoe box). Secondly, I love the Pittsburgh wedding card and miss cookie tables :)
Post a Comment