

Sunday, August 2, 2020
Before going too far into Drip Irrigation, might I recommend you look into Core Gardening first? It might be a simpler way to go!

I have a large enough garden far enough away from my house, in a complicated enough situation (deer netting, small pathways!) that a better watering situation is needed. I'd been listening to enough of the Joe Gardener podcast to know that drip irrigation is likely the most water-efficient means of watering my garden. If you only water where you have plants, and give much more consistent delivery, than you'll have fewer weeds and happier plants! I acquired a little starter drip irrigation kit for in-ground gardens, and seeing the parts in person made me think I might be able to manage a more complicated project. It can get much more complicated!

So, here we are and here are the resources that were most useful to me:
- Drip Depot's Raised Bed Drip Irrigation Kit Buying Guide provides a really nice intro to how to design a system for a raised bed garden, with videos to show you how to use the parts.
- DripDepot's Drip Irrigation Planning and Installation Guide goes even deeper into the details of setting up a system.
- DripDepot's Raised Bed Garden Drip Irrigation Kits are customizable, so if you have preferences or interesting layouts, you can add/remove parts as needed, but the base kits provide a really nice starting place for understanding what you might need. They also sell other irrigation kits for whatever growing situation you may have, like maybe a container garden?
- FineGardening's Drip Irrigation Basics video is a nice, quick introduction of all the steps for setting up a drip irrigation system.
- I like GrowYourHeirlooms' Installing a Drip Irrigation System for Raised Beds video because it gives me some ideas for burying PVC piping in my yard for the 100' between my water source and the garden which may be better than constantly moving a hose. [Note: I use drip line rather than drippers, although I have a dripper for my one container of arugula].
July 20, 2020
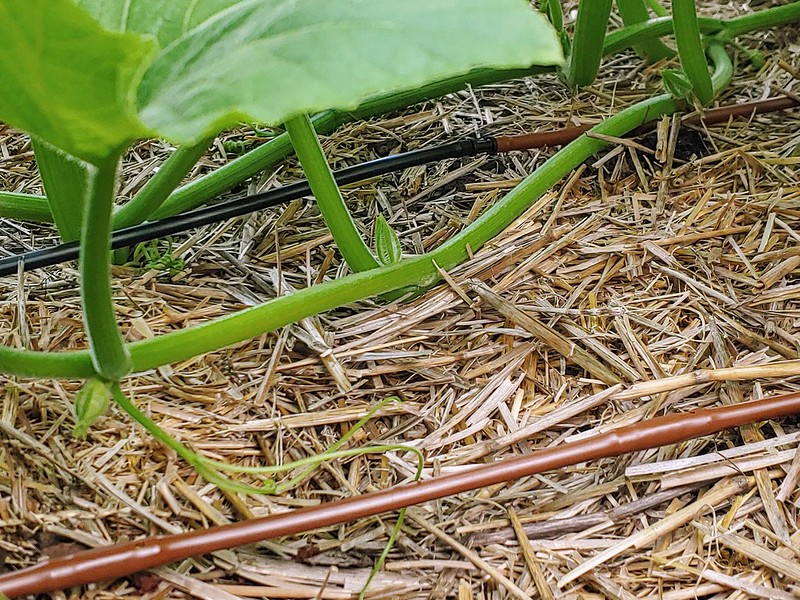
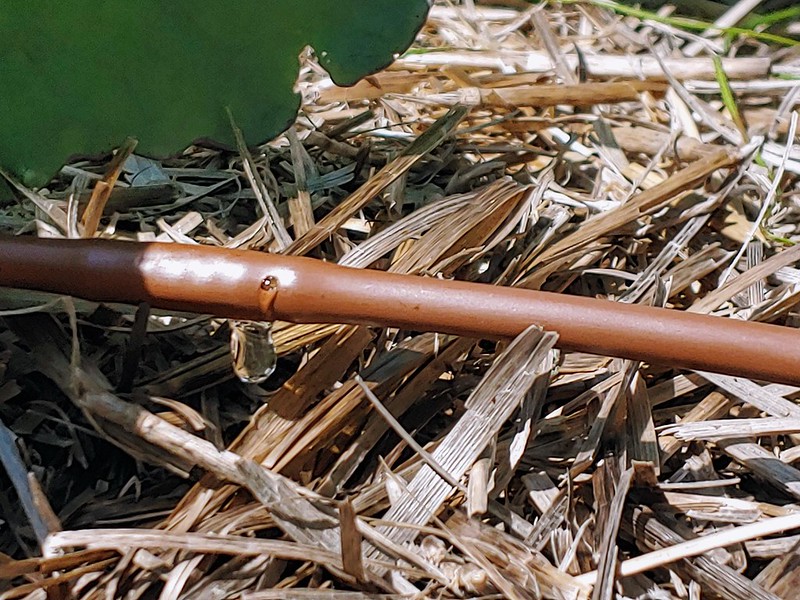
Basically, you need "mainline" tubing to run most of the water *to* the beds. DripDepot's Drip Irrigation Planning and Installation Guide tells you the limits on water flow depending on the diameter of tubing. I went with 1/2" mainline tubing. From this mainline tubing, you attach drip irrigation tubing, with irrigation openings that are either 6" or 12" apart, depending on your garden layout. You can also get drip line that emits water at different rates, although 0.5 GPH appears pretty standard for vegetables. Drip line also has a limit of how long it can be, how much total water it can deliver, and my 18' bed will be pushing the limits of my brown 1/4" w. 6" spacers drip irrigation tubing.
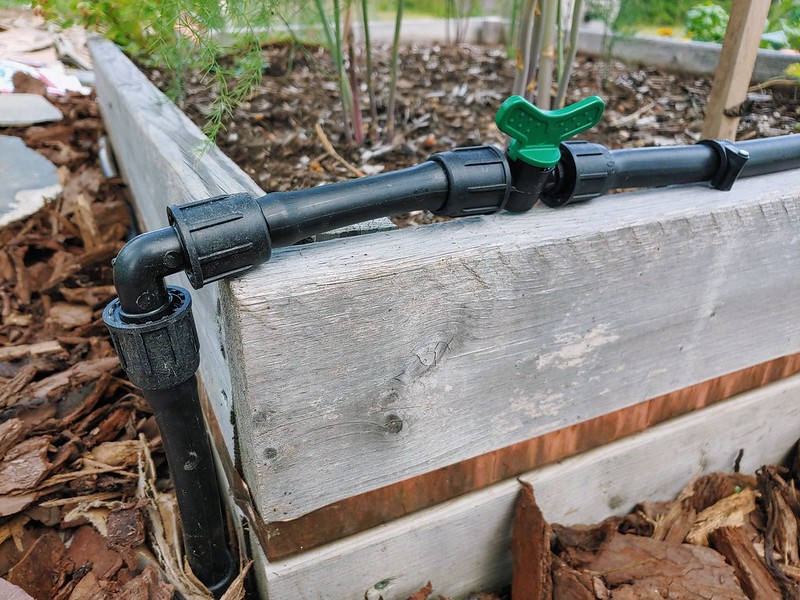
In order to attach tubing together, you need connectors of the right size for the tubing. They sell elbows and Ts as well for directing your tubing correctly, I use the 'Permaloc' style for making my 1/2" mainline tubing get to where I need it. To attach 1/4" drip line to the mainline, I use 1/4" barb tubing coupling. Ends of tubes need a cap of some sort as well, and they make goof plugs for the 1/4" tubes and Permaloc end caps for the 1/2" mainline. I don't really do anything fancy with my 1/4" drip line, so I don't need any 1/4" elbows or Ts, but if you have a small garden near your house, you might be able to get away with entirely 1/4" mainline in which case the 1/4" barb pieces may be more useful. I also picked up some 1/2" Permaloc coupling valves so I can turn water for each raised bed on/off individually. And then there's the female hose thread swivel adapter, so you can hook up the mainline tubing to your water source.

You'll also need a hole punch to make holes in the mainline to attach the barb couplings. And then there is the apparatus for the hose bibb: a backflow preventer, a filter to keep dirt out of the system, and a pressure regulator. A timer would be good, too, so you never have to turn it off or on! Some sharp scissors for cutting the tubing is necessary and some hot water to make tubing fit over barb couplings easier, some little clamps and stabilizer stakes are handy for tacking down the tubing in the exact right spot. I also used ground staples when I ran out of stabilizer stakes, so it doesn't have to be anything fancy. When the tubing is first unrolled, it wants to maintain that looped shape, so the stakes are great for forcing it to straighten out. I suspect the heat of the sun will help the tubing maintain its new shape, so after awhile not as many stakes may be necessary to keep the tubing in place.
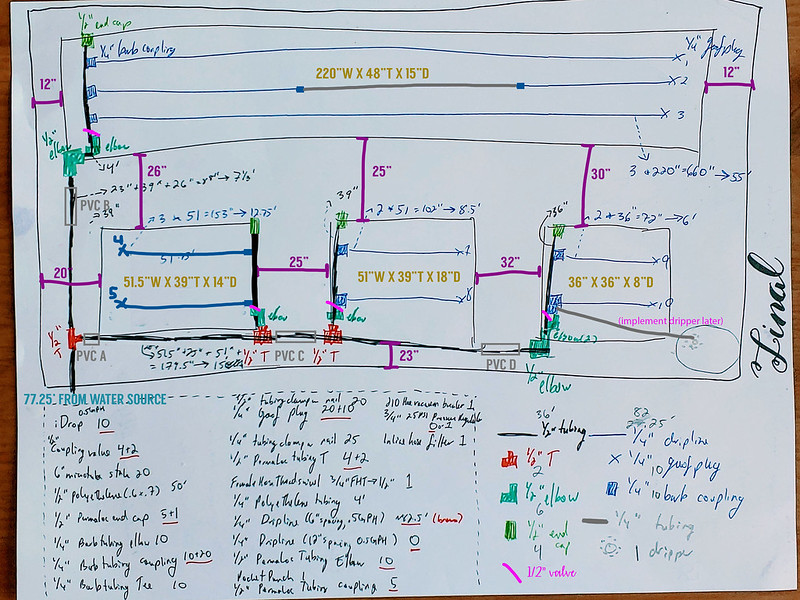
It's helpful to have a sketched plan a la DripDepot's instructions. This will tell you how many of each part you'll need. I will say it helps to have good spatial reasoning skills for this step, as you have to imagine the garden in 3-dimensional space to figure out elbow and T-shaped couplings. I ended up doing a little modification of my plan on the fly when I was actually installing, as some things I envisioned didn't make sense in the real world.
Even with a plan, it's a good idea to purchase lots of extra pieces. They're fairly cheap in small quantities, so it doesn't hurt too much to throw in some extras.

Once you've got all the supplies, then you need to actually set it all up! I found that I had to do the mainline tubing on one day, and wait several days for my hands to recover to do the 1/4" irrigation tubing. I should've spent a lot more time trekking back to the house to get hot water to make inserting the barb couplings onto my tubing easier!

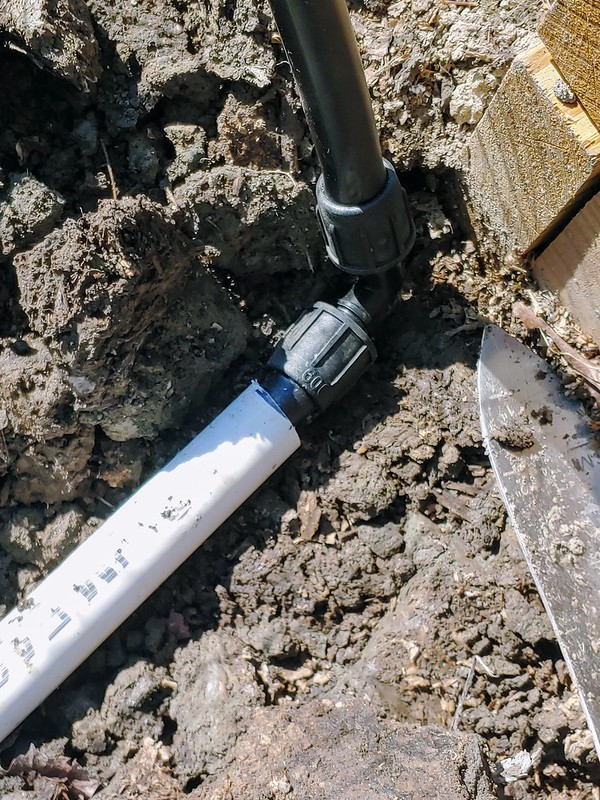
I also required some pieces of 3/4" PVC so that I could put my mainline tubing on the ground in my pathways. You can bury the entire irrigation system, but I wanted to keep the rest of the tubing relatively near the surface, just against the raised beds where feet aren't likely to be. This should hopefully let me easily check for leaks without having to dig everything up significantly. And the PVC tubing is only used under the pathways where feet are most likely to squish the tubing.
After much arguing in the summer heat with this system, I finally got it up and running! I made some modifications to my original plans: moved the mainline + valve for the front-left bed to the right hand side, delayed the dripper set-up for the arugula as it's gone to seed and doesn't yet need water, decided not to run dripline through the middle of the big bed (and instead use 1/4" barb couplings and 1/4" tubing) so that I only have dripline where plants are growing (key for weed prevention!). I also don't yet have my programmable timer attached to my vacuum breaker + inline filter + 25PSI pressure regulator head set-up, as I can't leave my hose out in the sun all day! So the timer isn't yet needed.
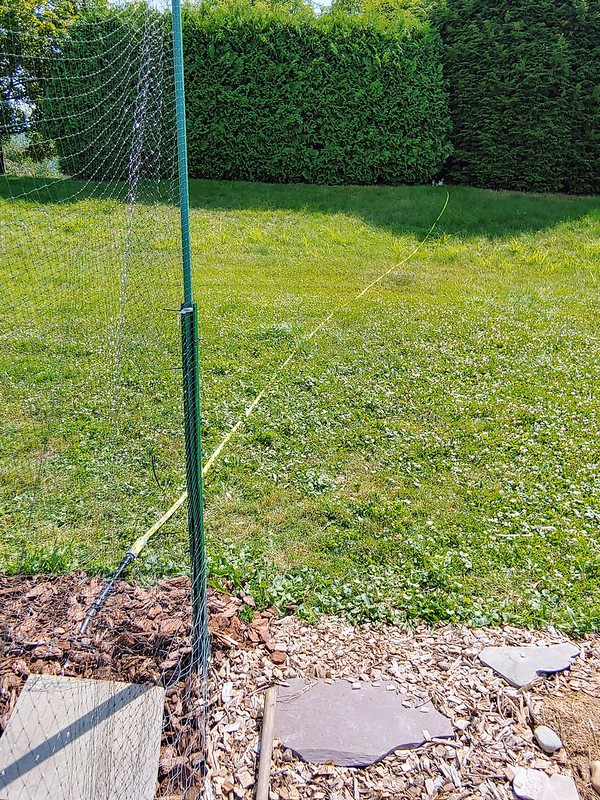
The distance from the water source to the garden is 77 feet!
It's key to get the dripline pretty even, otherwise the water will travel down the tubing to the lowest point! I have some beds that need a top-up of compost as the soil has settled greatly, leaving me with swooping driplines!
Once everything was connected, we turned the system on and re-inforced the spots where there were leaks (i.e., I needed to tighten my Permaloc couplings a little more). I tested that the valves worked and I could turn on/off the water for the different beds. The last thing to do was cover up the PVC popes with some dirt, re-cover all the ground tubing with cardboard, and then put down 22 bags of pine bark nuggets on top of the cardboard weed block. So now the garden looks respectable!

July 18, 2020
One last thing to figure out - how long and often to turn the system on for? The PennState Extension has a very extensive discussion of this to determine, mathematically how long to turn the system on for. I instead went for Greg Alder's approach of starting with 45 minutes, observe, and adjust. I think 45 minutes every ~3 days, restarting the day countdown when we get a decent rain could be a good starting point for me.

An important note: before the first frost, the drip irrigation system needs to be winterized (i.e., all water needs to be drained from the system). DripDepot has a nice Winterization Tutorial, here.


0 comments:
Post a Comment