

Friday, January 12, 2018
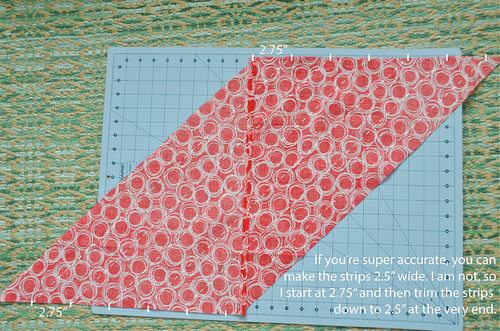
I'm a bit sloppy with my seams and my cutting, and so when I make bias binding, I try to make it a little wider than recommended. Recommended is 2.5" wide, my approach is 2.75" wide. In general, if you start with a fat quarter and make continuous bias binding, you'll be able to make about 4 yards. With my generous 2.75" you'll make a little less.
| Related Posts BYOV's Continuous Scrappy Bias Binding | MyRainBootsAreRed's Fat Quarter Continuous Bias Binding |
Calculating How Much Binding You'll Need
length of binding = perimeter-of-quilt + 10"Calculating How Large a Square To Make
square size necessary = roundup(sqrt(binding-width * binding-length))If you're making either the circular Christmas Tree Skirt Quilt or the Equilateral Triangle Christmas Tree Skirt Quilt you'll need about 5-6 yards of binding. Two fat quarters will produce a bit more than what you need.
Making the Continuous Bias Binding
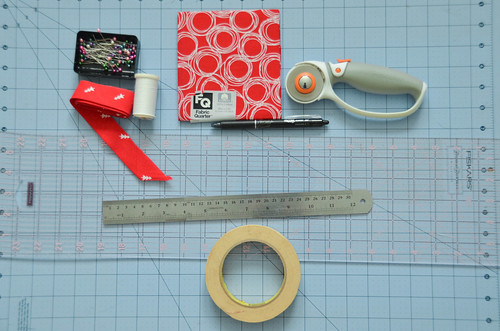
- Supplies: Fat quarter or two for a smaller quilt. A yard or two for larger quilts. Will need to cut it into a square. You can turn a standard quarter yard into a square, but it just adds another step (cutting + sewing). You can also sew a bunch of strips into a square.
Erasable pen/pencil, pins, iron, ironing board, sewing machine, ruler, rotary cutter, cutting mat, a yard stick (or ruler with masking tape).
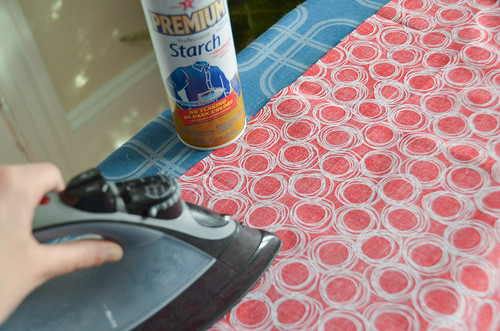
- Iron.
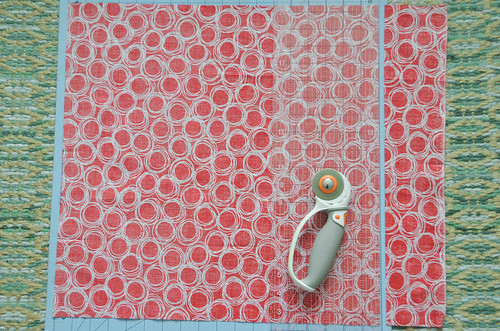
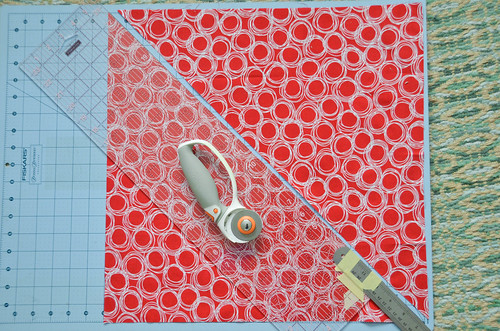
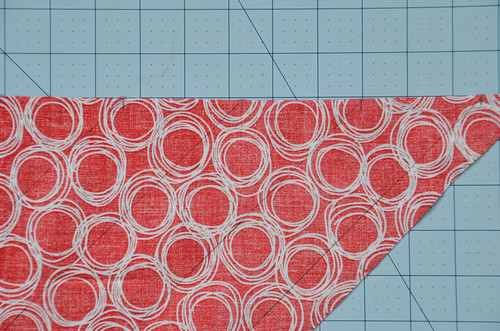
- Cut fabric into a square.
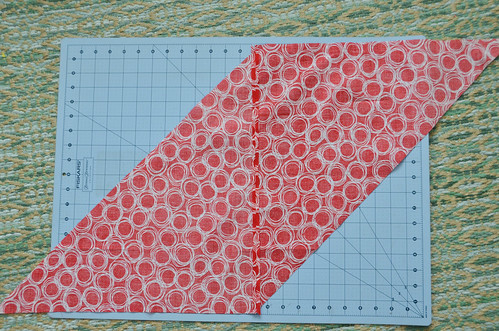
- Cut fabric square in half at a 45 degree angle.
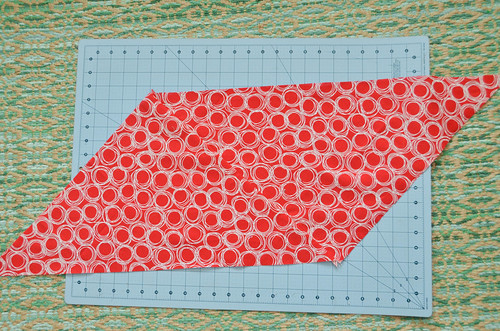
- Right sides up, shift two triangles so they form a parallelogram.
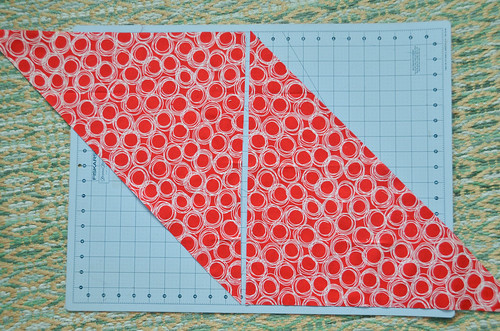
- Sew triangles together so they form parallelogram, right sides together with 1/4" inseam.
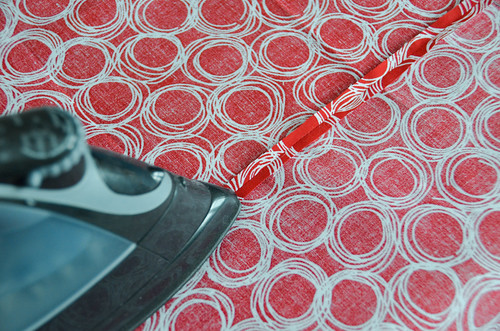
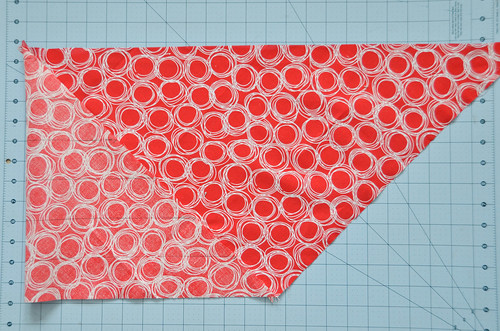
- Iron seams open.
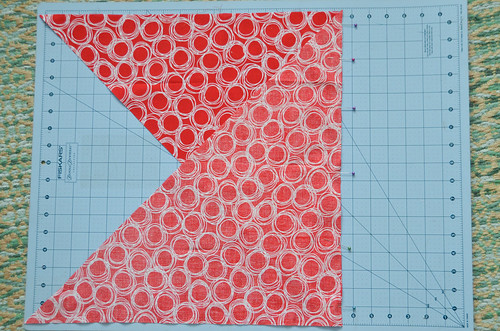
- Place wrong sides up, so parallelogram looks like this.
- Start at lower left corner, and mark every 2.75".

- When you get to the end of the bottom, start at the top seam and mark every 2.75"
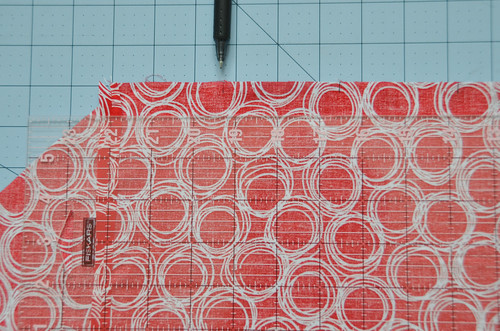
- You're going to connect the marks on either flat side.
- Use a ruler and erasable pen to connect the marks. Note: Using iron-erasing pens here might not be the best idea, as we have to iron the fabric, erasing marks we need. (I choose to just iron very carefully).
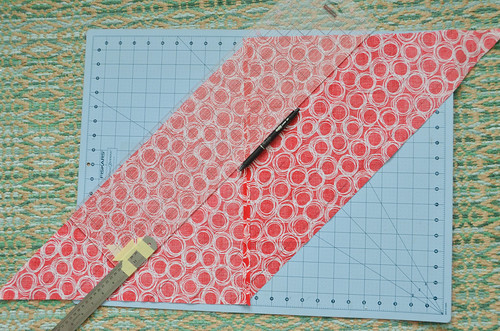
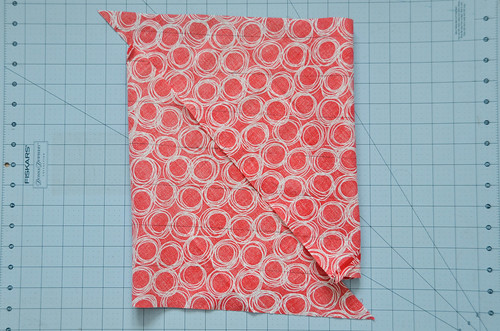
- Flip parallelogram over so right sides are up and it looks like this.
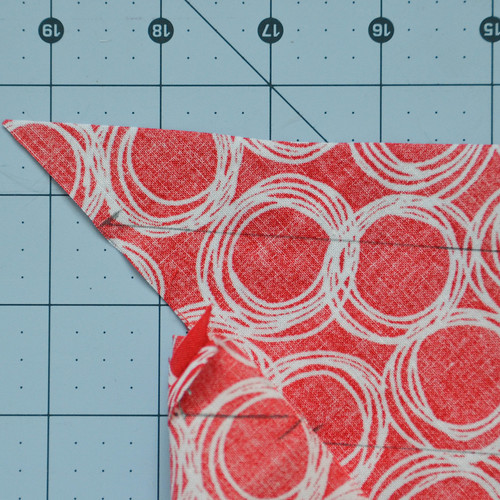
- Fold lower left corner over to lower right corner.
- Fold upper right corner over to upper left corner.
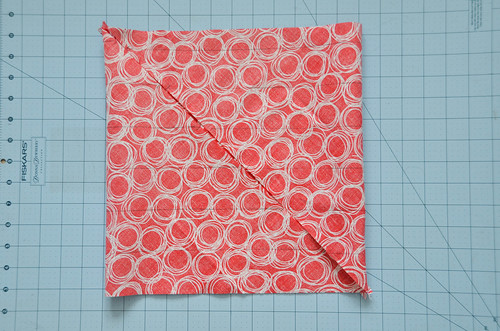
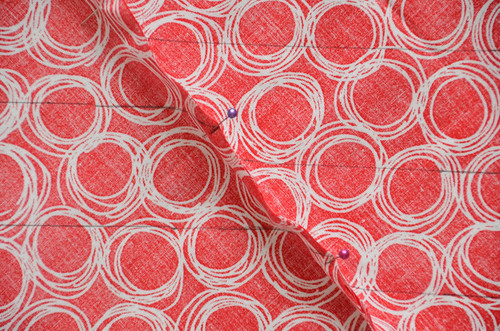
- Shift previous upper right corner up so that the second line on the right meets with the first line on the left (we want the lines to form a spiral that wraps around the parallelogram).
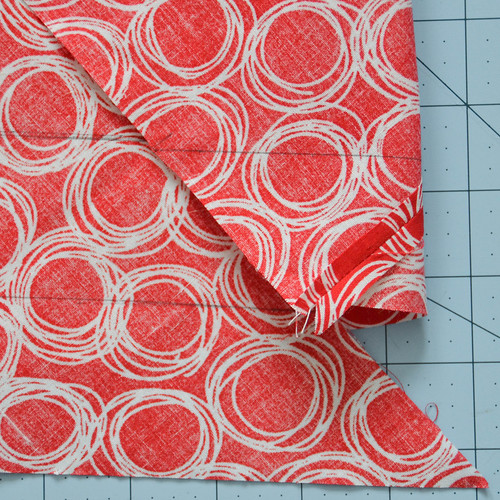
- Pin lines together.
- Sew 1/4" inseam and iron seams open. Iron very carefully if using iron-erasing pens.
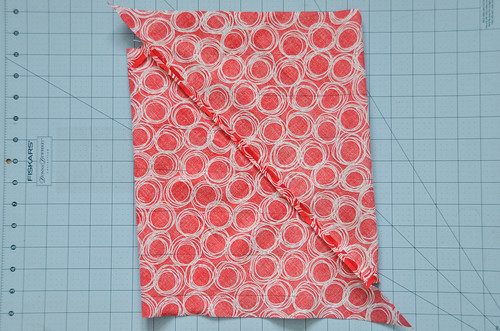
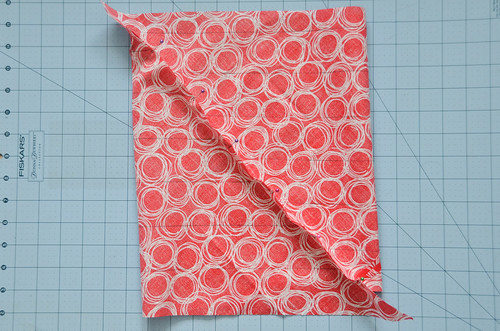
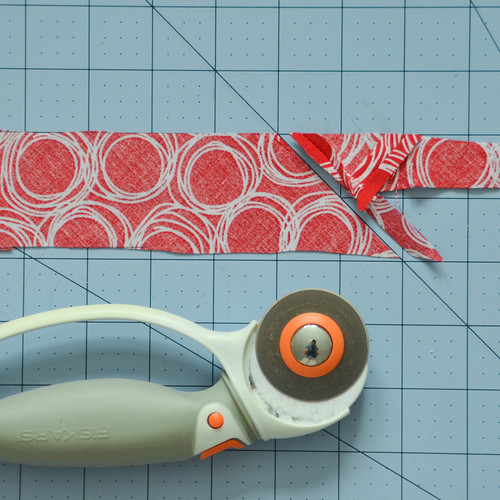
- Ensure the line forms a spiral around the fabric tube, and start cutting along the line.
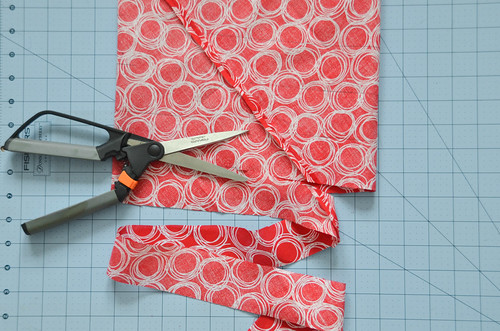
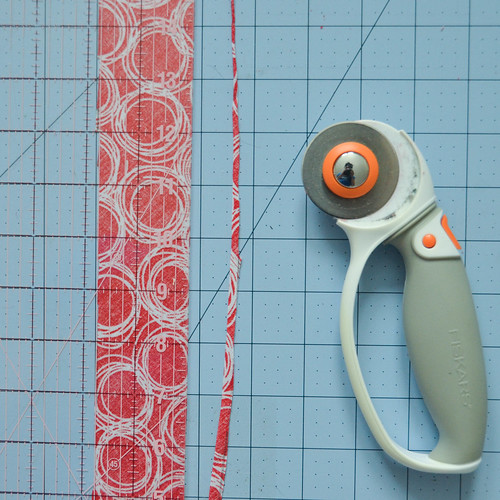
- Continue cutting along the drawn lines until the end.
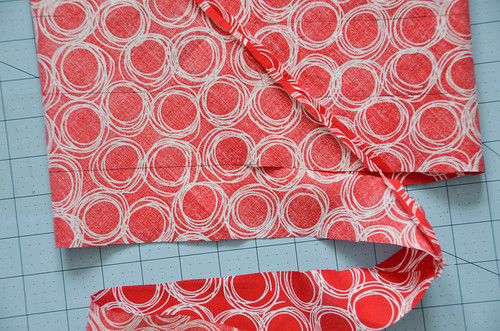
- Cut off any skinny bits of fabric. Trim bias binding to consistent width (not less than 2.5 inches!). If some chunks are too thin, cut them off, and reconnect using the "Connect Bias Strips with a Mitered Seam" tutorial at the bottom of this post.
- Iron in half, wrong-sides together.

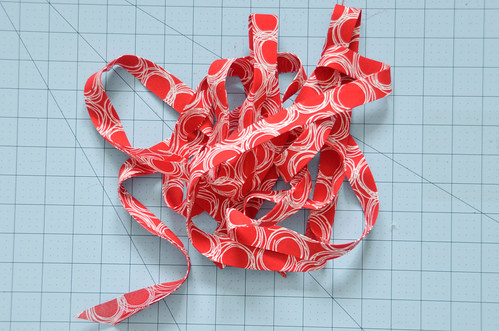
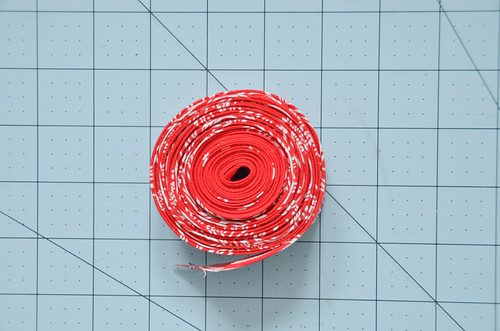
- Completed bias binding. This will make a little less than 4 yards.
Connecting Bias Strips with a Mitered Seam
In many cases, you may need to make bias strips from several squares, or cut out bits that are too thin and then reconnect them. This method will connect the strips with a 45 degree seam.
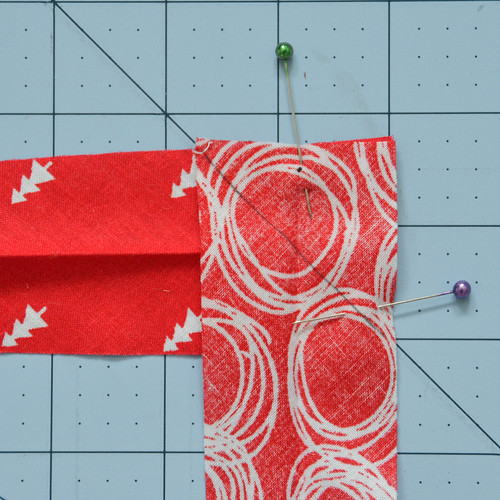
- Place one bias strip open, right sides up, horizontally. At a 90 degree angle, place the other bias strip end, wrong sides up. As shown below.
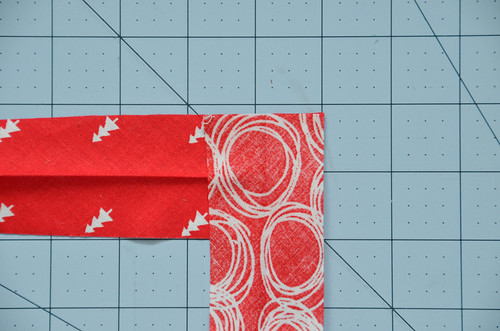
- Pin and sew a 45 degree seam from the upper left corner of the top fabric, to the lower right corner of the bottom fabric.
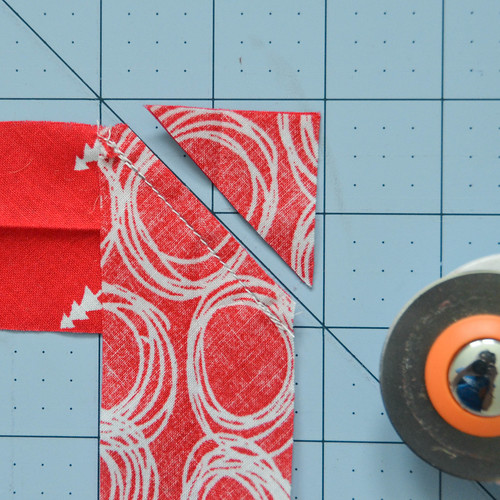
- Iron the seam open.
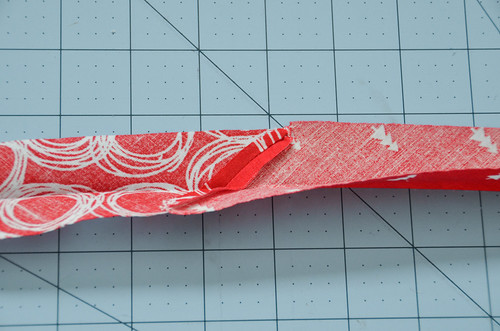
- Fold bias tape in half, wrong-sides together, and iron.
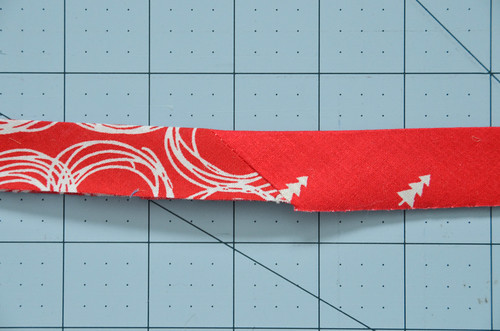
If you need double fold bias binding, that will require another round of folding in the raw ends and ironing again. Although, I've never used double fold bias binding, so this tutorial typically suits my needs.
Triangle Christmas Tree Skirt Quilt Tutorial Posts:
- Equilateral Triangle Quilted Xmas Tree Skirt: Cutting Equilateral Triangles
- Triangle Christmas Tree Skirt Tutorial: Sewing the Triangles
- How To Add Flange to a Quilt Block
- How To Piece Together Low Loft Quilt Batting
- Quilting the Triangle Xmas Tree Skirt Quilt
- How To Make Continuous Bias Binding
- How To Connect Binding with a Mitered Seam
- How To: Alternative Mitered Binding Join
- How To Attach Bias Binding to a Quilt
- Triangle Christmas Tree Skirt Overview


2 comments:
Do you have this fabric?could you tell me where to purchase
Your strips appear to finish at 2 inches wide making one inch binding after folding and ironing. Your cutting mat clearly shows the width. I’m confused as to how you mentioned 2.75 inches wide making strips (cut down to 2.5) when you’re starting with 2 inch wide fabric.
Post a Comment