
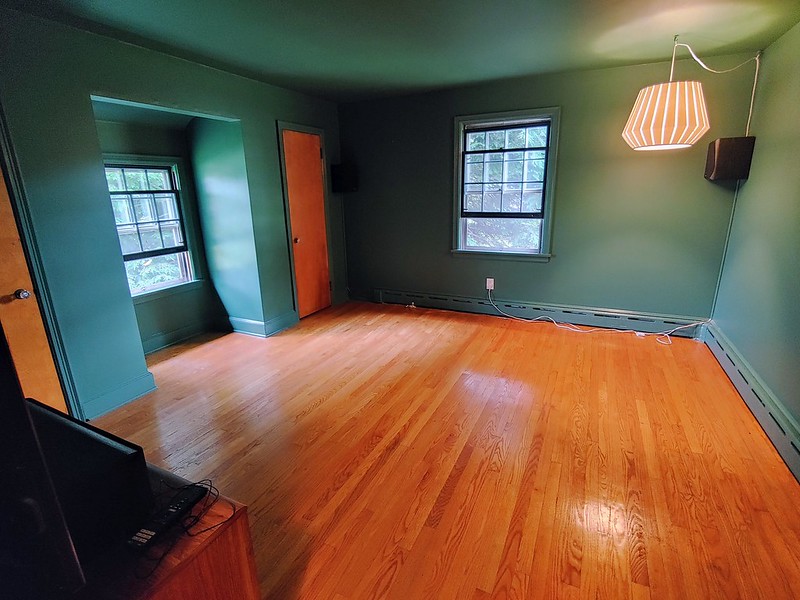
I keep telling myself I'll take better pictures, but whatever. This is close enough. The Den is painted. That means. ONLY ONE MORE DOWNSTAIRS ROOM TO PAINT. the kitchen, oh, the ever daunting kitchen. Maybe soon. Anyways, we painted the den a nice, dark color and included the ceiling in that mix to make a room that feels like it's hugging you. Consider
this post as inspiration, but with waaaay cruddier furniture, because I can think of better things to spend $2k on than a sofa (like, maybe redoing aforementioned kitchen on a budget...)

So, some more blurry photos of the den where it was too soon to put the games on the shelves (30 day wait!), and the wall still drying from a canvas mishap.

No close-ups of the peeling/cracking paint on the walls, but I have some from the closets. Fun times. no wallpaper to remove, either, huzzah! Just tons of peels and chips!

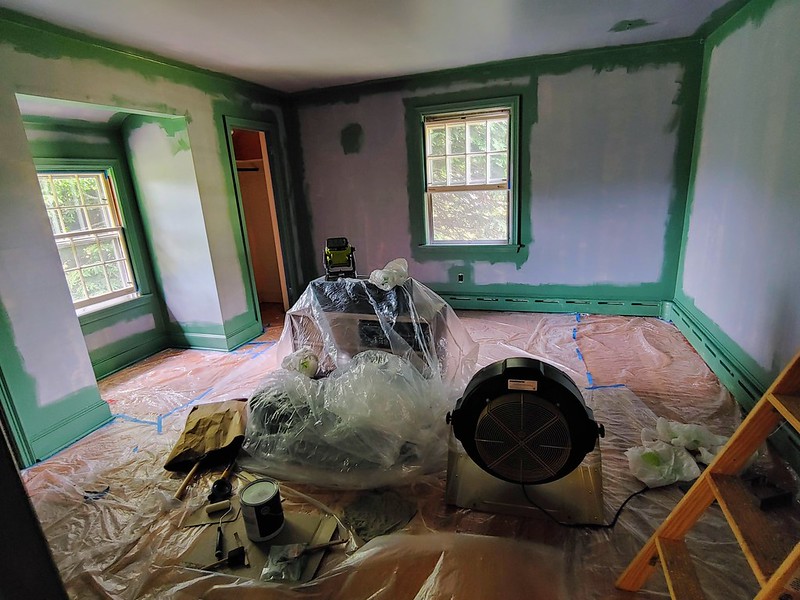
The walls were cleaned with TSP, primed with dark tinted Zinsser Bullseye, and then
cut-in by hand, as per usual. The paint is Benjamin Moore Gothic Green, done in eggshell finish. Ceiling is the same, but in a flat finish. And the trim is also Gothic Green, but in semi-gloss. I cheated and painted the trim once or twice in eggshell, and then did the final coat with a small pint of the semi-gloss. Saved myself $20, ha! You can't tell and it's difficult to photograph due to backlighting, but the inner window grids are painted Hale Navy from Benjamin Moore, just for a bit of contrast.

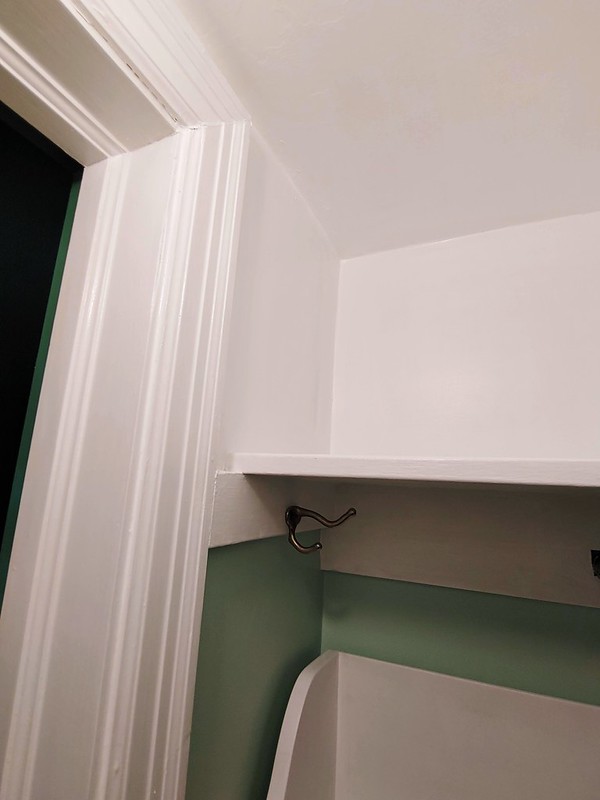
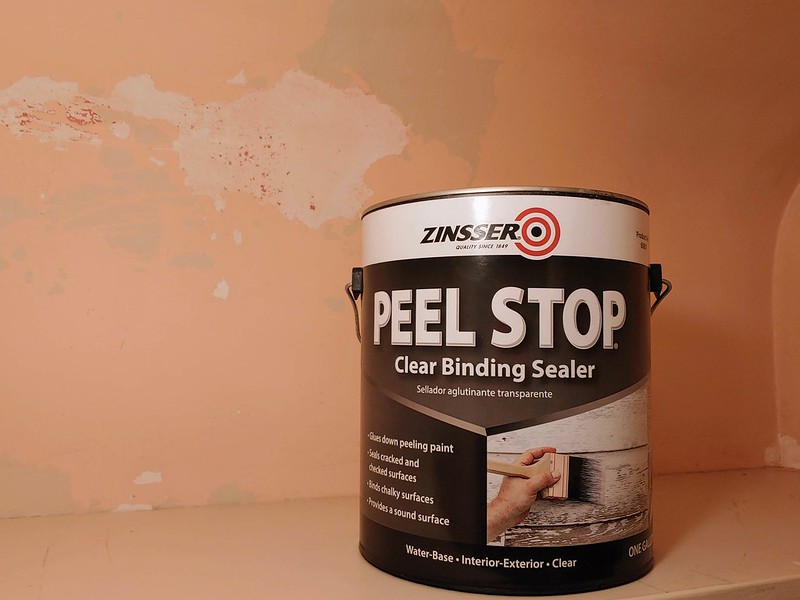

The closets, what a disaster. At least with a bit of Peel Stop they clean up alright. I generally
follow my typical painting process, but for the closets I scraped the surfaces and added on some Peel Stop prior to priming, and then did the usual. The bottom is Aberdeen Green in Benjamin Regal Select in Pearl finish leftover from
the downstairs bathroom, and I did the upper part in some semi-gloss white (no color mix) out of the pail. Aberdeen green is the lightest shade on the card for Gothic Green, which happens to be one of the colors in the tile floors of the downstairs bathroom. It's like I purposefully coordinated it all or something...
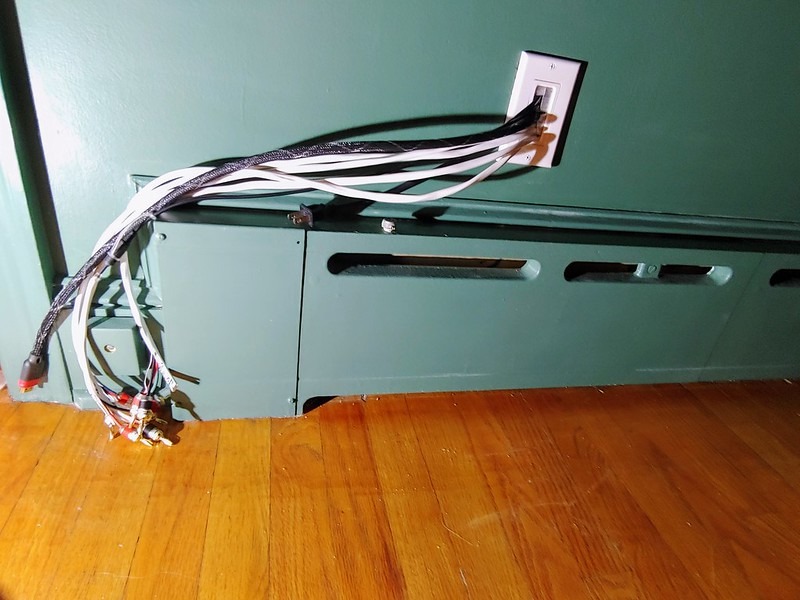
J worked some magic with all the cables, as this is our media room. We installed surround sound with some paintable cable covers to camoflague the wires, and everything was run under the floor and up into the wall behind the entertaintment center, like above. No more speaker cables over the door! We're so fancy now. And we only had to drill one hole in the floor. Good times.
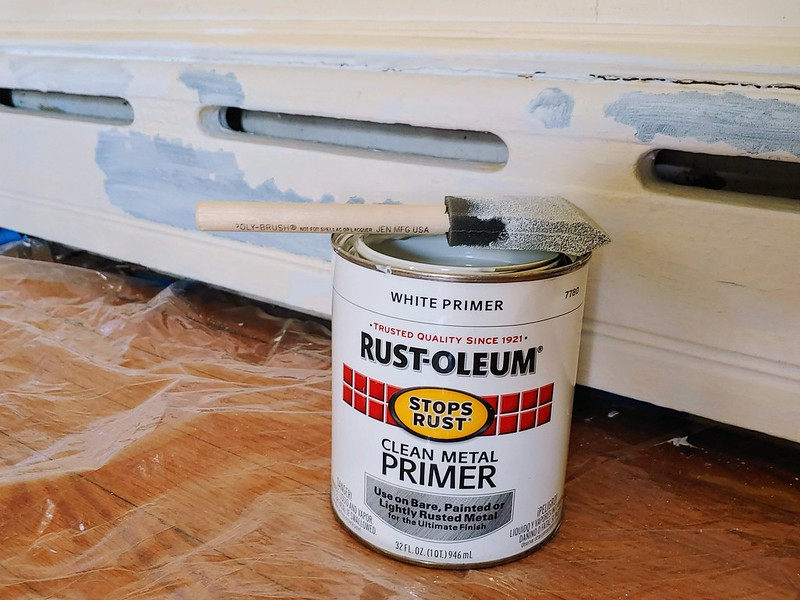
The radiators were, as always, a total chipping mess. Some scraping, scrubbing with a wire brush, and then a coat of Clean Metal Primer and off we went...Looking snazzy.
Some
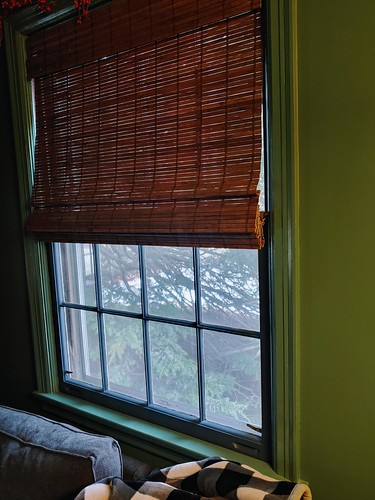
Cordless Flatstick Semi-Sheer Roman Shades in 'Cocoa' make this room really dark, even though they're semi-sheer. The windows are south-facing, and the east-facing window is partially obscured by a giant evergreen bush. So, it's really quite impossible to get good photos of this room. But that was sort of the goal - a dark & cozy theater room!
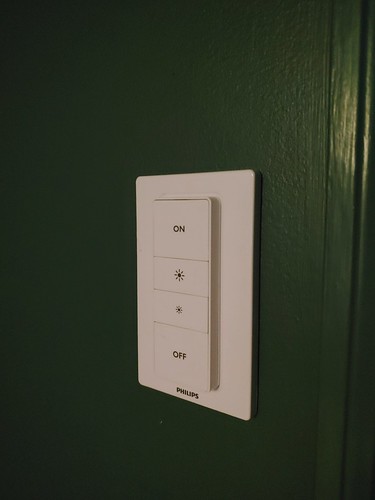
The final touch? We added in a
hub-free Philips Smart Light Switch so that we could use a switch next to the doorway to turn on the light we wanted to! This house always has the worst (read: easiest for electrician to install) light switches, and so it's not our only Philips smart light switch/bulb. In the case of the den, we also covered the original "real" light switch with the TV, so that really wasn't an option anymore.


2 comments:
This is cool! I love the dark green. We're planning to paint a bathroom sorta like that color. I'll probably come back to this post for more inspiration at some point :)
That looks so cozy! For some reason, I'm afraid to go dark with paint colours but wistfully envy everyone else who is brave enough to
Post a Comment