

Friday, December 24, 2021
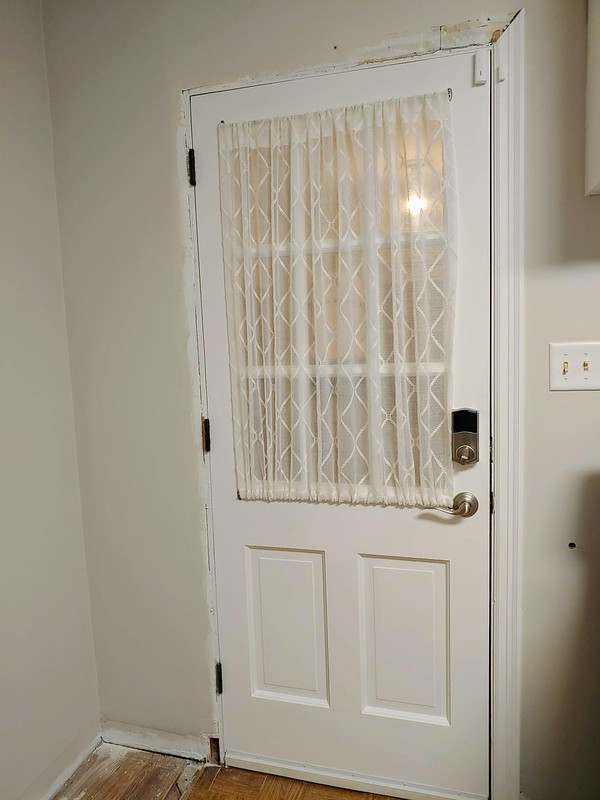
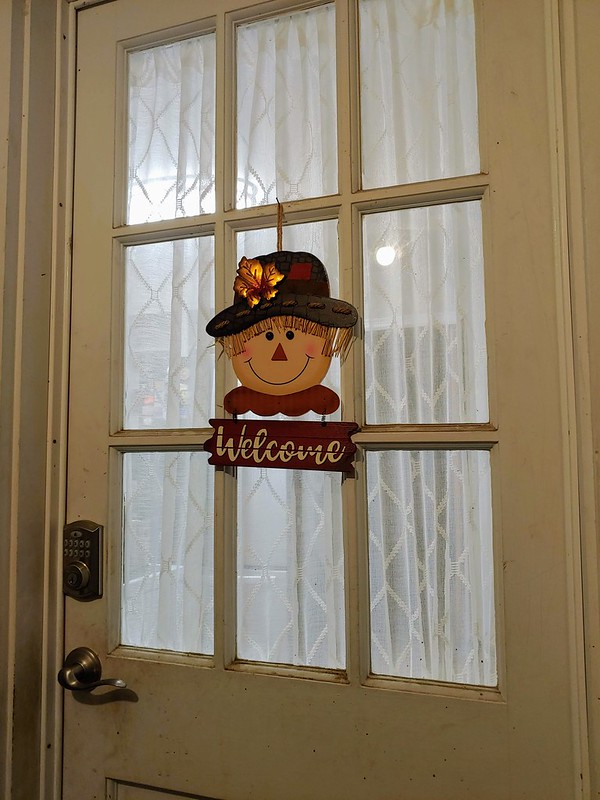
Pay no mind to the filthy door, the missing trim, mismatched light switches, hole in the floor, etc. My life is a constant construction zone at the moment. Just focus on that ruched front door curtain, that helps keep strangers [and the dog] from looking directly into the house. I'm no stranger to making curtains, in fact, it's probably my most frequent sewing project. I've been known to cut shower curtains for windows, split a bunch of curtain panels into mini-curtain panels, insert blackout panels, make them for under-counter coverage, combine multiple fabrics into one curtain, blockprint my own curtain fabric and add lace, etc. etc.
The process described below is a new curtain style for me, but is essentially just one curtain panel with both a top and bottom rod channel. Nothing too fancy.

- I started with a single Clarissa Diamond Sheer Curtain Panel from Target, and cut it to be the length of my window + 2" (42 + 2 = 44"). Starting with a curtain panel meant I already had one "channel" for the top curtain rod, I just had to make the second one. If I started with a piece of plain fabric instead, I'd likely cut the fabric to length-of-window+4 X width-of-window*2.

- If using sheer fabric that frays easily, it's a good idea to zigzag stitch over the edge of any cut edges to help prevent fraying. Zigzag stitch can be used to finish edges if you don't have a serger (c/o TillyAndTheButtons).

- Fold over cut ends toward the wrong side of the fabric by 1/4" and iron. My fussy sheer fabric was easier to work with when I sewed this fold down, but that's optional.

- [Skip this step if you started with a curtain panel, rather than plain fabric]. For the top curtain rod channel, fold the top of the fabric toward the wrong side of the fabric enough to cover the height of the curtain rod - you want the rod to be able to fit through this channel. 1-2" should be plenty, depending on how big your curtain rods are. Since the rods are being hidden entirely by the ruched panel, I think smaller rods make more sense here.
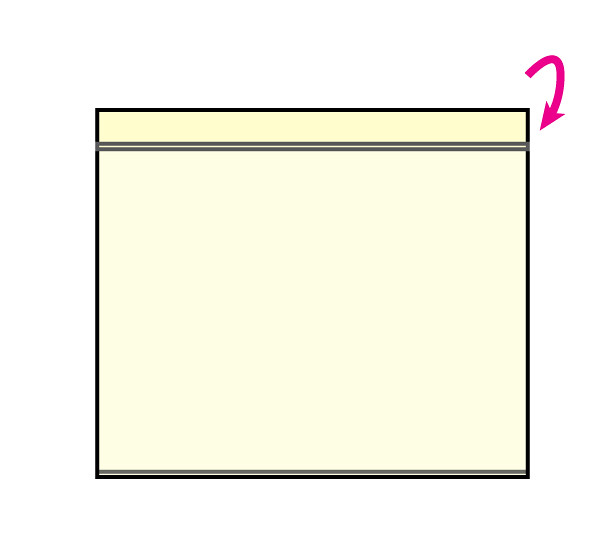
- Pin the channel in place, and then sew.
(If you were making a typical curtain, you'd hem the bottom of the fabric, and be done at this stage!)
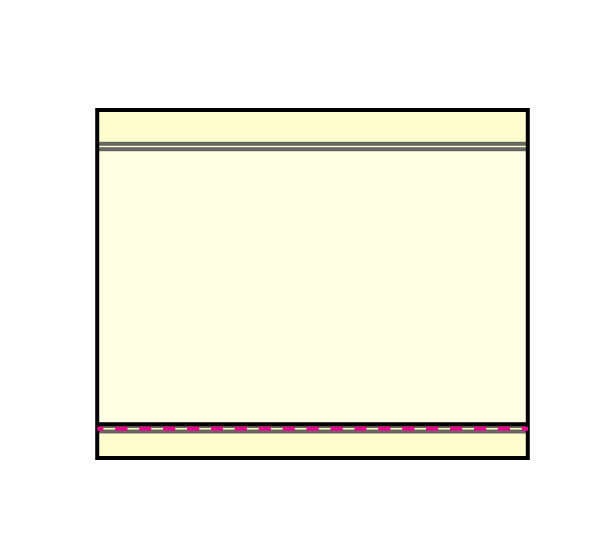
- Hang curtain from the top curtain rod where it will be, wrong side outward. Wrap the bottom of the curtain behind the lower curtain rod, and then up and over it (from back to front). You want the fabric to be pretty taut. Pin in place (I found doing this step at regularly intervals, to ensure I pinned the fabric straight worked well).

- Remove the curtain and iron the fold that's going to form the lower rod channel. At this point, you might find it makes sense to fold over that 1/4" fold from a few steps back (or even to trim and re-iron a new 1/4" folded edge) to get the edge even/smaller.
- Sew that bottom channel in place.
- Hang the curtain, fiddle with the scrunchiness of the ruching until it evens out, and you're done!


0 comments:
Post a Comment