Sunday, October 13, 2013
Did you read that? I'M TALKING ABOUT CONTEMPORARY QUILTING TRENDS.
Well. Anyways. With my priceless, entirely handmade hexagon quilt now complete, I need another quilt to protect that one. Because if anything happens to my hexie baby, I'm a cry.
So. Here it is. Steps for making a no fuss, "low effort" isosceles triangle quilt with a sewing machine. I generally followed the directions from Happy Together Creates (for cutting) and Mommy By Day Crafter By Night (for assembly).
This is the first half of Step1:: Assembling an Isosceles Triangle Quilt Top: Cutting the Triangles.
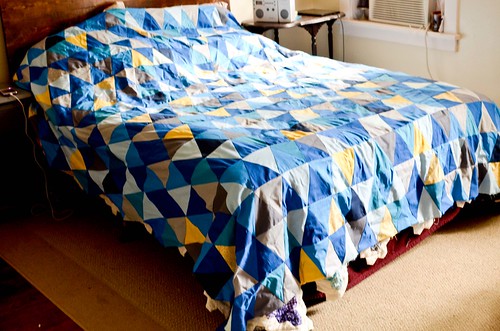
Step 0: Materials!
You're going to need the basics: Rotary scissors, cutting mat, ruler, iron, spray starch, and fabric.
I don't know the exact amount of fabric I used for the quilt top, but here's a table that can be used for approximating:
| # Rows | # Triangles/Row | Approximate Yardage | Final Size |
| 1 | 1 | 1/48 yds | ~6" l X ~2.5" w |
| 11 | 17 | 4.75 yds | 60" l X 42" w |
| 17 | 38 | ~13.5 yds | 101" l X 94" w |
I ended up with about 17 rows and 38 triangles/row to get my queen-sized quilt top, which means I probably used around 13.5 yards of fabric to make this quilt ((17*38)/12/4), although I actually purchased much more, maybe 3.5 extra yards. I selected a range of solid blue, grey, and yellow fabrics from Jo Ann Fabrics, along with two tone-on-tone-ish fabrics in yellow and grey. I just sort of winged it. I had about 162 leftover triangles, so I'm using them for another project, but here's the basic counts for all my colors: 109 light blue, 149 light royal blue, 166 bright blue, 64 teal, 12 light teal, 65 bright royal blue, 26 navy, 65 steel (dark), 78 iron (light), 13 gray packed peony, 26 pinwheel sun, 38 buttercup.
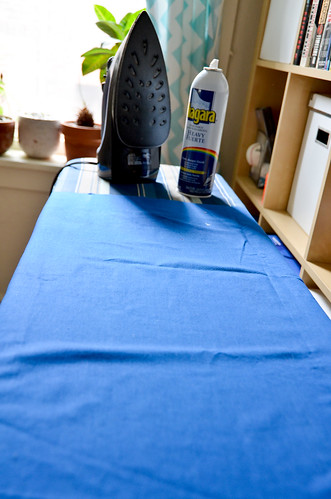
Step 1: Iron & Starch Fabric
Iron the fabric and use some serious starch. This will prevent shifting and warping later on. Very important since we're not using a template.
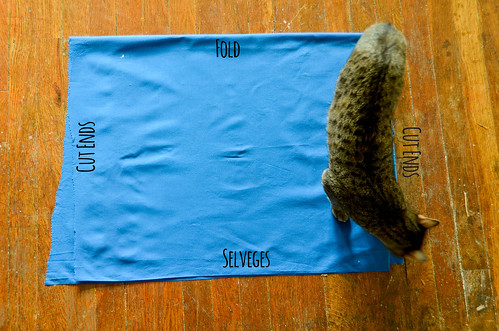
Step 2: Refold with Selveges Together
Fold the fabric in half, the way it was on the bolt (selveges at the bottom, cut edges on either left/right side).
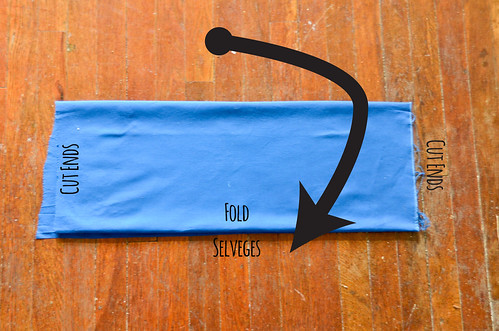
Step 3: Step 3: Fold the Fabric Downwards
Fold the fabric downwards so that the original 'fold' is at the bottom with the selveges.
Step 4: Fold Downwards (Again)
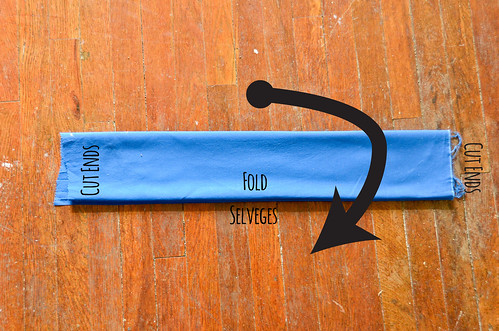
Fold the fabric in half again, downwards, just as you did before.
Step 5: Cut Off Frayed Edges
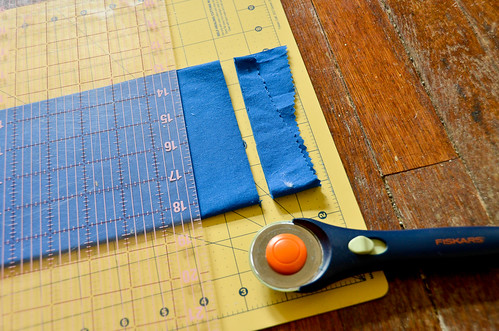
Cut the frayed edges off from one end of the fabric tube. Be sure to cut straight!
Step 6: Cut 6.5" Piece
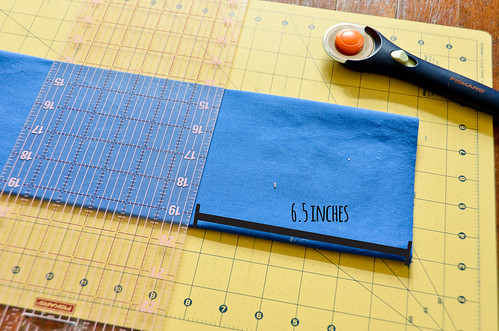
Move your ruler down 6.5 inches and cut the fabric tube from one folded edge to the other folded edge.
Step 7: Repeat 6.5" Cuts
Keep cutting 6.5" rectangles until you've run out of fabric.
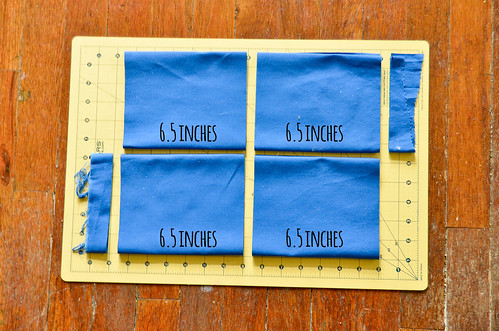
Step 8: Repeat with All Fabric
Follow Steps 1-7 for more fabric until you have a nice pile of folded fabric rectabgles.
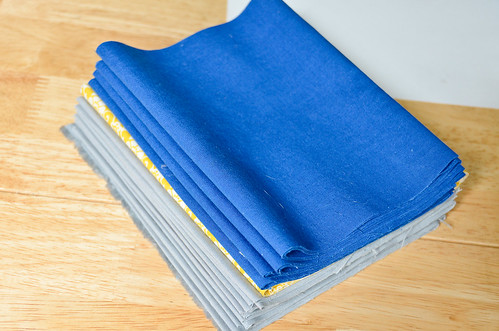
Step 9: Unfold a Fabric Rectangle
Unfold a fabric rectangle until there's only one fold left. You'll have a fold at the bottom and the selveges at the top.
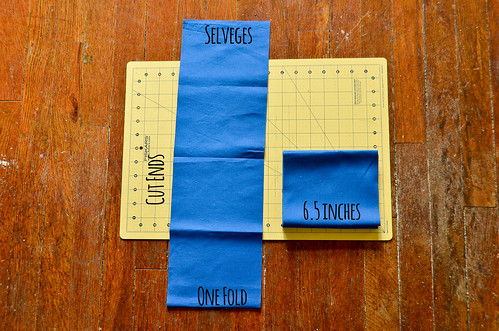
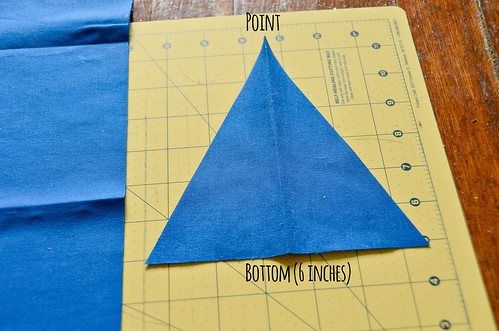
Step 10: Cut a 3" Triangle
Starting at the fold, line your ruler up with the corner of the fabric and the 3" mark on the other side and cut, as shown. Because we're working on the fold, the base of the triangle is going to end up being twice 3". The rest of the triangles will not be made on the fold (as shown by the dotted line).
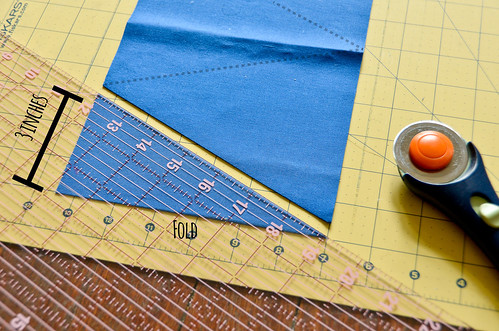
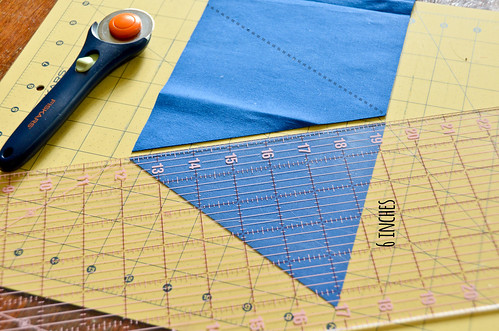
Step 11: Cut 6" Triangle
You're going to cut a full 6" wide triangle, except now the point of your triangle is going to be at the base of the previous triangle and vice versa. The dotted lines on the photo illustrate this a bit.
Similar to before, line your rule up with the opposite corner, and then the 6-inch mark on the other side, as shown. Cut, and you should have two isosceles triangles the same size as the previous folded one.
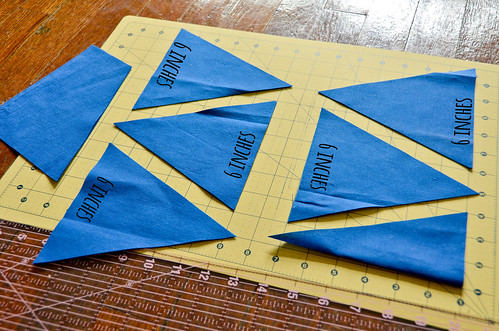
Step 12: Keep Cutting 6" Triangles
Keep cutting these 6" triangles (Steps 9-11) until you run out of fabric. You're going to keep switching which side of the fabric the 6" base is cut from.
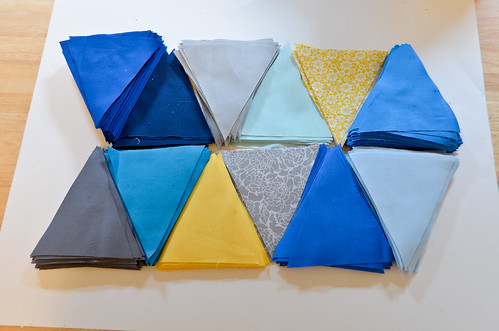
Step 13: Repeat for All Fabric
Make isosceles triangles out of all your fabric!
- How To: Cut Isosceles Triangles Without Templates 10/13/2013
- How To: Assemble an Isosceles Triangle Quilt Top 10/16/2013
- Step 1: Isosceles Triangle Quilt Top Completed 10/18/13
- TARDIS Applique 10/27/13
- Coordinating Pillowcases for the Isosceles Triangle Quilt 11/6/13
- Step 2: Isosceles Triangle Quilt Backing Assembly 3/18/15
- Step 3: Isosceles Triangle Quilt Sandwich-ing 4/1/15
- Attaching the TARDIS Applique 4/8/15
- Step 4: Machine Quilting the Isosceles Triangle Quilt 4/15/15
- How To: Continuous Double Bias Binding Strips 4/22/15
- Step 5: Binding the Isosceles Triangle Quilt 4/29/15
- A Review of the Isosceles Triangle Quilt 5/6/15


2 comments:
This is going to be amazing!!!!!
This is awesome! I hope you don't mind that I'm pinning this for later! : )
Post a Comment