Wednesday, August 11, 2021


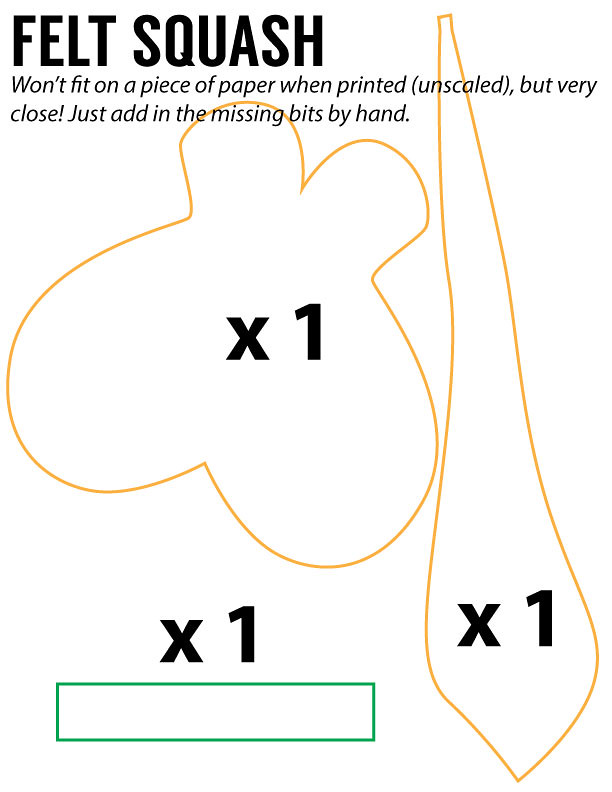
- Print the pattern below without scaling.
- Cut out the pieces in the quantities listed in the pattern.
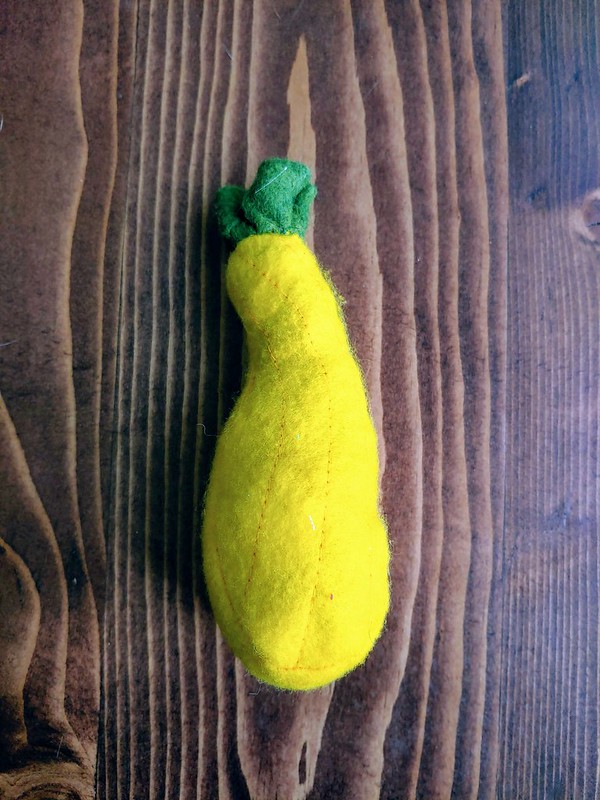
- I sewed some decorative seams in slightly contrasting thread onto the butterfly shape, but this is oprtional!
- We're going to fold the butterfly shape in half (to align the edges), but sew the yellow strip to the edges instead. The bottom of the squash is wider, and requires the wider end of the strip. Sew strip to one side of the butterfly shape, starting at the wider end. Stop sewing about an inch before you get to the top (secure the thread!)
- Do the same for the other side of the butterfly felt and the other side of the strip. This can be a litte tricky to maneuver.
- Turn right-side out and stuff the squash (I used fabric scraps which makes it lumpy - polyfill would be smoother).
- With a needle and thread, close up the top of the squash stuffy, folding the raw edges inward as you go.
- Cinch the top of the squash closed and secure the squash top with several more hand-sewn stitches, before tying off.
- Fold the green strip in half and then in half again. Sew several stitches to secure it into a plus shape (or even a star, or whatever - squashes have very ridged stems and that's what we're imitating here).
- Secure this stem piece to the top of the squash by hand-stitching.

Return to the Felt Vegetables Tutorial Collection.


1 comments:
https://www.reddit.com/r/nextfuckinglevel/comments/p30dov/fiber_artist_andrea_loves_stop_motion_animation/
Post a Comment