Thursday, October 30, 2008


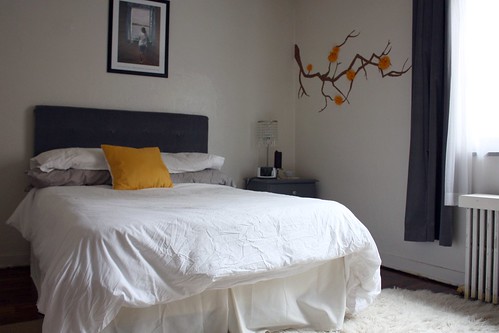
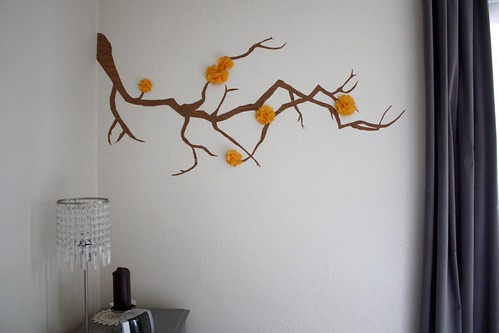
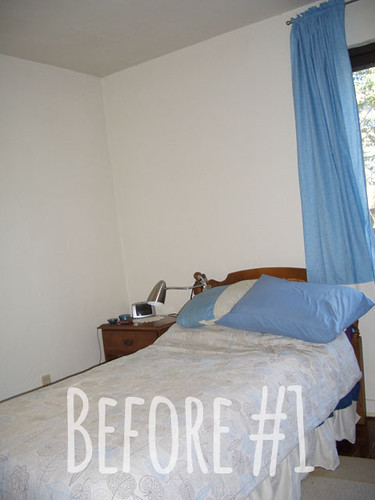
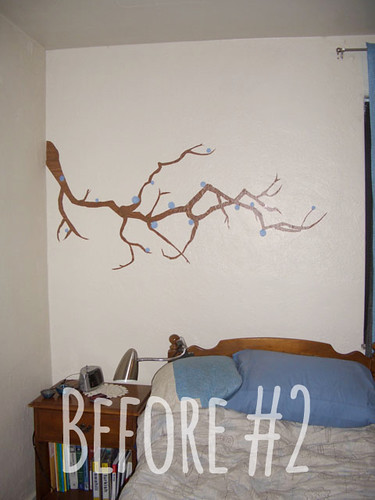
Some models come to fruition, while some just don't:


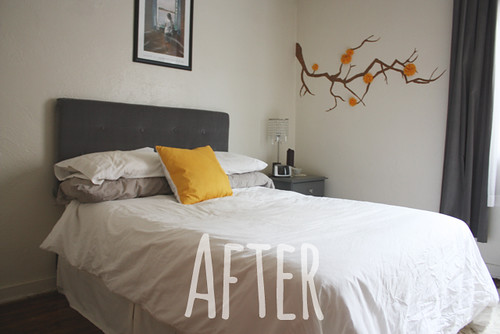
[Edit 11/16/2009: The dining area and living area art have changed rather drastically! I foresee it constantly evolving in the future.]


 The point of sanding is to prevent the wood from poking through the decorative fabric, plus it makes the board a little easier to handle
 I used pieces of paper to determine how many buttons/tufts I wanted in my headboard. Then I marked where I would have to drill.
  After marking where you want your buttons, you should drill smaller pilot holes, and then use the 1/2" bit to drill the actual holes.
 Make sure you have ironed your muslin, as you don't want wrinkles in your headboard. There should be about 5" of batting and muslin on all sides of the foam.
  Note that I added duct tape to prevent the plywood from cracking in half, this is not necessary.
  Starting with the center of a long side, fold the muslin and batting over the plywood, and staple gun it into place. Begin with three staples, each 2" apart. Then go to the opposite side, pull the muslin and batting fairly tight over the wood, and then secure the muslin and batting with 3 staples spread 2" apart on that long side. Keep doing this switching and stretching between long-sides, until the muslin and batting are secured, except for 7" or so on the ends.


 Basically, repeat what you did for the muslin and batting (Step 4, 6-9), but you do not need to staple as much. Instead of 2" between staples, 4" or 5" is okay.
 To make these directions simpler, I placed the specific instructions for adding tufts and buttons to the upholstered headboard on another post, here. If you wanted to make the tufts "deeper" you could probably try extra layers of batting. The batting is soft enough that you could pull on it with the thread and buttons to a dramatic extent. (Or you could try the Diamond Tufting Technique like Target's Seville Headboard.
  If you can't find flush mounts, Lowes (and probably Home Depot) offer a somewhat similar frame-hanging system that costs a little more. I bought two 7" sets which I attached to my headboard with wood screws and to the wall with concrete screws. We'll see how it works.
This "how to" assumes that you are building your own upholstered headboard (see instructions, here) and that you have already prepared the wood, foam, batting, lining fabric, and showing fabric. It also requires that your piece of plywood already has 1/2" holes drilled into it, where you wish to place the tufts.
Additional Readings/How-tos
 Upholstered headboard with 1/2" drilled holes.
 Thread the needle with the thread, and push it through one of the backing-button holes. Push the needle through a drilled hole. If you cannot push it all the way through the fabric, use the needle nose pliers to help push. Pushing through the fabric can be really challenging.
  Once the needle pokes through the front fabric, you may need to use the needle nose pliers to pull it the rest of the way out. You should leave a 3 or 4 inch tail of thread on the wrong-side of the headboard. You will need this later to tie off the threads.
 Thread the covered button onto the needle, and then push the needle back through the front of the fabric. Remember to leave a 4" tail of thread on the wrong side of the headboard.
  This can take many tries, as pushing a small needle through 3 inches of foam, batting, and fabric is not exact. Try not to put too many holes in your front fabric! Once you get the needle to push through into the drilled hole, you should pull it out, using the needle nose pliers if necessary.
 Now that the needle is back through the drilled hole, you should push it through another hole in the backing button and then tie several knots with the two ends, to ensure that the covered button does not come loose. Do not pull the thread too tightly! You want to reduce stress on the embroidery thread, if possible.

I was going to make a full post about this, but realized there's a lot of material on the subject of making fabric-covered buttons. Here's two good ones:


I'm getting prepared for a much larger project that requires some embroidery...or lots of embroidery. This is my first attempt at something far more complicated than what I plan to do, but who doesn't like lavender sachets?
I sort of took the pattern from here, traced over it in Adobe Illustrator, and made my own adjustments. [Edit 2/9/11: I've placed the lavender template I used at the bottom of the post.]
Quick Tip on How To Transfer a Design from Paper to Fabric: Buy a heat transfer pencil (I bought my at Jo Ann's) and trace over your printed/paper design. Use an iron to transfer the paper design to the fabric. It comes out really faint, but that's probably a good thing.


