Thursday, October 16, 2008

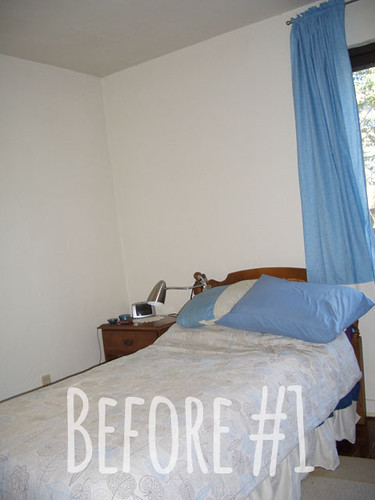
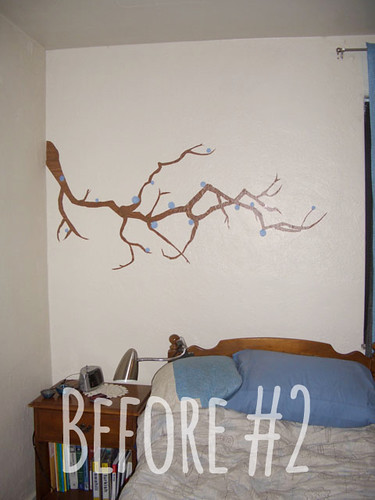
These instructions are shamelessly adapted from those by Blair of Wise Craft, but the flowers have so much versatility! You could use them to decorate purses, as Blair has, or you can attach them to a wall decal as I have, below. The before & after with these great pops of color is pretty dramatic! (or so I think!). Of course, the DIY Wall Decal , DIY Upoholstered Headboard, hand-painted grey furniture, and DIY desk chandelier certainly play a role in this transformation, as well. Even with an artwork swap, it comes out awesome.
I'm really, really pleased with this update!


If you're interested in making other kinds of fabric flowers, check out my other tutorials below:
- BYOV's Chiffon & Tulle Flower Tutorial
- BYOV's Satin Rose Tutorial
- BYOV's Pointed Kanzashi Flower DIY
- BYOV's Fluffy Fabric Flower DIY
- BYOV's Melted-Edge Chiffon Flower
And now, the moment you've all been waiting for, the felt flower tutorial!
Materials

Some felt or fabric or clothing that you wish to cut up
Scissors
Needle, thread
The template from Wise Craft, although I made a bunch freehand in smaller sizes
Step 1: Cut Fabric Using Template

You'll need two larger and two smaller flower pieces.
Step 2: Fold Larger Pieces and Place Next to Each Other

Step 3: Fold Smaller Piece and Place Under & Over Larger Pieces

Step 4: Place Second Smaller Piece Under & Over Larger Pieces

It's easiest to think of this method like how you would close the bottom of a cardboard box. Each piece is under another piece, but over a different piece as well.
Step 5: Sew All Four Pieces Together

This can get tricky. I try to hold the four pieces together the best I can, and then sew them all together as quickly as possible.
Step 6: Finish

Wise Craft shows how to add a button center, attach a pin backing, etc. But for my purposes (as seen in the first photo of this post), my finishing technique is simply to fluff the flower and tape it to the wall using double-sided adhesive.


2 comments:
OMG, LOVE the orange on the tree! so so pretty!
Thanks for much for linking up to support Habitat! Good luck and hope to see you back Thursday night. :)
Thanks for the tutorial! I didn't use the template either, just cut squares of the right sizes and then folded and snipped the corners into curves. I did find it much easier to stitch as I slipped each petal into place though, rather than trying to put them all into position and then sew them.
Post a Comment