

Wednesday, April 8, 2015
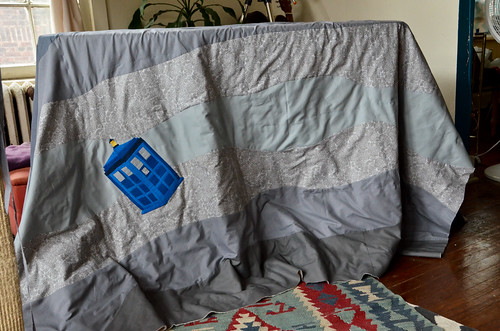
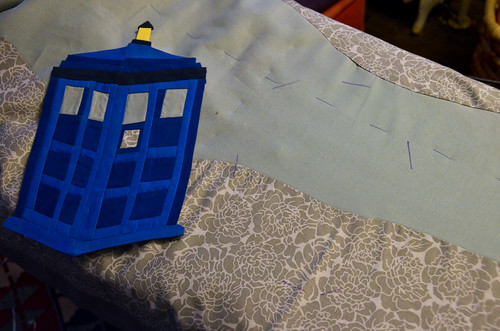
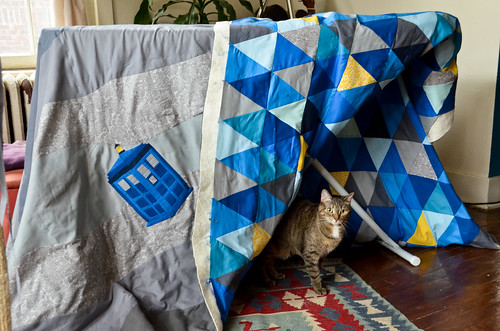
Awhile back I made a paper-pieced TARDIS applique from scraps leftover from making the triangle quilt top. This in turn inspired the wobbly quilt back. So what was left? Attaching this darn thing to the quilt sandwich. I suppose I could've attached it before the quilt sandwich, but the applique is rather thick, so it made sense to attach it to the thicker quilt sandwich.
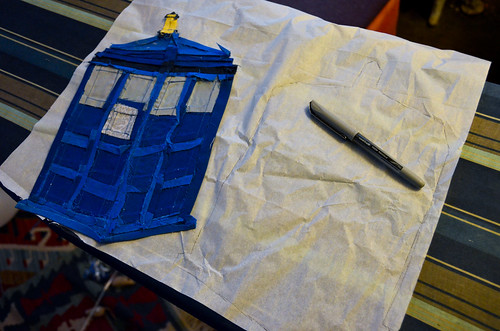
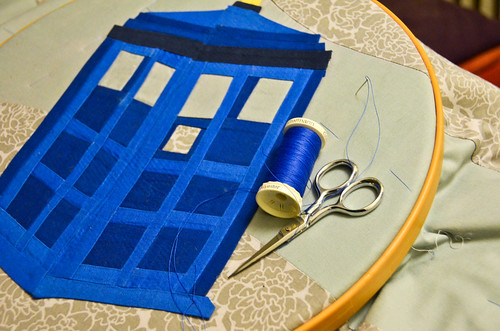
- You'll need: Wonder Under, a fabric applique, needle, thread, scissors, pen/pencil, iron, damp cloth, and an embroidery hoop. You could do all this without the Wonder Under (and use pins instead), but I feel like that's introducing too much misery. The Wonder Under ensures that the applique lays completely flat.
- Place applique right side down on smooth side of Wonder Under.
- Trace around applique onto Wonder Under.
- Cut Wonder Under about 1/4" inside of tracing. You don't want any peaking outside of the applique.
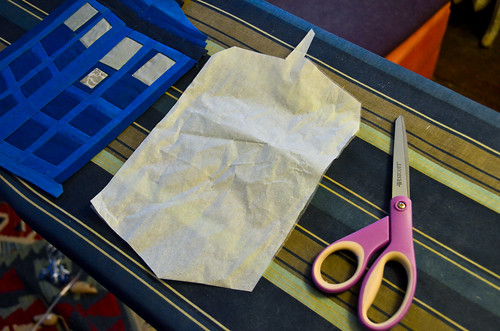
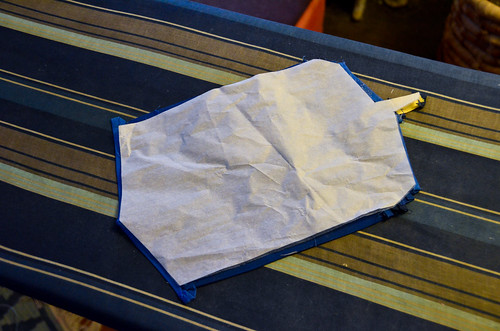
- Place rough side of Wonder Under onto wrong side of applique and iron, 5-8 seconds over each segment.
- You can find the instructions that come with Wonder Under here.
- I essentially followed the process from when I made my Don't Panic banner, here. I even used my leftover Wonder Under from that day!
- Using an invisible marking pen or white fabric pencil, mark where on the quilt you want to place the applique.
- Peel off paper Wonder Under backing and place on quilt.
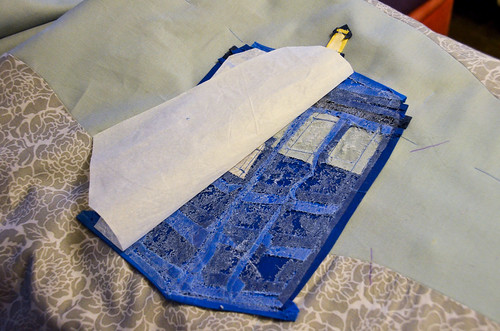
- Place a damp cloth on top and iron each segment for 10-15 seconds, overlapping where iron was placed.
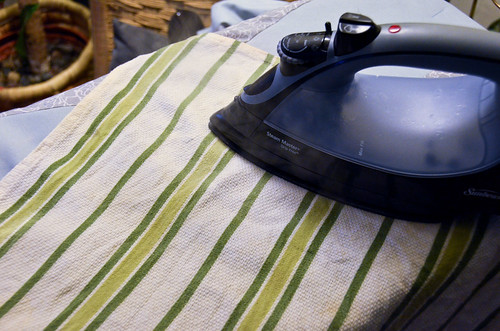
- Remove damp cloth and iron applique to remove excess moisture.

- Place quilt/applique in a quilt hoop.
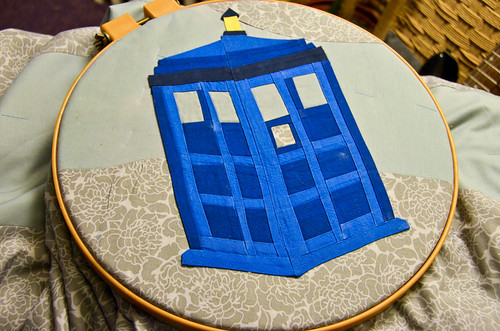
- Using a ladder stitch sew the applique to the quilt.
- Start with a quilter's knot (easy peasy).
- Pull your threaded needle through the back of the quilt, bringing up the needle in the exact spot you want to start (right underneath the applique, near the edge). Give a slight tug so the knot goes through the quilt fabric but doesn't pull all the way through the applique. This way the knot will be hidden in the interior of the quilt.
- Iron out any wrinkles caused by the hoop.
- Done!

Since the TARDIS applique was made with scraps from my quilt top, it coordinates the back with the top now. It's not a detail that will be seen often, but I think it's a nice little personal addition.
How To: Cut Isosceles Triangles Without Templates10/13/2013How To: Assemble an Isosceles Triangle Quilt Top10/16/2013Step 1: Isosceles Triangle Quilt Top Completed10/18/13TARDIS Applique10/27/13Coordinating Pillowcases for the Isosceles Triangle Quilt11/6/13Step 2: Isosceles Triangle Quilt Backing Assembly3/18/15Step 3: Isosceles Triangle Quilt Sandwich-ing4/1/15- Attaching the TARDIS Applique 4/8/15
- Step 4: Machine Quilting the Isosceles Triangle Quilt 4/15/15
- How To: Continuous Double Bias Binding Strips 4/22/15
- Step 5: Binding the Isosceles Triangle Quilt 4/29/15
- A Review of the Isosceles Triangle Quilt 5/6/15


1 comments:
That quilt is just gorgeous.
Post a Comment